
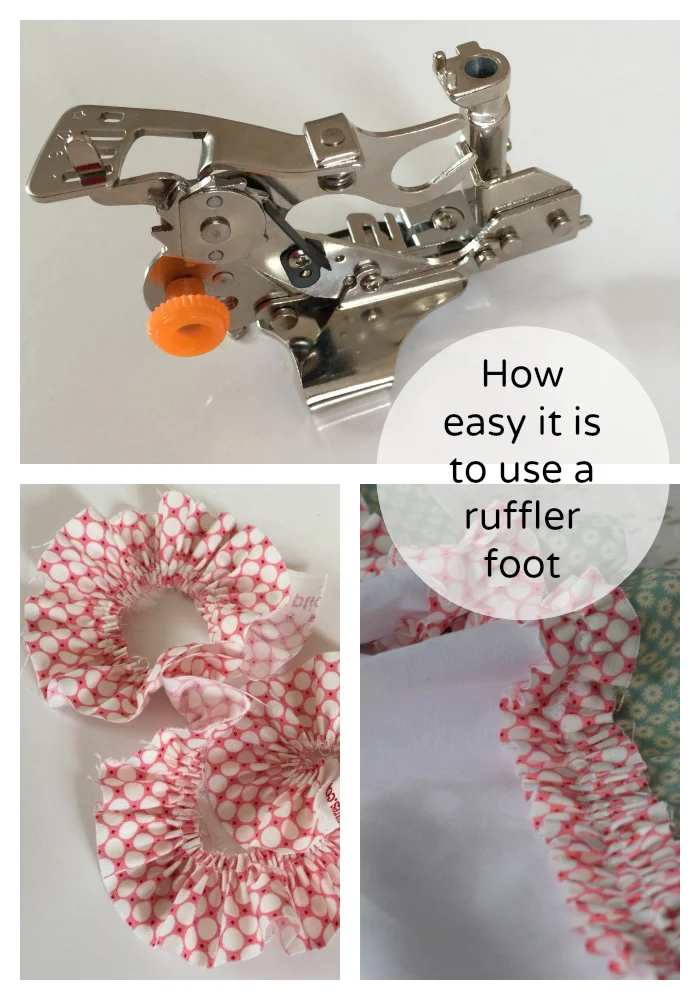
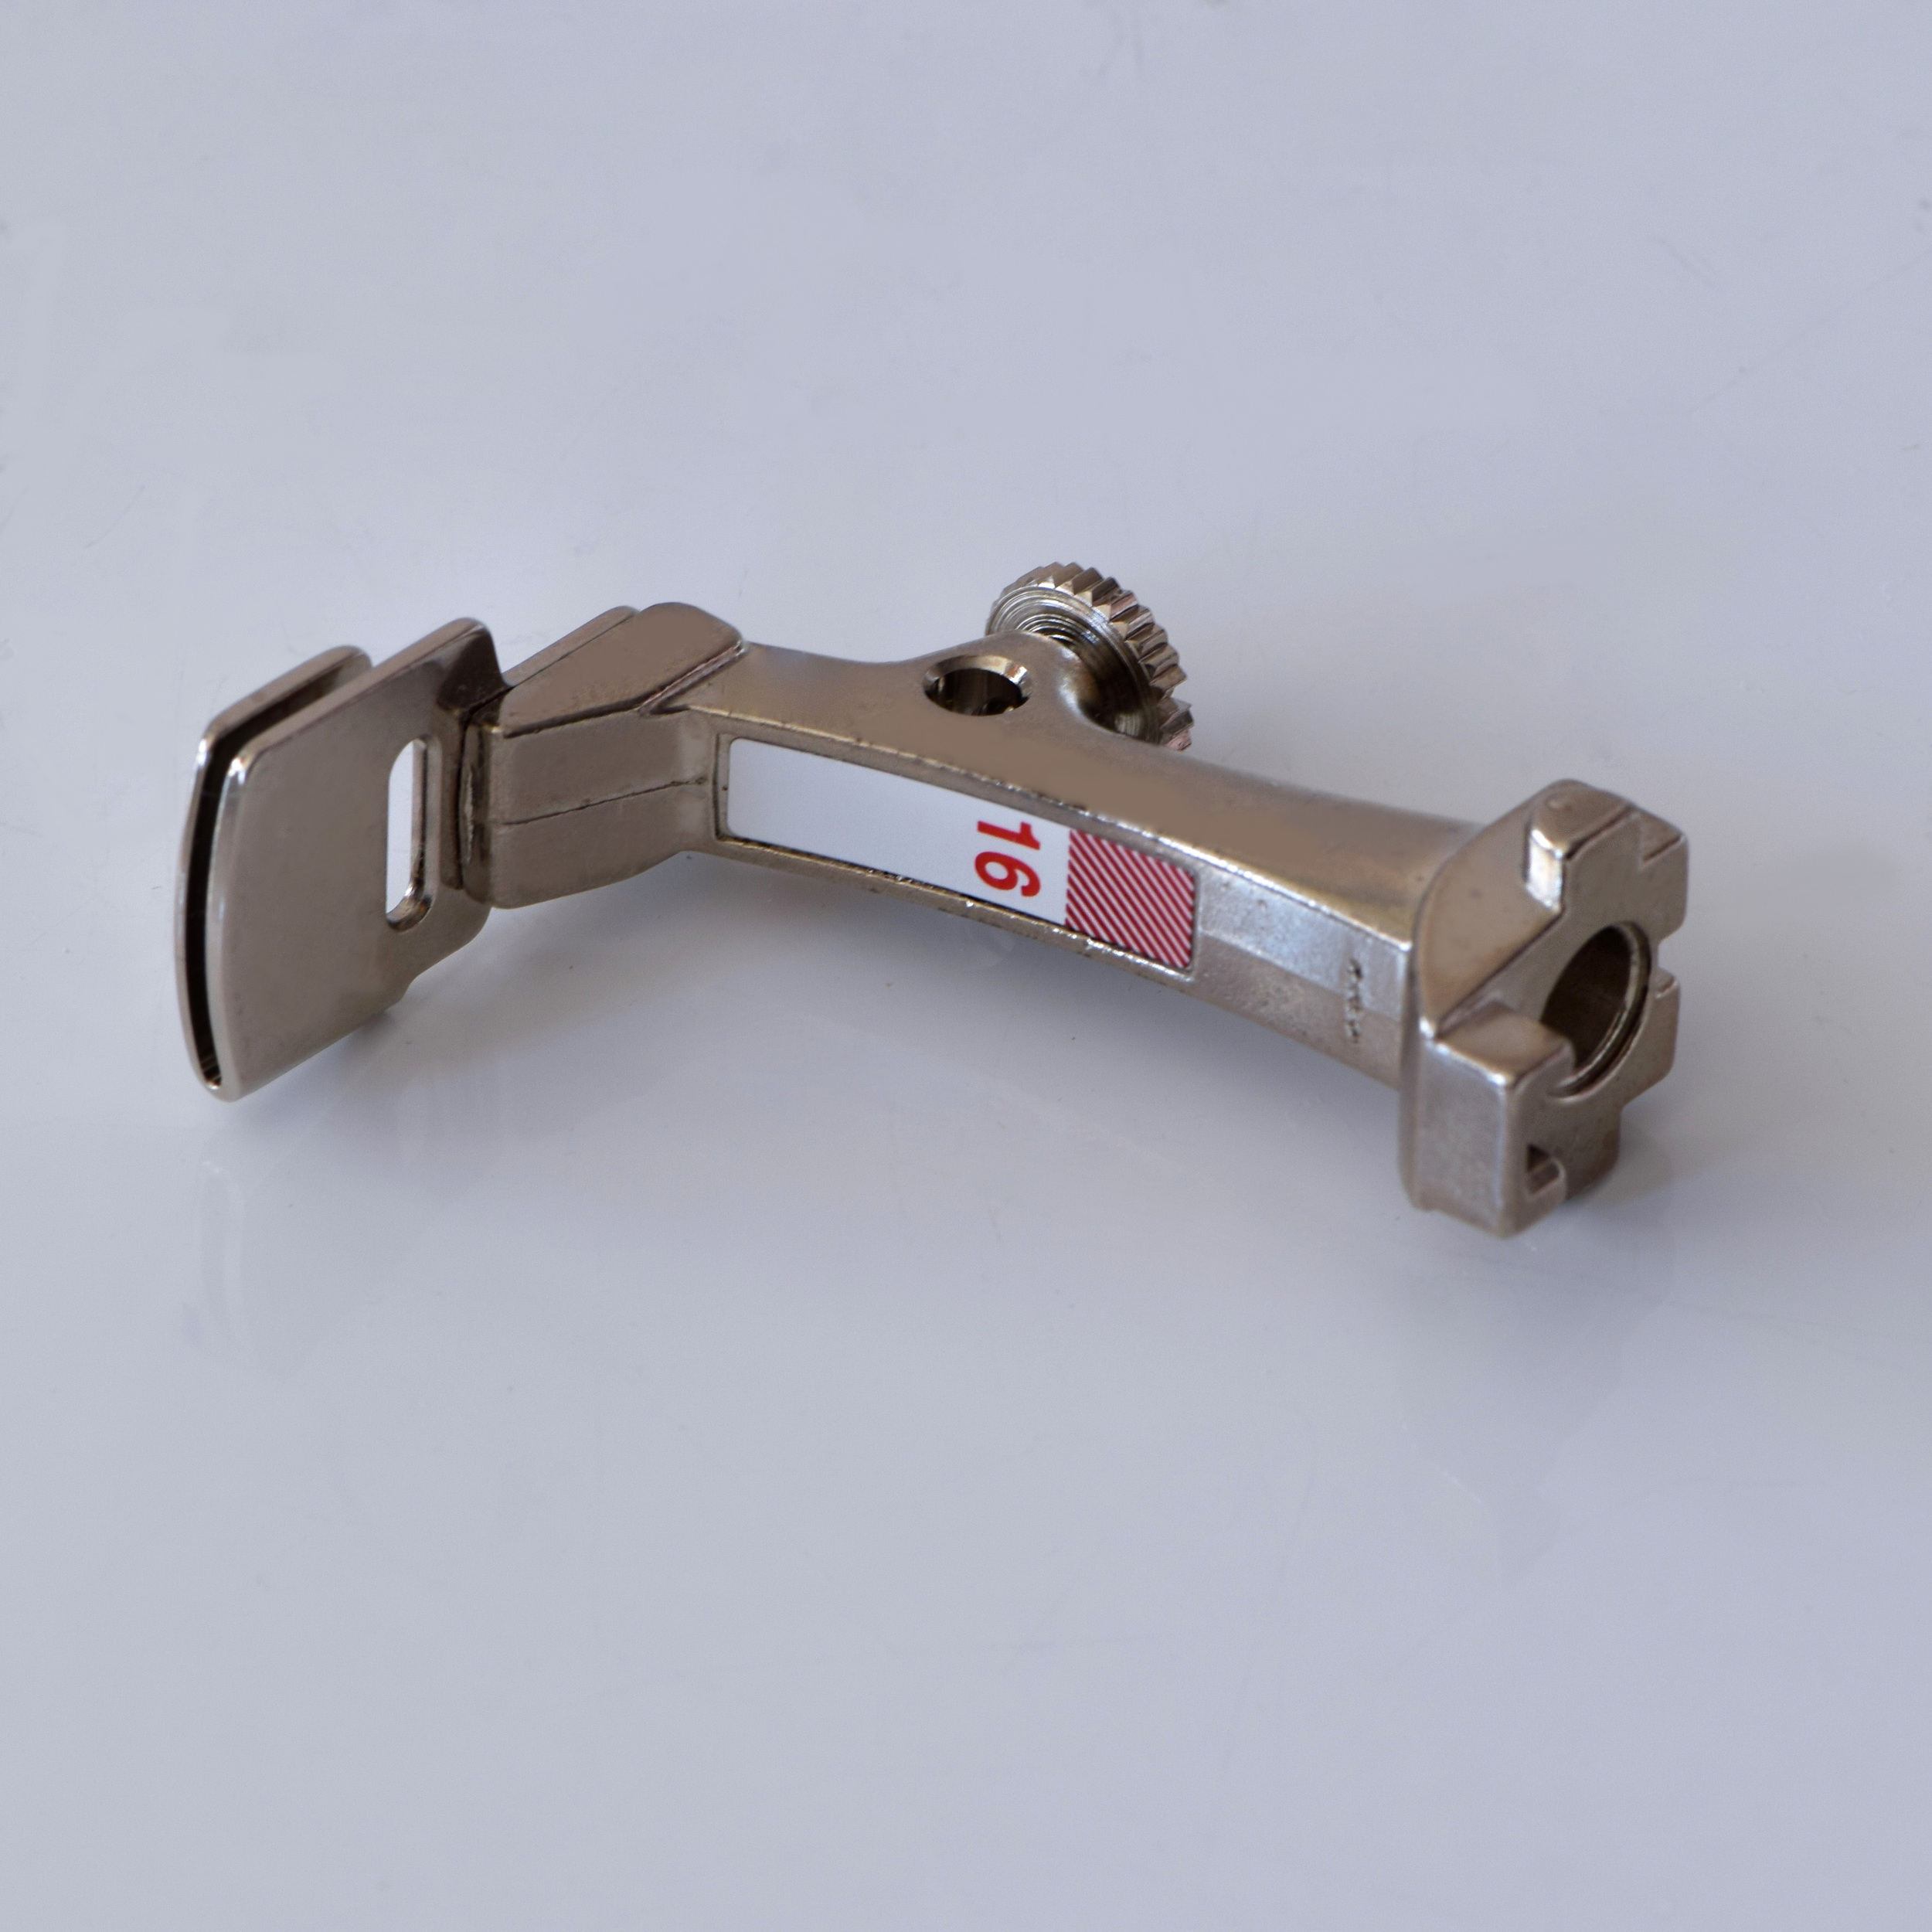
What is a ruffler?
A ruffler is a foot for your sewing machine. It does exactly that, it makes ruffles. And once you can get beyond how scary and complicated it looks, you will realize it makes ruffling rather easy.
How to use a ruffler foot/attachment:
The most difficult part about a ruffler foot is getting it clamped onto your machine.
1. Take whatever foot is on, off.
2. Straddle your needle clamp (the large screwish thing to the right of your needle) with the fork arm of the ruffler (the C)
3. Then clamp the back part of the foot the same way you attach all presser feet.
4. Check to see that your needle clears the needle hole.
With the ruffler you can make both pleated and gathered ruffles.
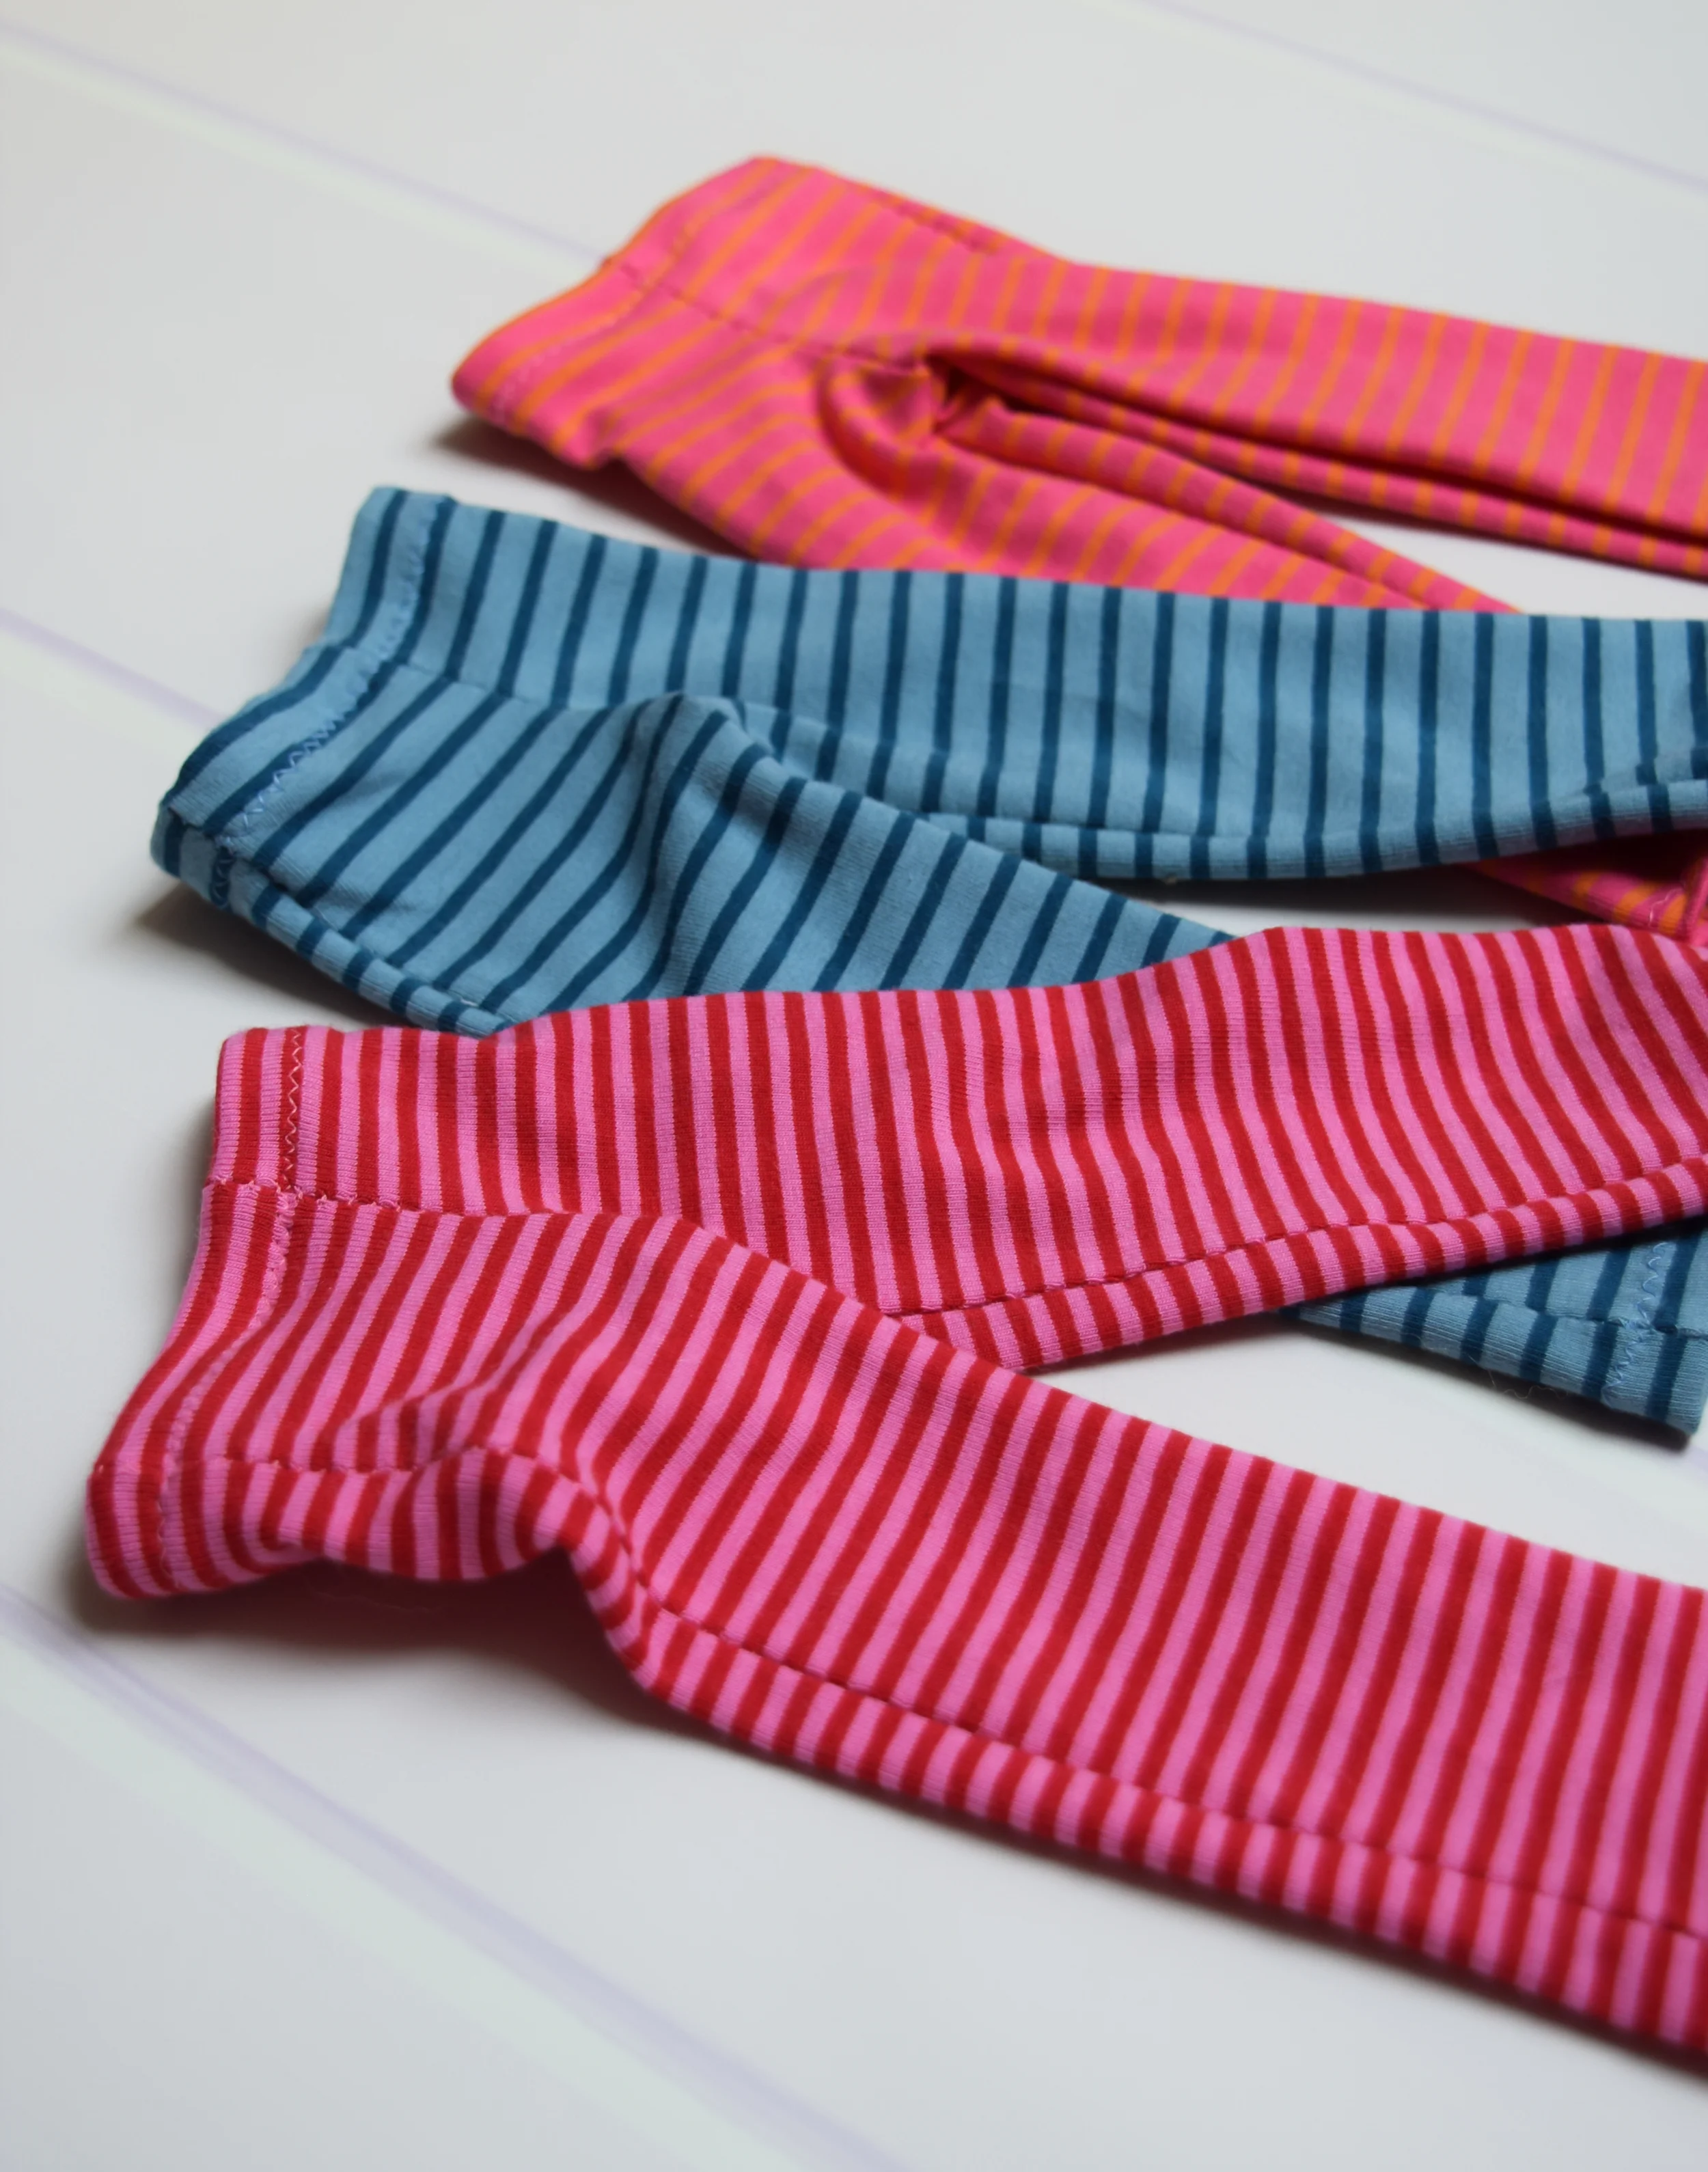
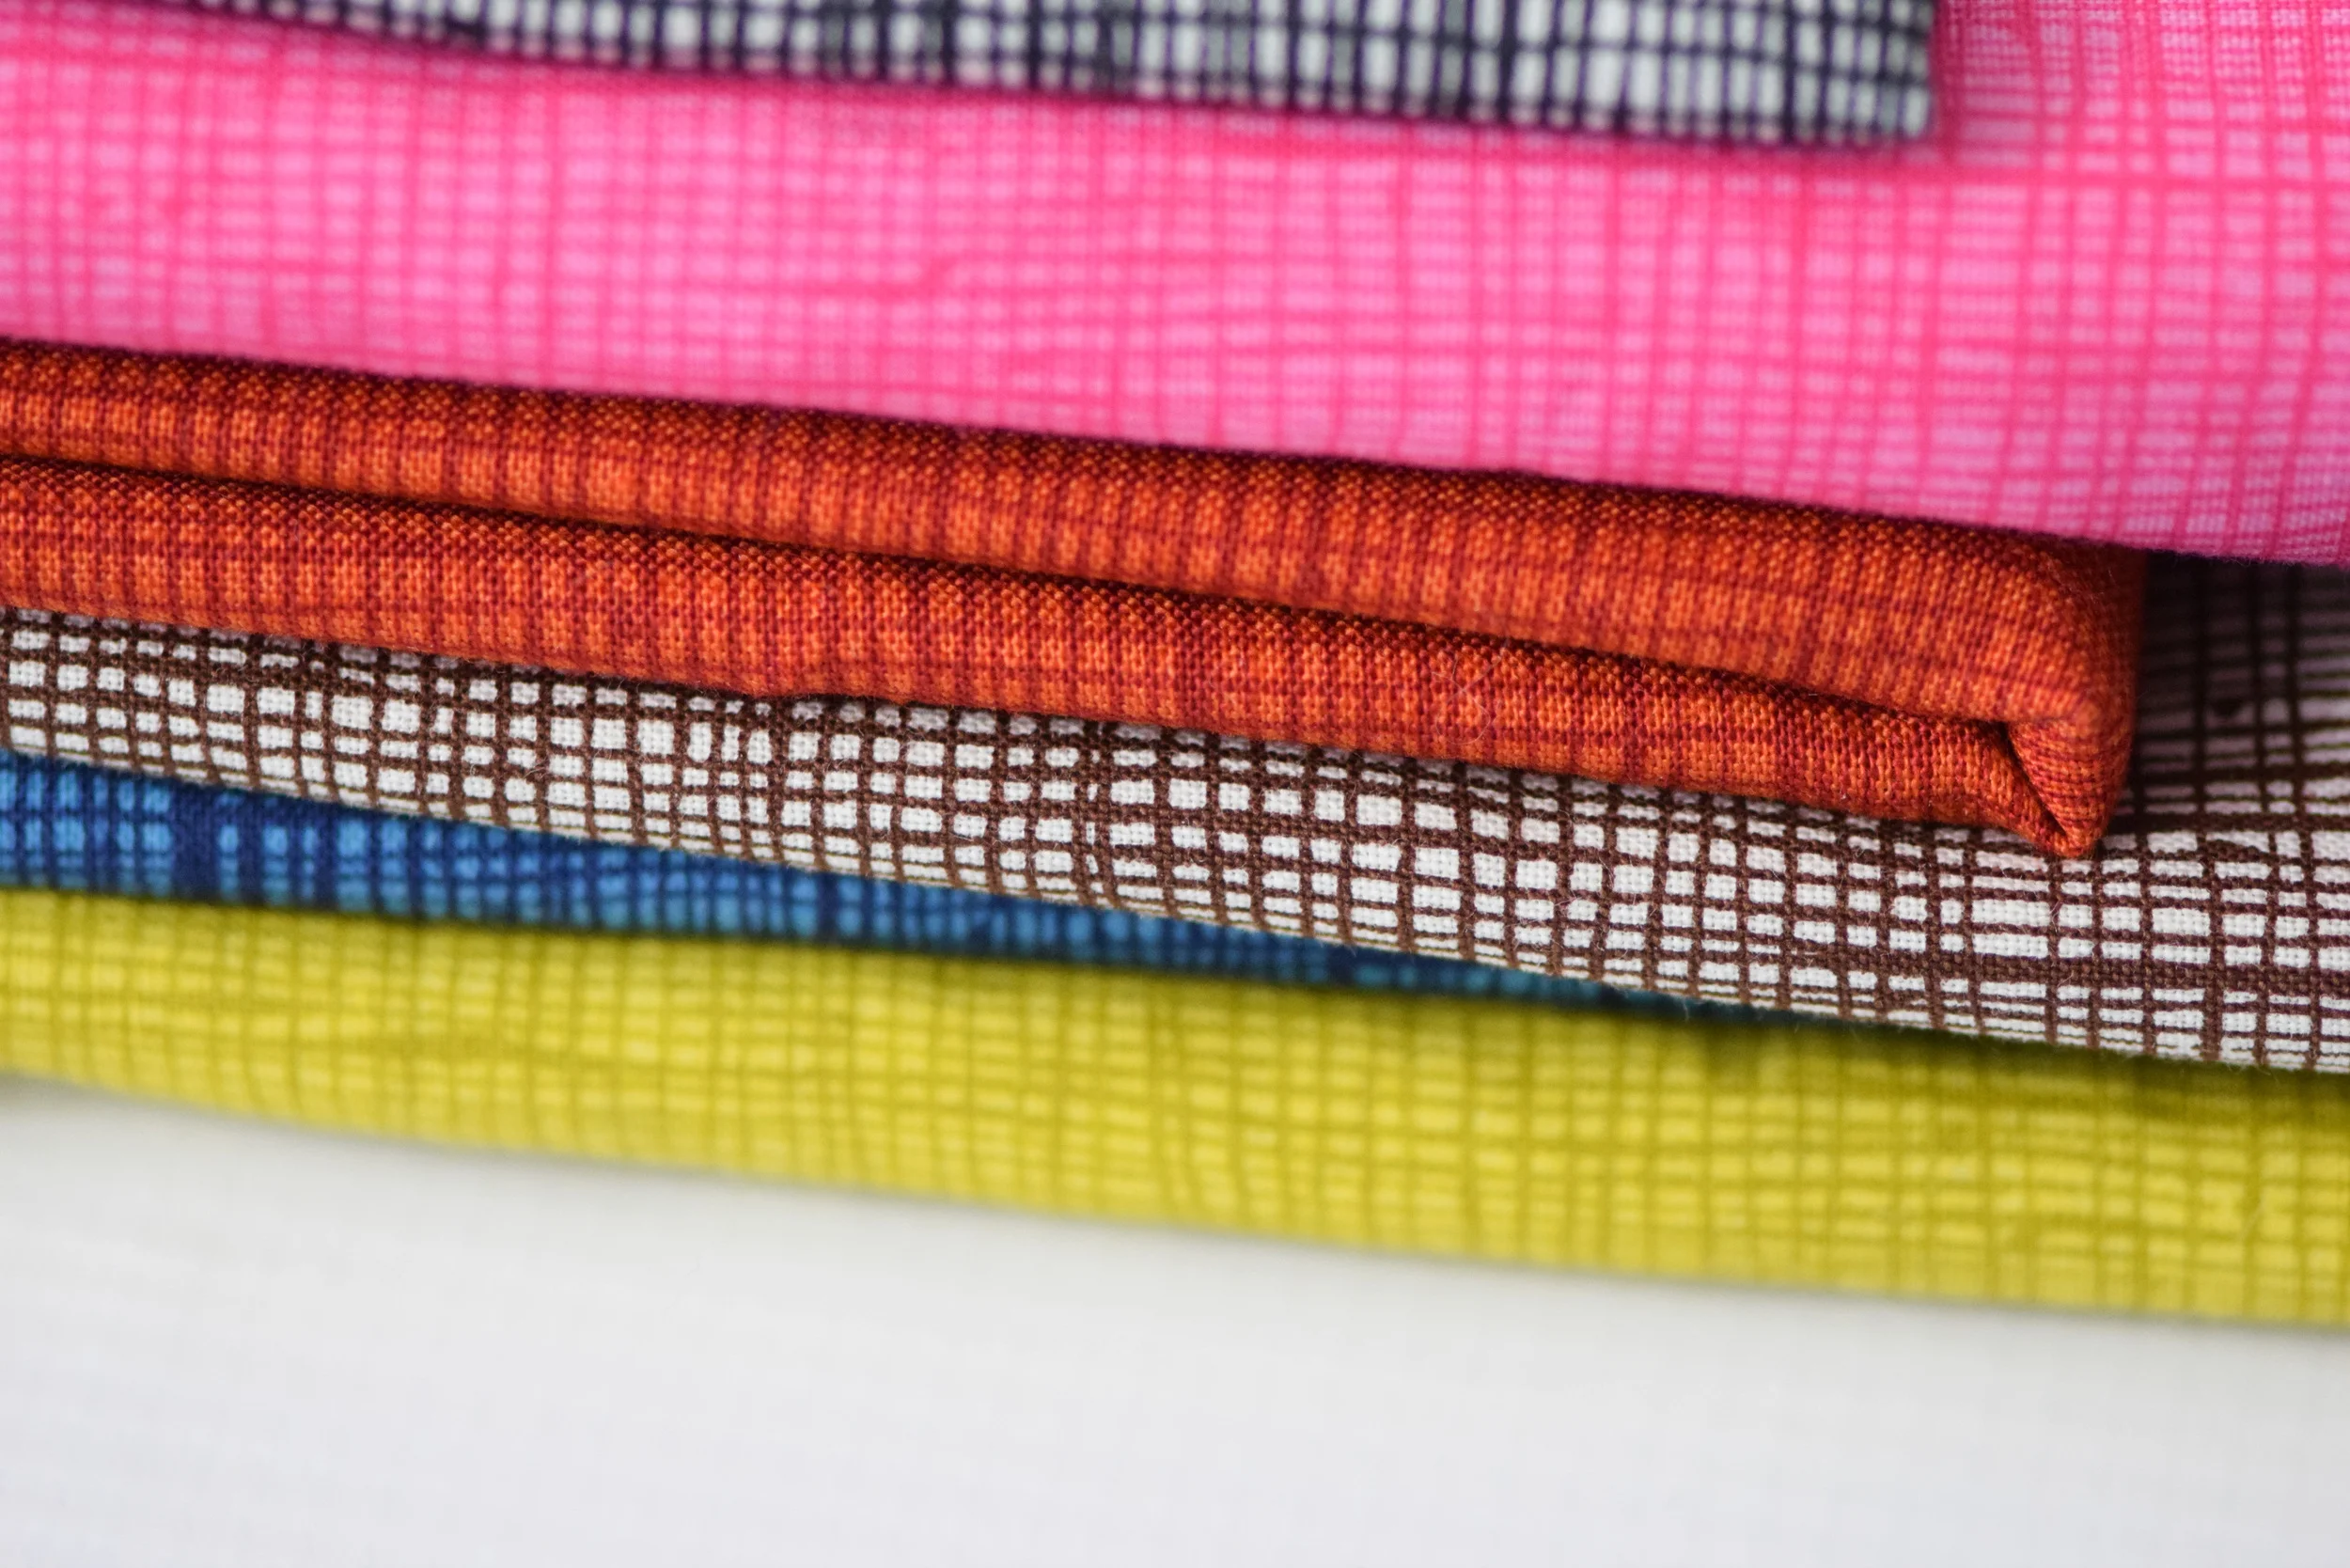
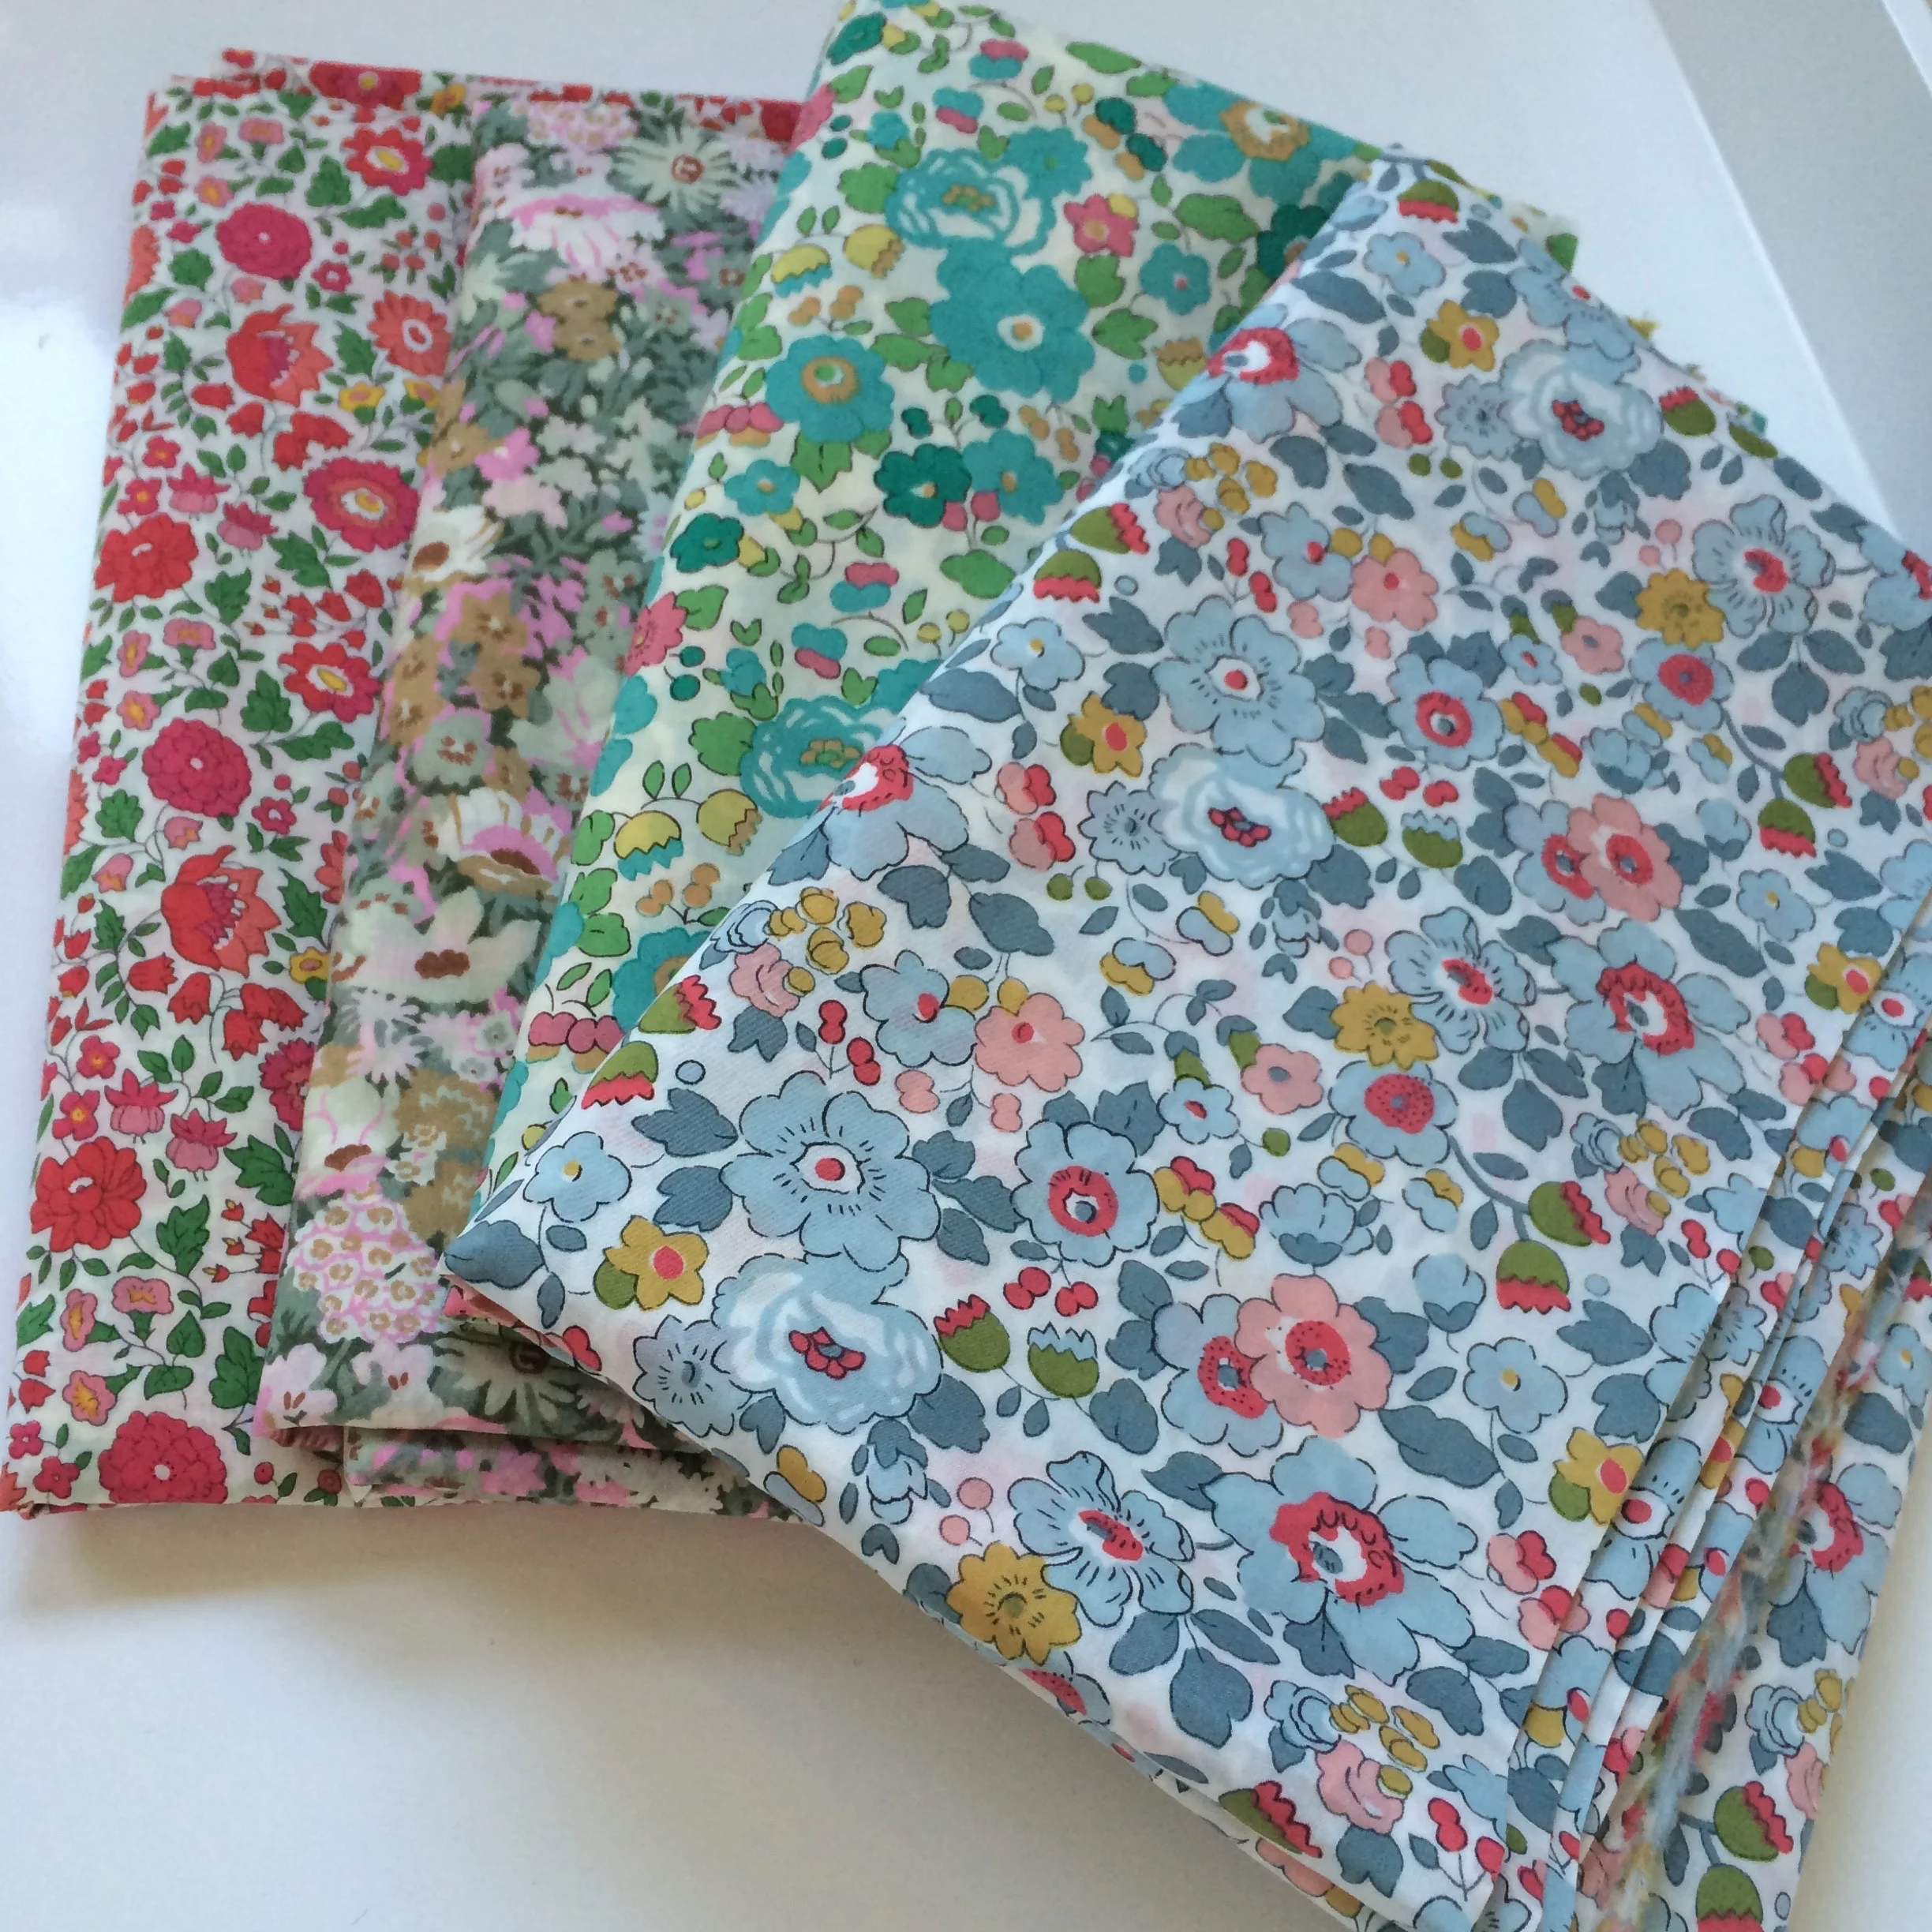
The texture of the fabric will affect the fullness of the ruffle. I have only used quilting cotton and have not experimented with other fabrics. But it works well with quilting cotton.
Stitch length can also affect fullness. A shorter stitch means more ruffles, or fullness. As you can see, whatever you choose, it makes that evenly and consistently.
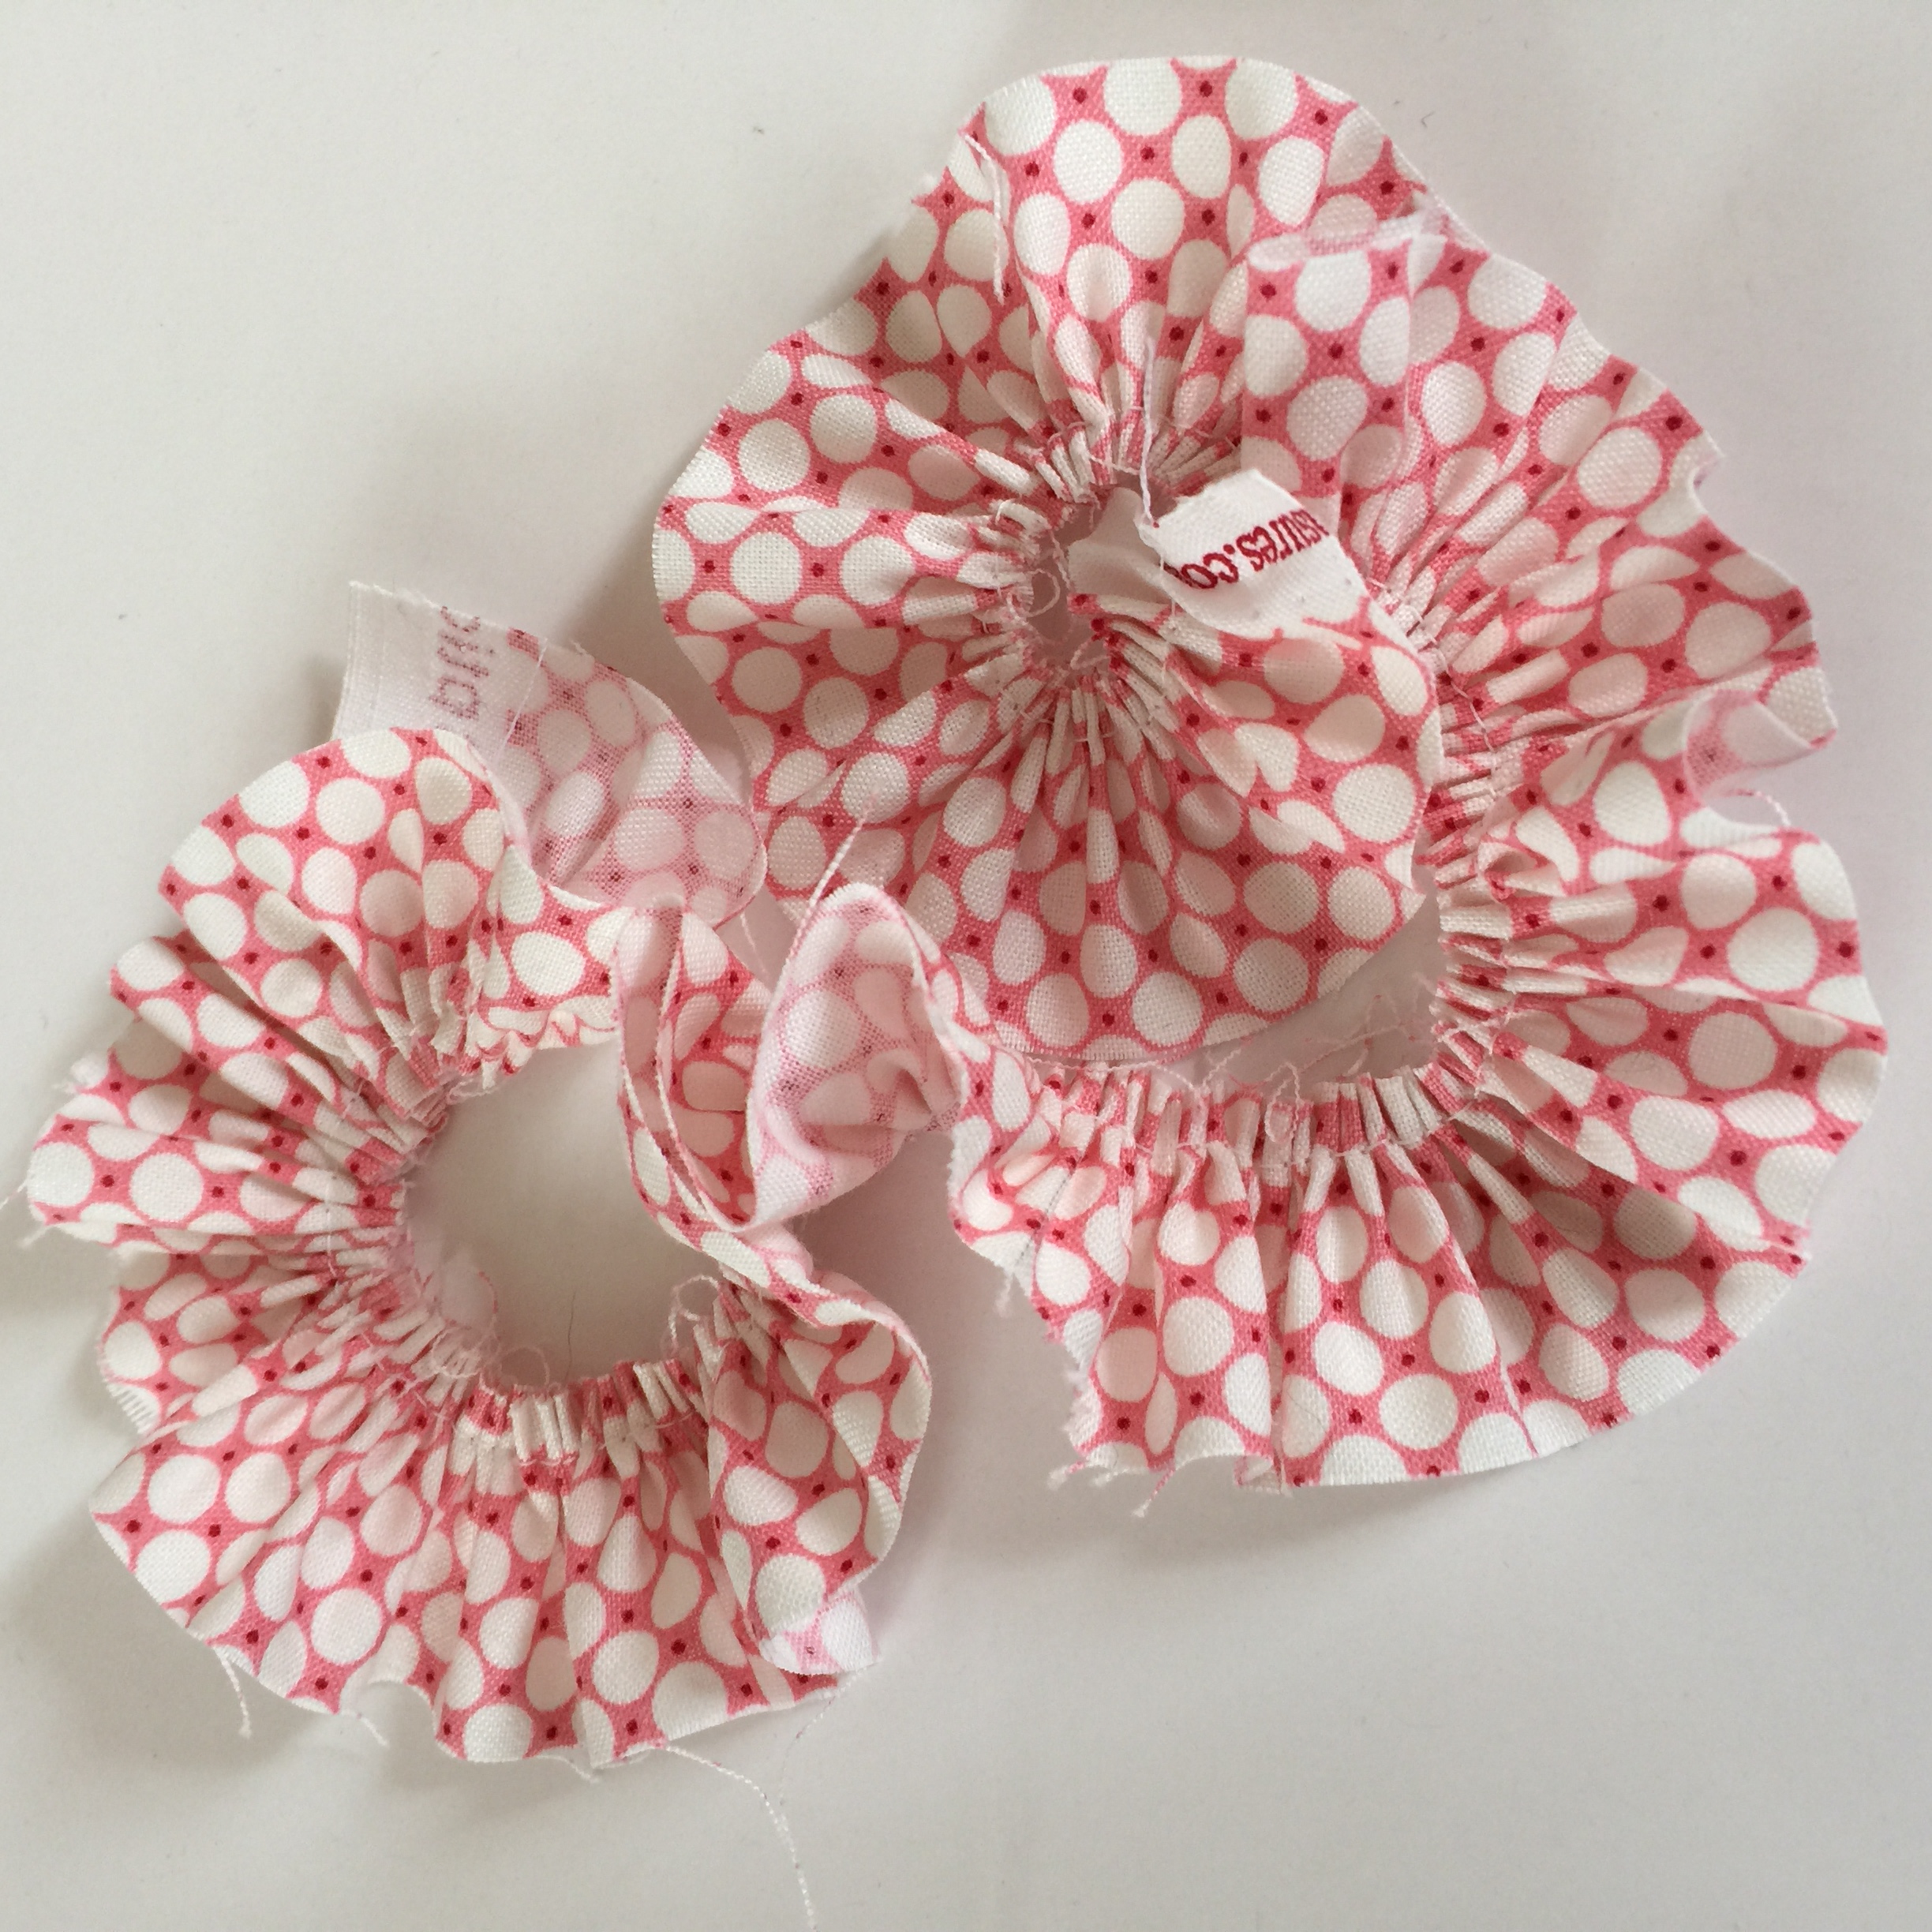
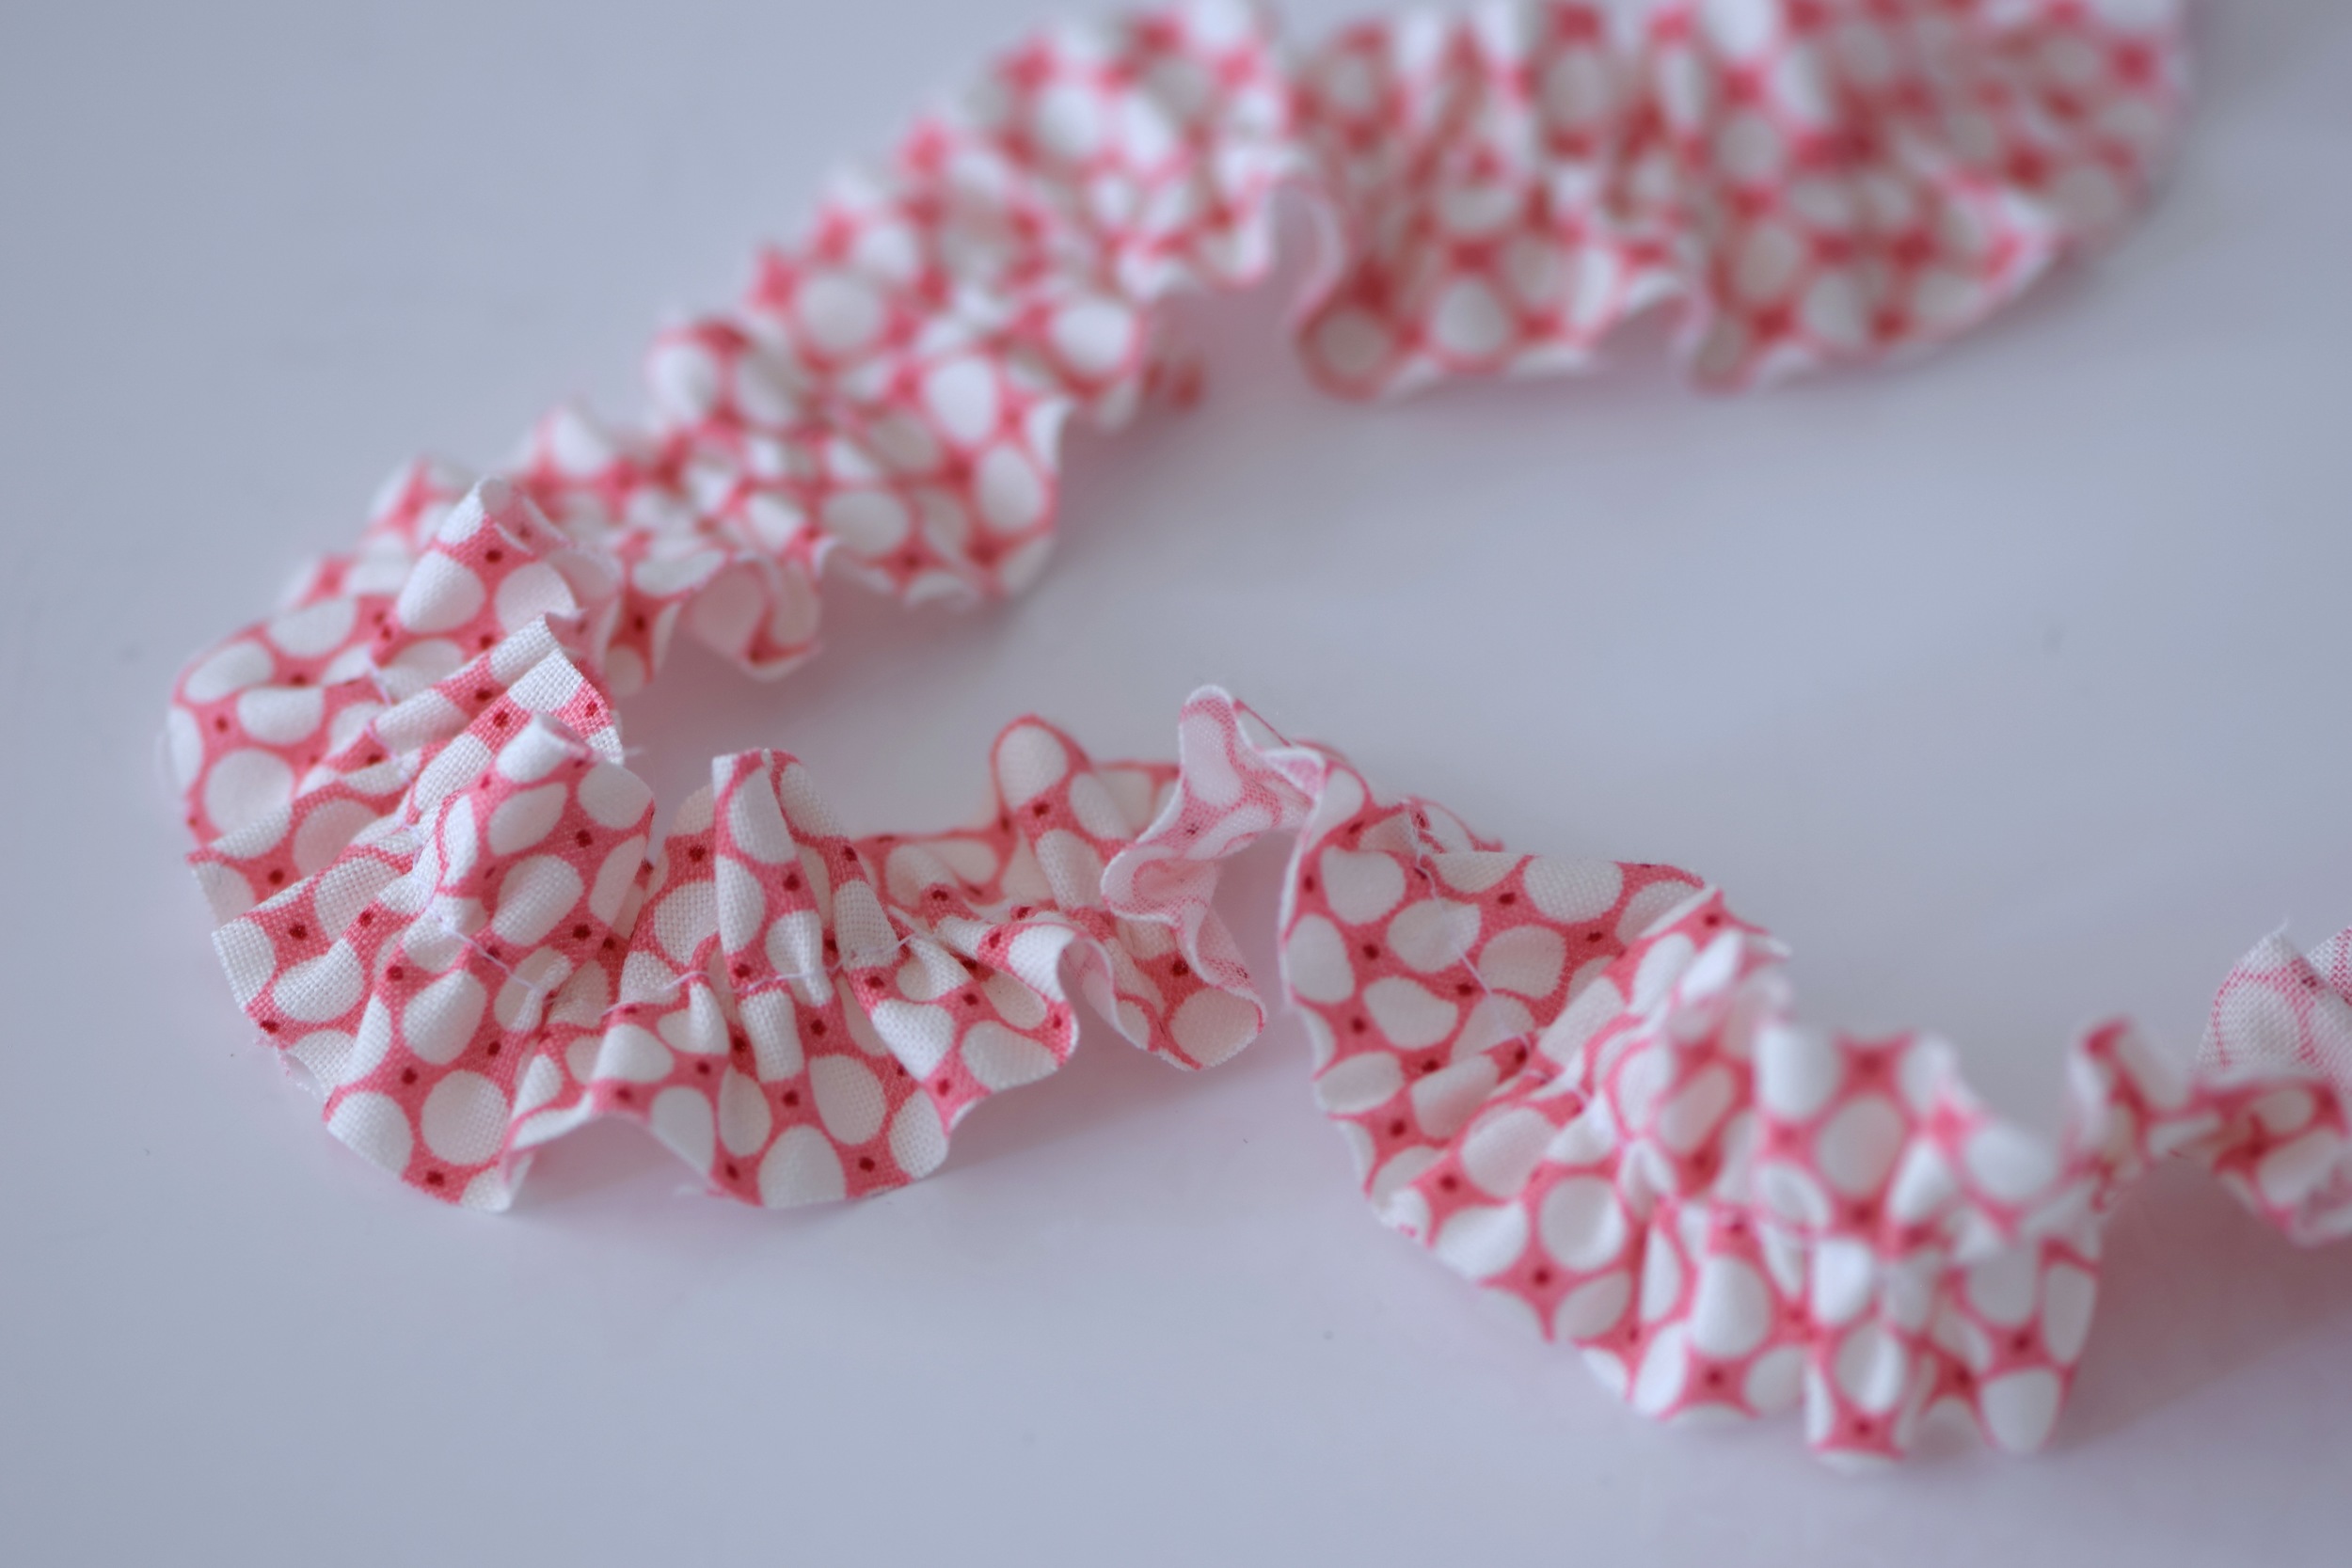
An example of nice even ruffles from a Ruffler Foot
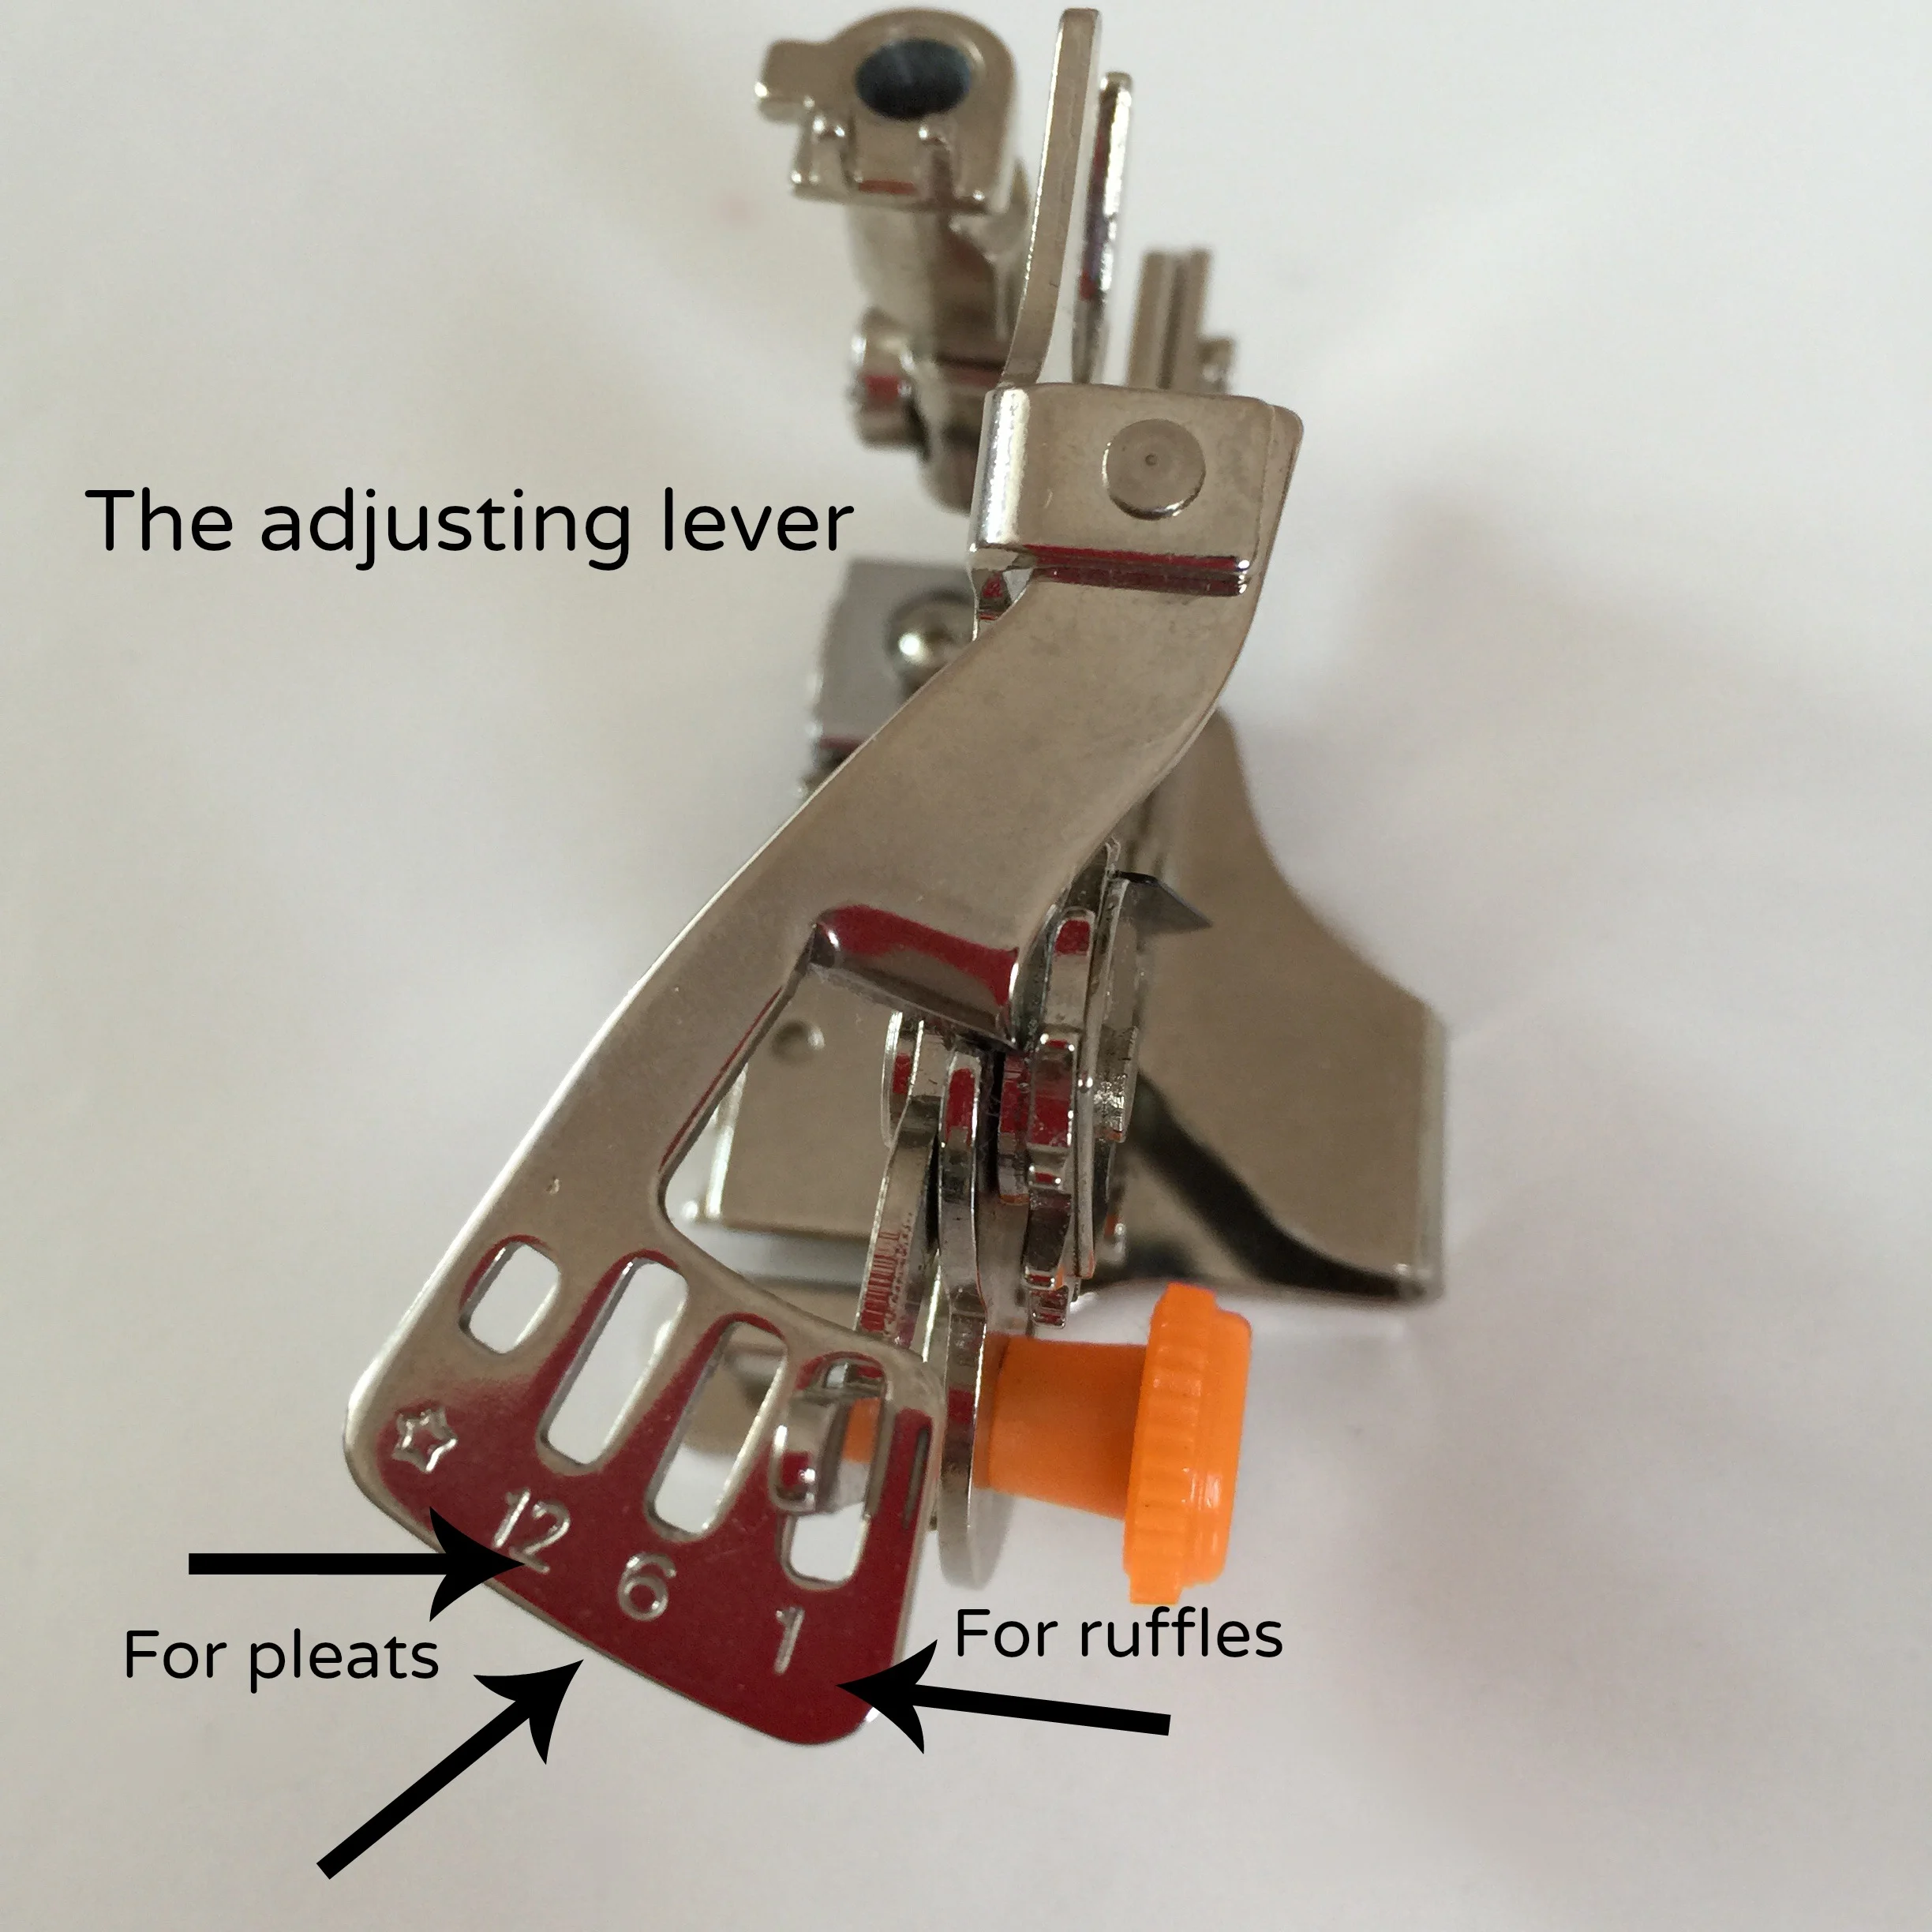
Adjusting the gathers or pleats
There are two adjustments that can be made on the ruffler:
The adjusting lever sets for ruffles/gathers or pleats. Slot 1 is for gathers, slot 6 and 12 are for pleats. 6 makes pleats 6 stitches apart. 12 for 12 stitches apart.

The Adjuster lever for pleats or gathers
The adjusting indicator regulates how full or deep each pleat or ruffle is. 8 is the deepest) gives only a slight gather.
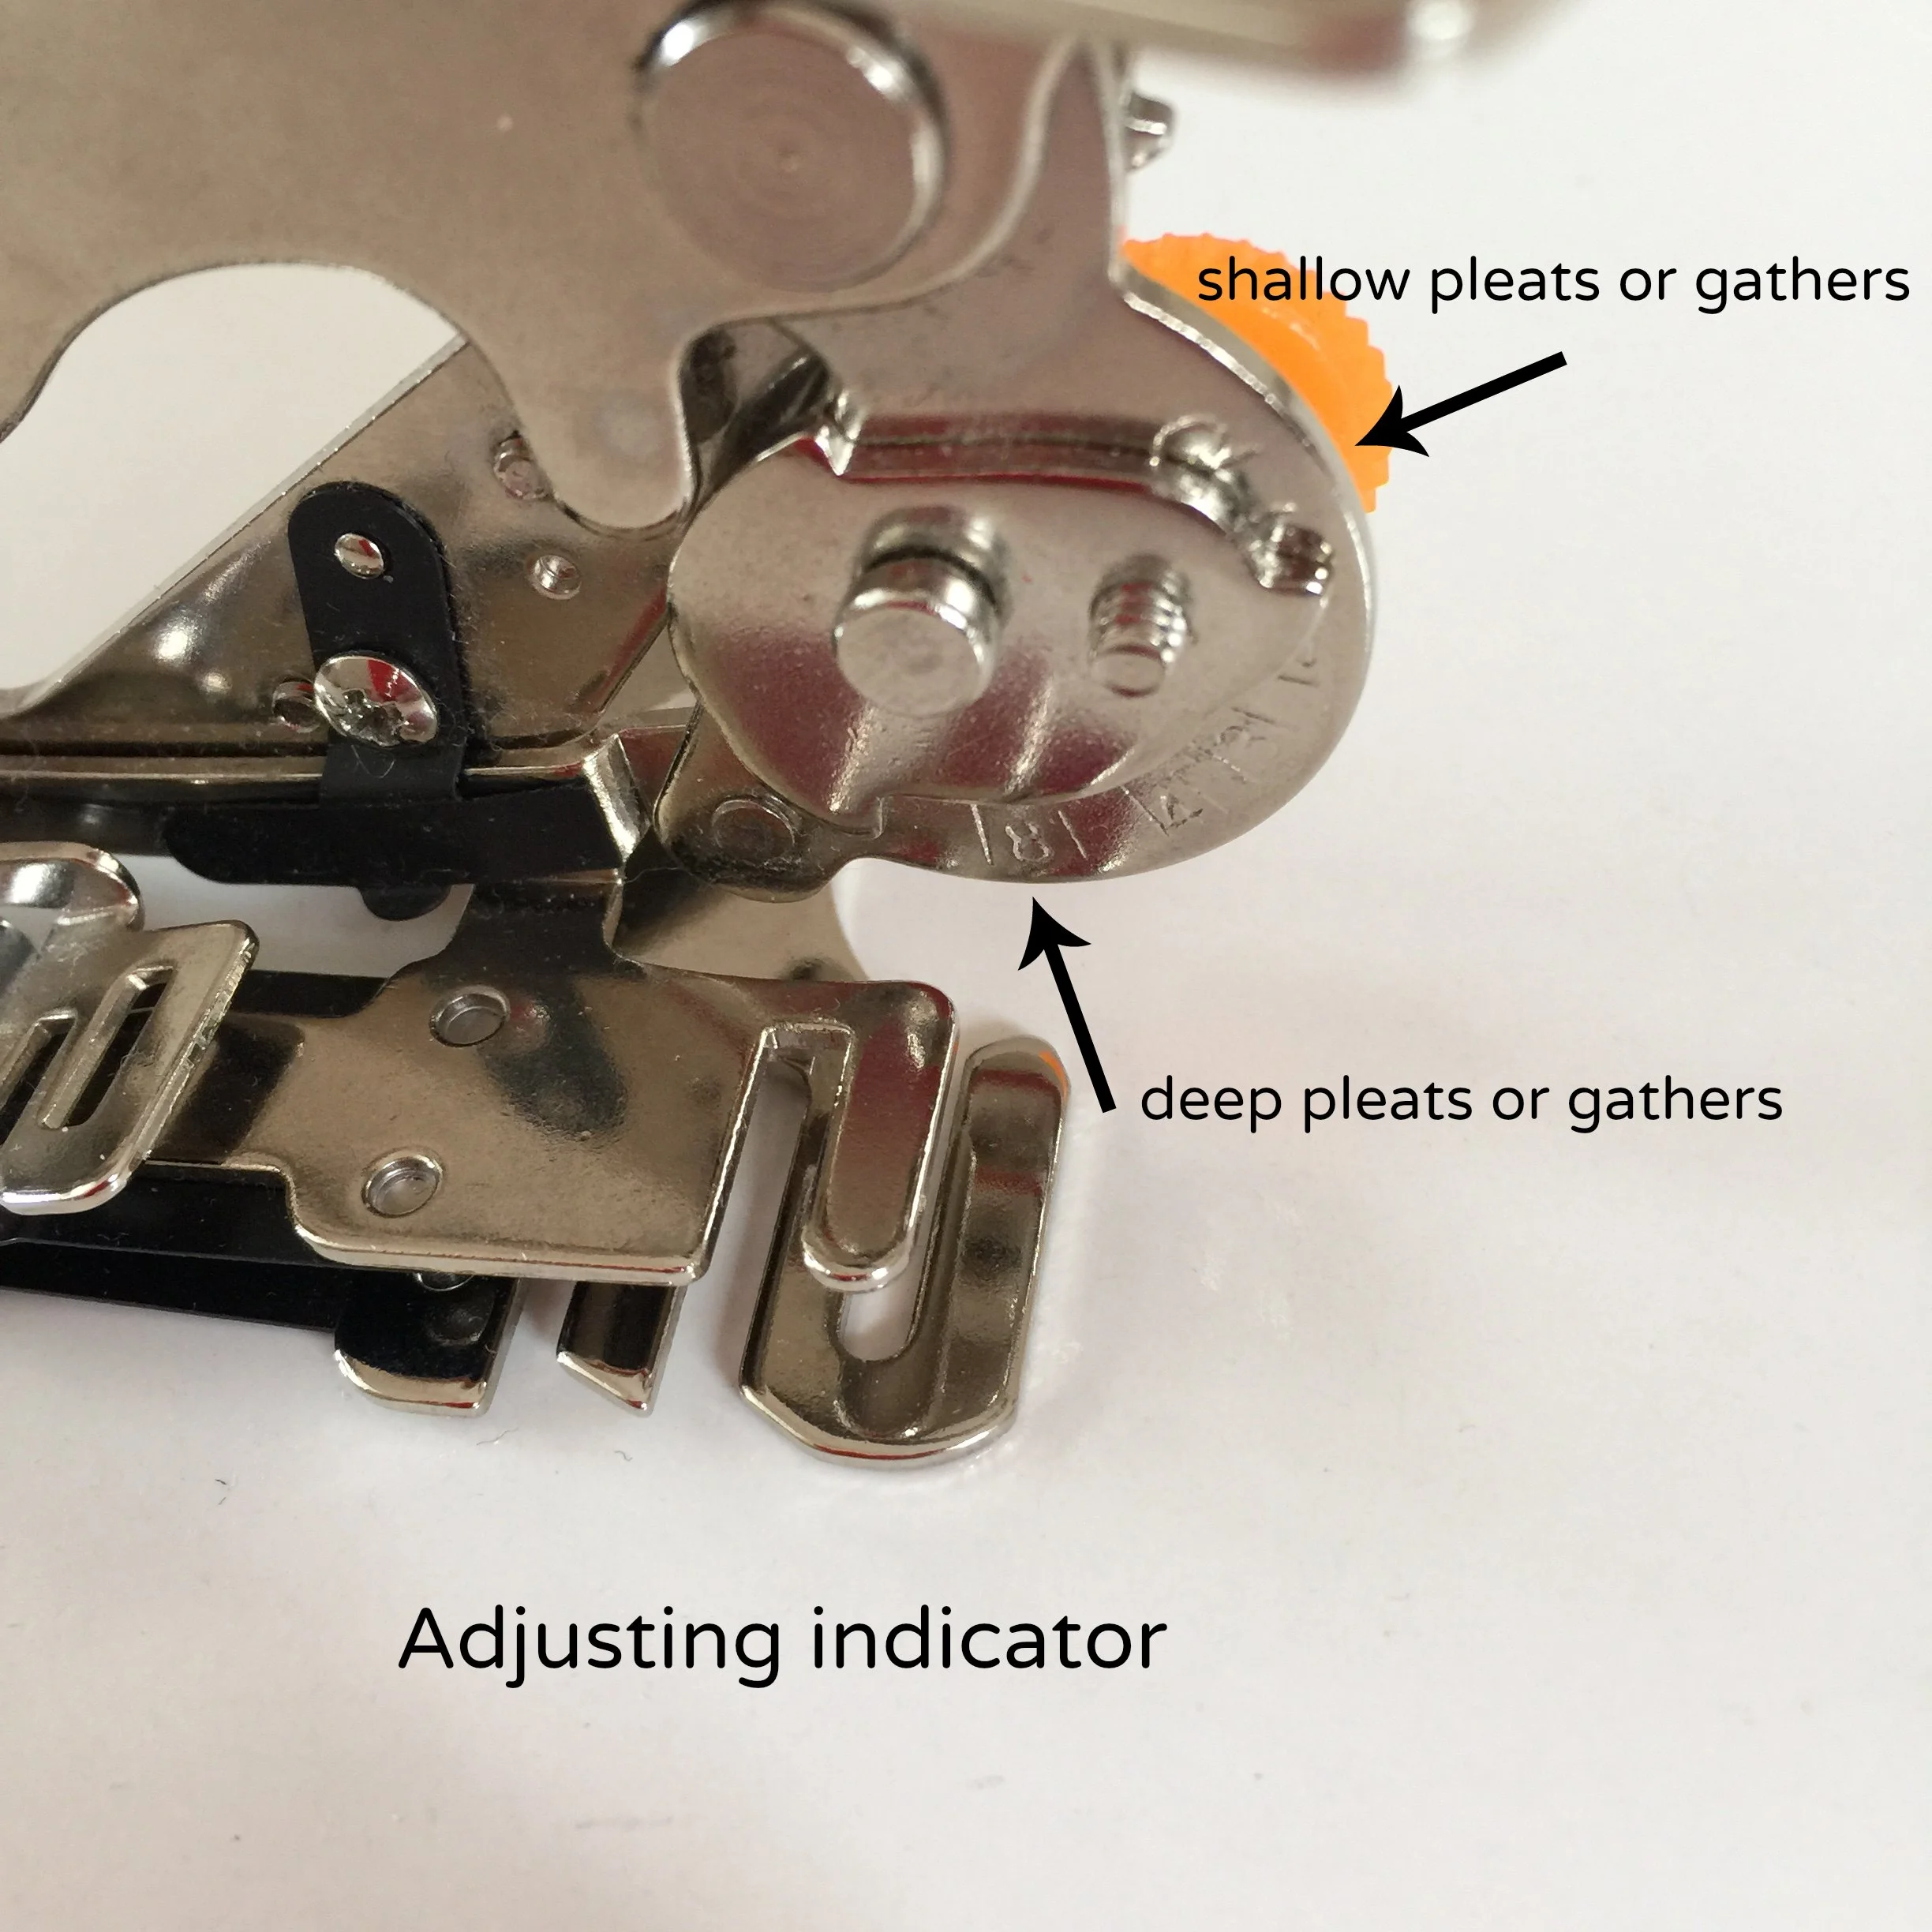
The adjusting indicator for fullness or depth
The diagram below shows how to place your fabric in the ruffler.
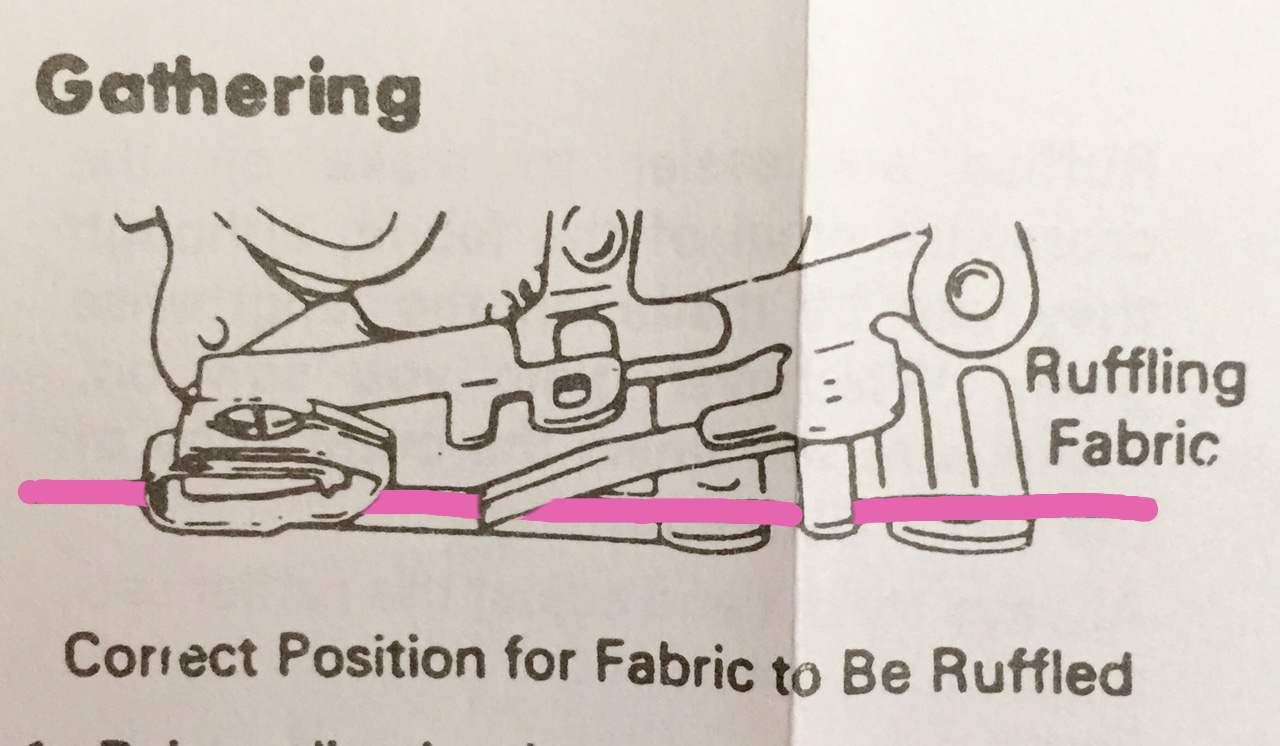
How to place your fabric
Once it’s in. Just sew and watch the ruffles appear. Watch:
Where can you find a ruffler?
A ruffler does not come with the sewing machine but you can buy one for most sewing machines. They are sold at sewing machine stores and on eBay. The average ruffler costs about $20-$25.


