Last week, you learned reversible dress. From the photos I have received, at least some of you got that down fairly easily. This next dress uses a few skills learned from that dress for a new style of dress—a dress with a bodice and gathered skirt.

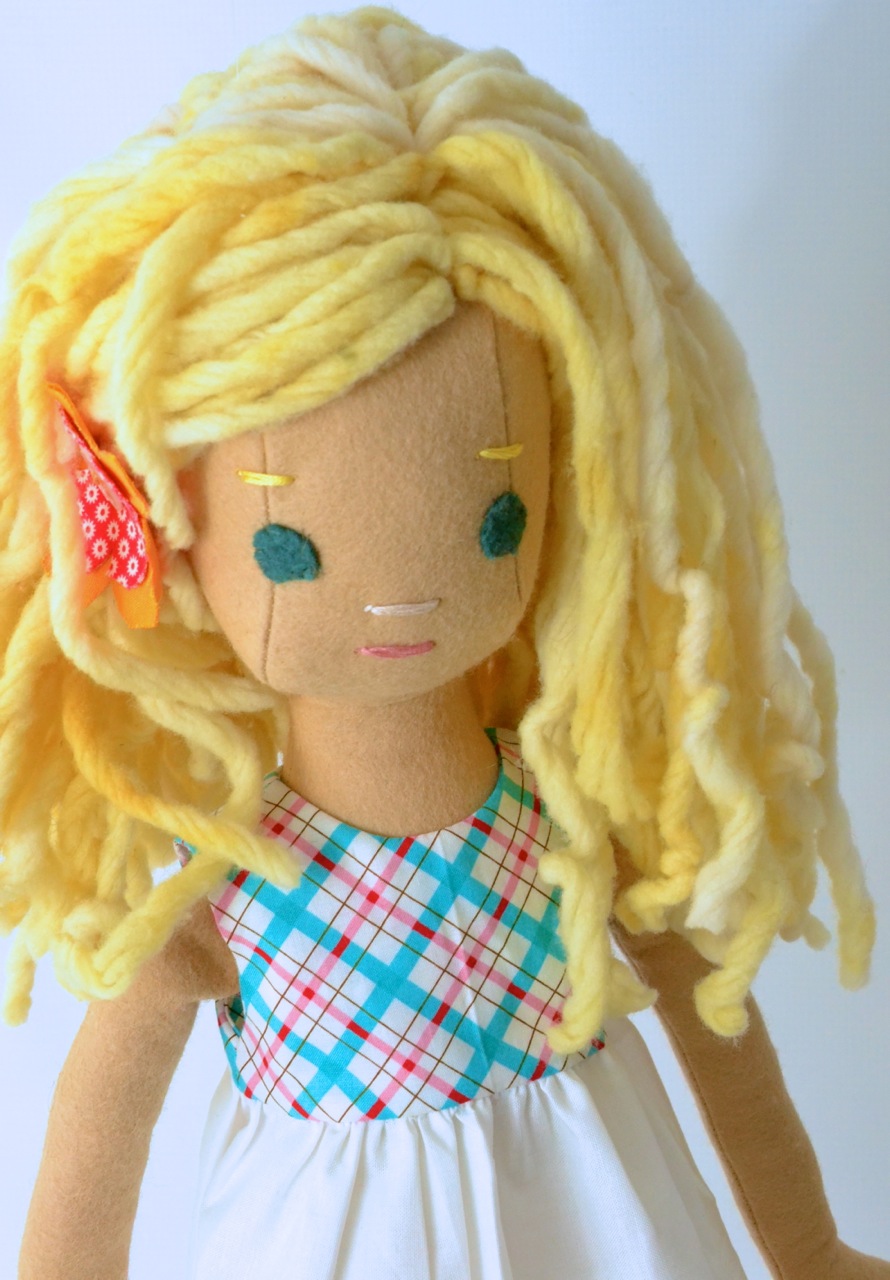
Doll Dressmaking: A dress with a bodice and gathered skirt.
The bodice pattern piece can easily be made from your basic dress pattern. Choose where you want your bodice to end and end the pattern piece about 1/3 of an inch beyond that.
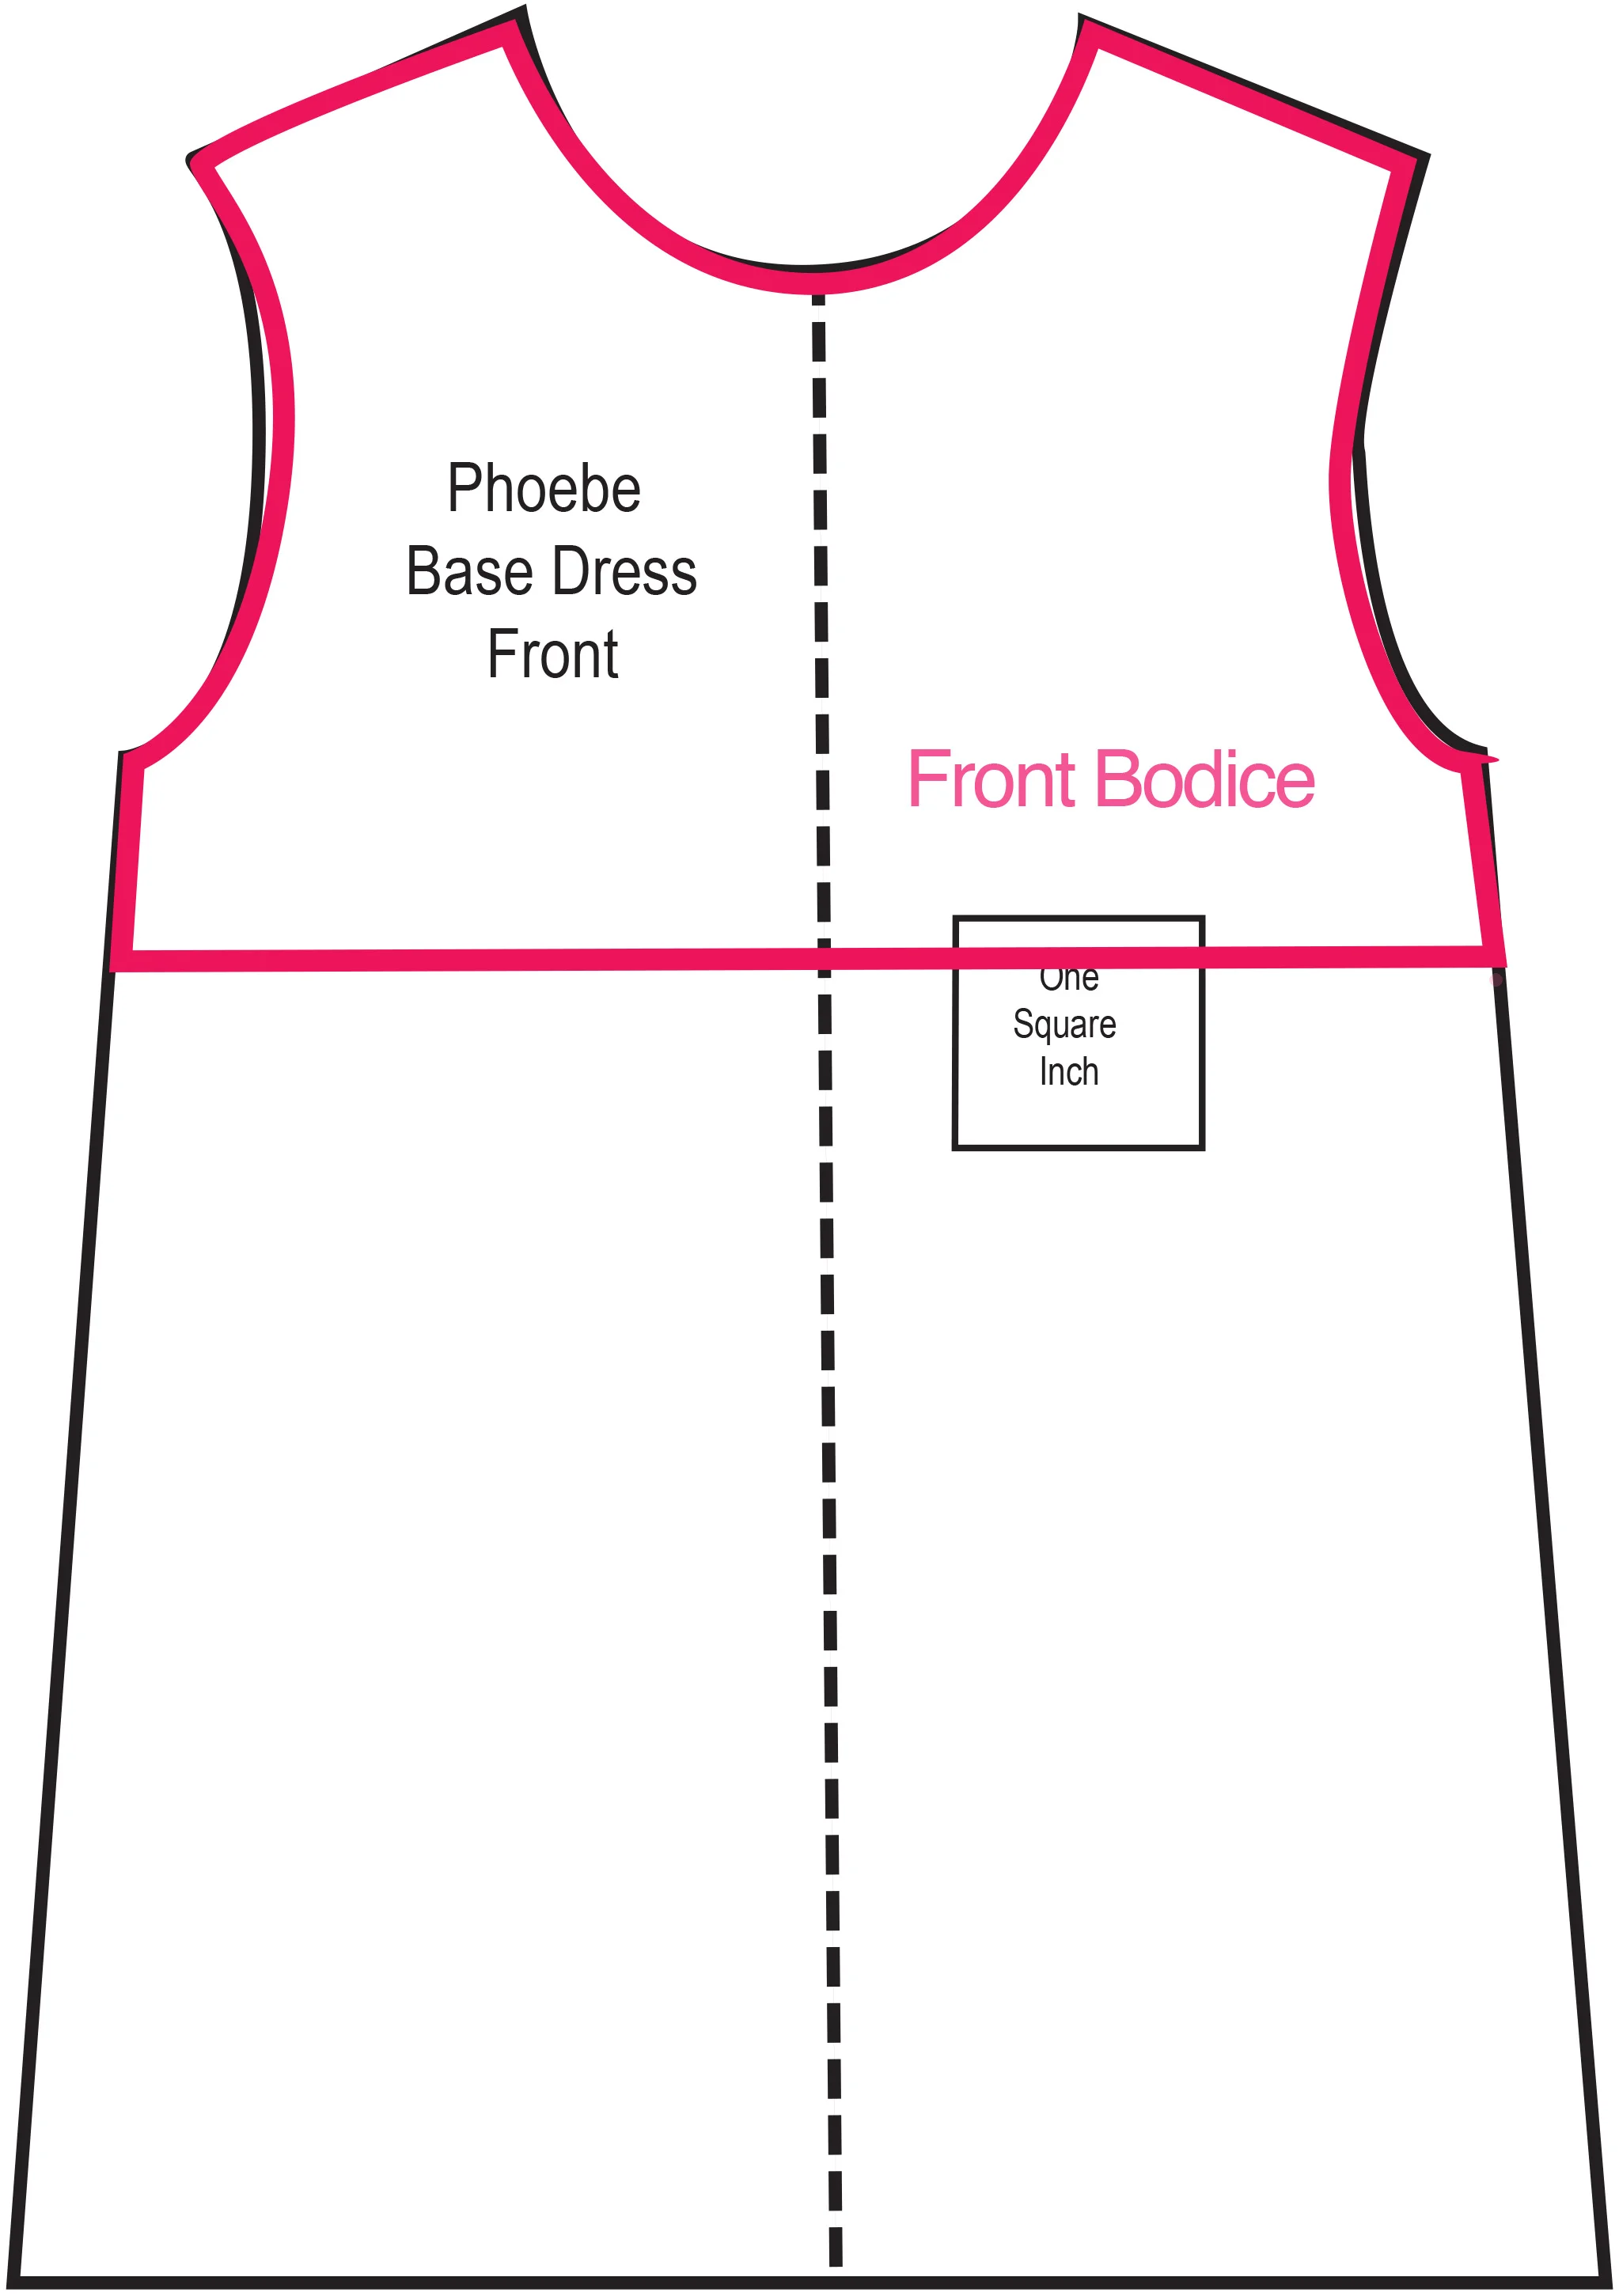
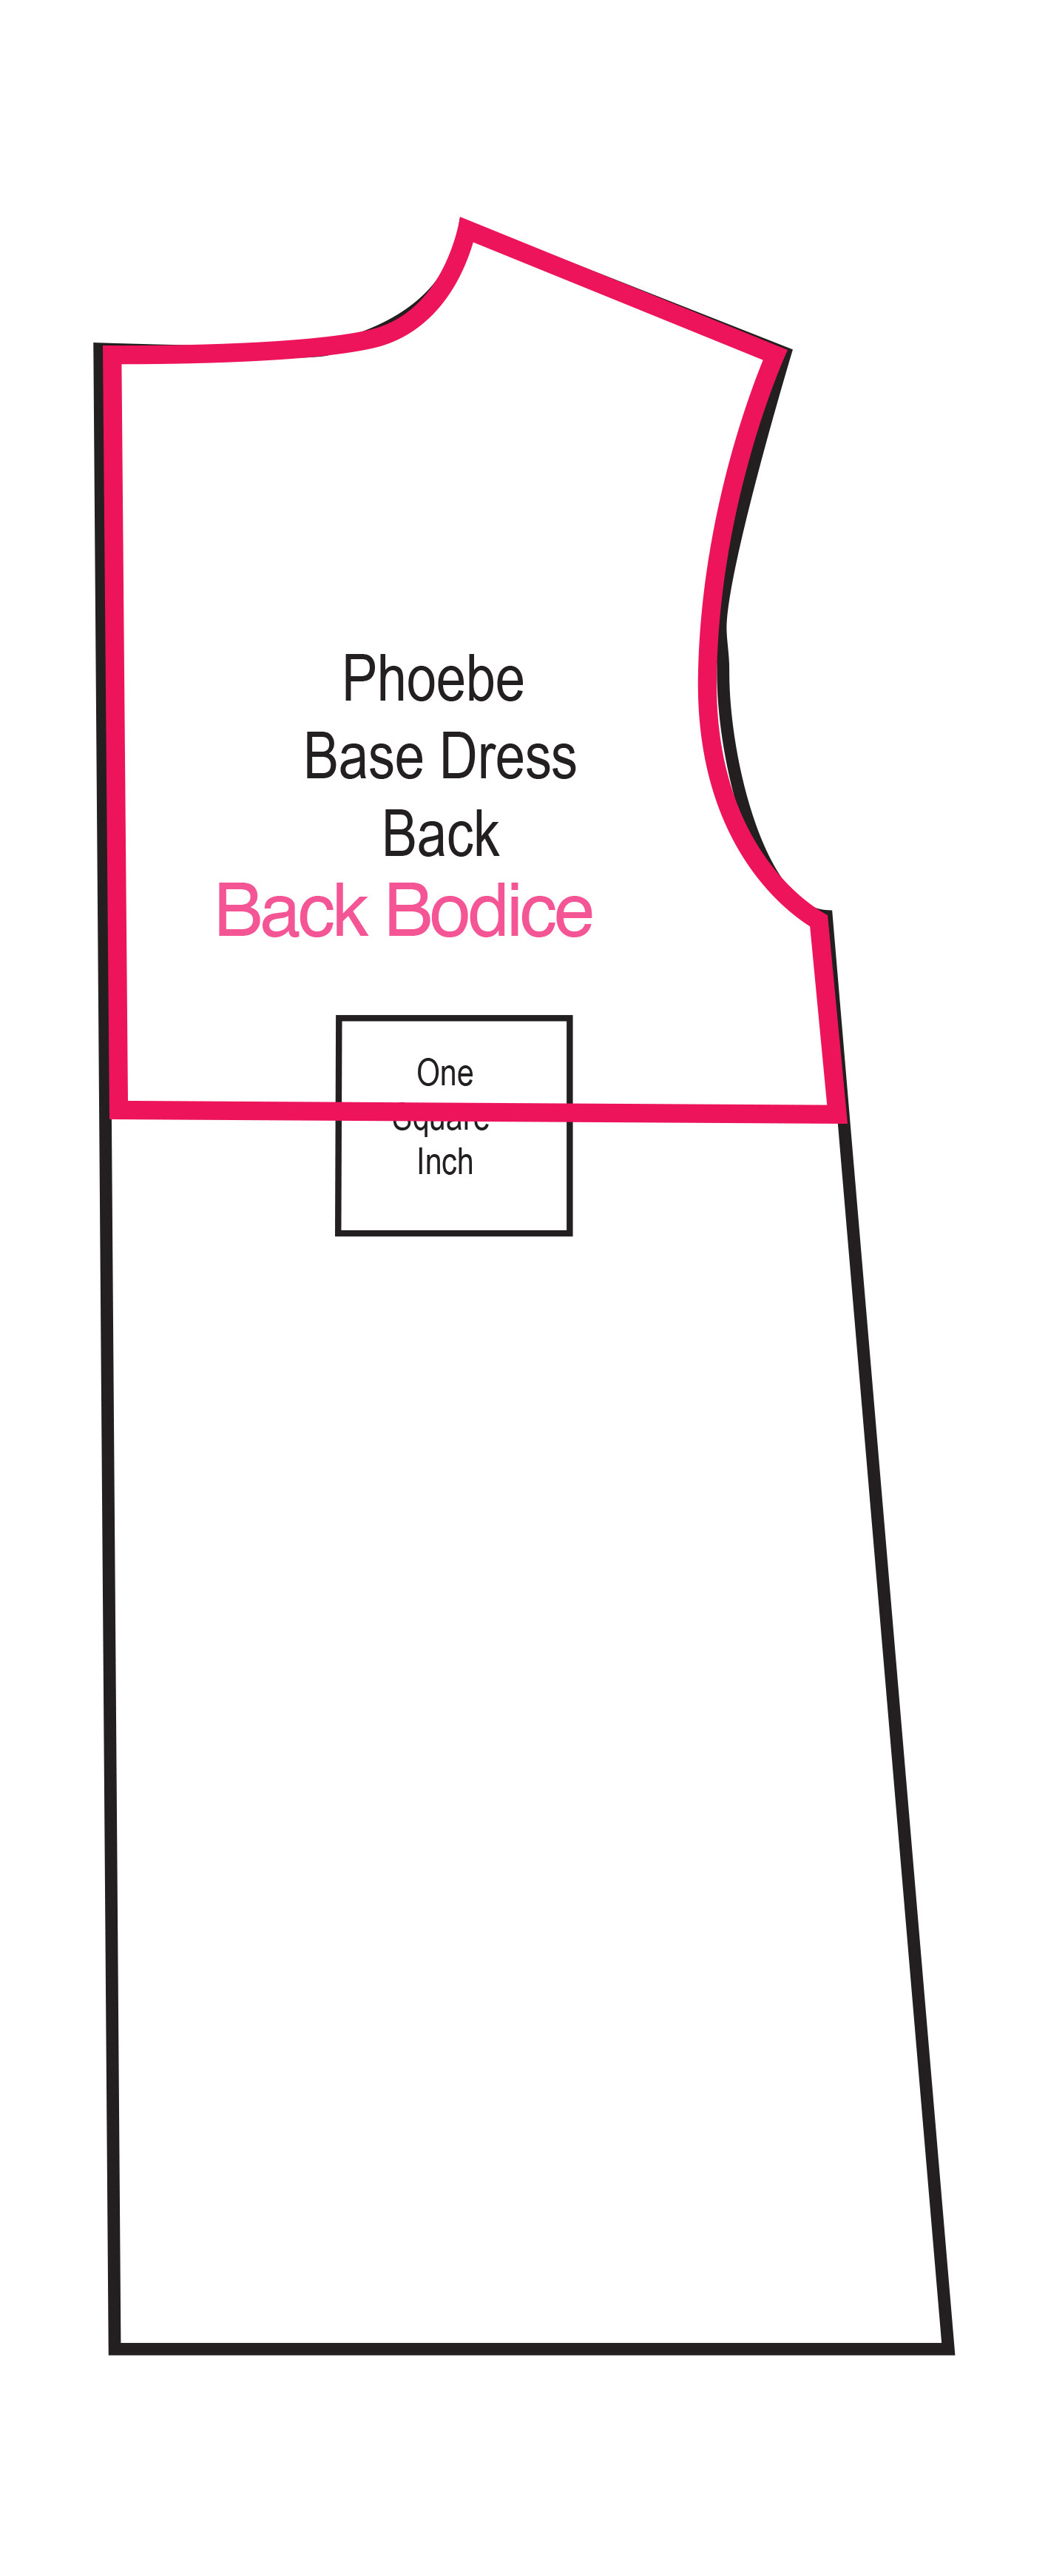
You will end up with two bodice pieces, one for the front and one for the back. You will need two of each, because you will be making a lining for the bodice.

The pattern piece for your skirt is basically a rectangle. For Phoebe I used a 10.5"x8" pattern piece, to be placed on the fold. this will give me a 21 x 8" piece of fabric for the skirt.
For the Waldorf Doll and the American Girl Doll I would make the skirt pattern piece 12"x8". The 8 inch side will go on the fold, giving you a 24"x8" skirt.
Ultimately the skirt size will come down to taste, how full do you like your gathering, how long do you like the skirt? I don't like my gathering very full.
Start by making the bodice.
1. Pin and cut two bodices, one for the outside, one for the lining. I used the same fabric for both, but you switch it up.
2. sew all four shoulder seams.
3. Press.
Click to enlarge.
1. Sew neck and back edges and armholes as you did in the lined reversible dress tutorial. Right sides together.
2. Turn right side out. Press.
3. Sew side seams as you did in the reversible dress.
Click to enlarge
Finish the two 8 inch edges of the skirt. these will be a part of the back closing of the dress.
1. Iron each edge over 1/4 inch.
2. Fold over again and stitch.
Click to enlarge
Next is gathering the skirt:
1. Set your machine stitch to its longest length. On most machines, it is 5.
2. Start your first line os stitches by reversing for a few stitches, as you would most seams, to secure the stitching. But do not secure the end of the stitching. Instead leave a long thread that you can grab and pull.
3. An eighth of an inch away, repeat. You now have two rows of long stitches, secured at the beginning, with long threads at the end.
4. Take the two threads from one side of the fabric (depicted in red on my sewing) and gently pull.
5. Pull the threads until the skirt is gathered and the same length as the bottom of the bodice. Even out the gathers.
Still confused by gathering:
Craft Cupboard has a good tutorial.
and so does Craftsy.
Click to enlarge.
1. Secure gathering by winding thread around a pin.
2. Pin gathered skirt to the outside fabric of the bodice. Right sides together.
3. Stitch along the lower row of gathering stitches.
Click to enlarge
1. Fold bodice lining in about 1/4 inch.
2. Hand stitch with a hem (edge) stitch to hold in place, keeping raw edge of skirt tucked in while you sew.
Click to enlarge
Your dress is almost done.
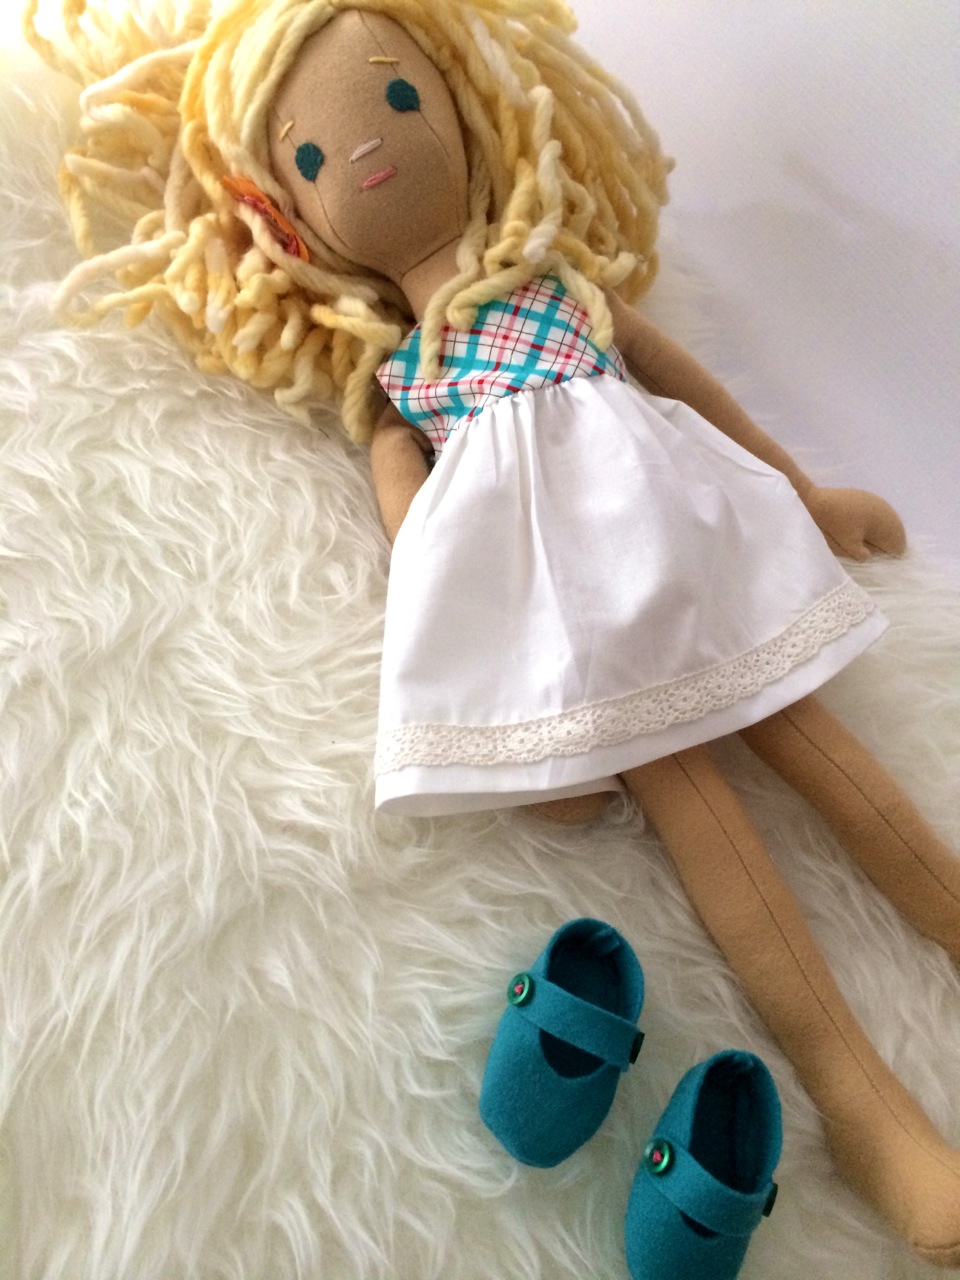
1. Hem to desired length.
2. Press.
3. Add trim if desired.
There are lot of ways to change this dress up. trims, contrasting fabric, the same fabric. Different types of fabric (wool, tulle, silk...
Have fun and send photos!