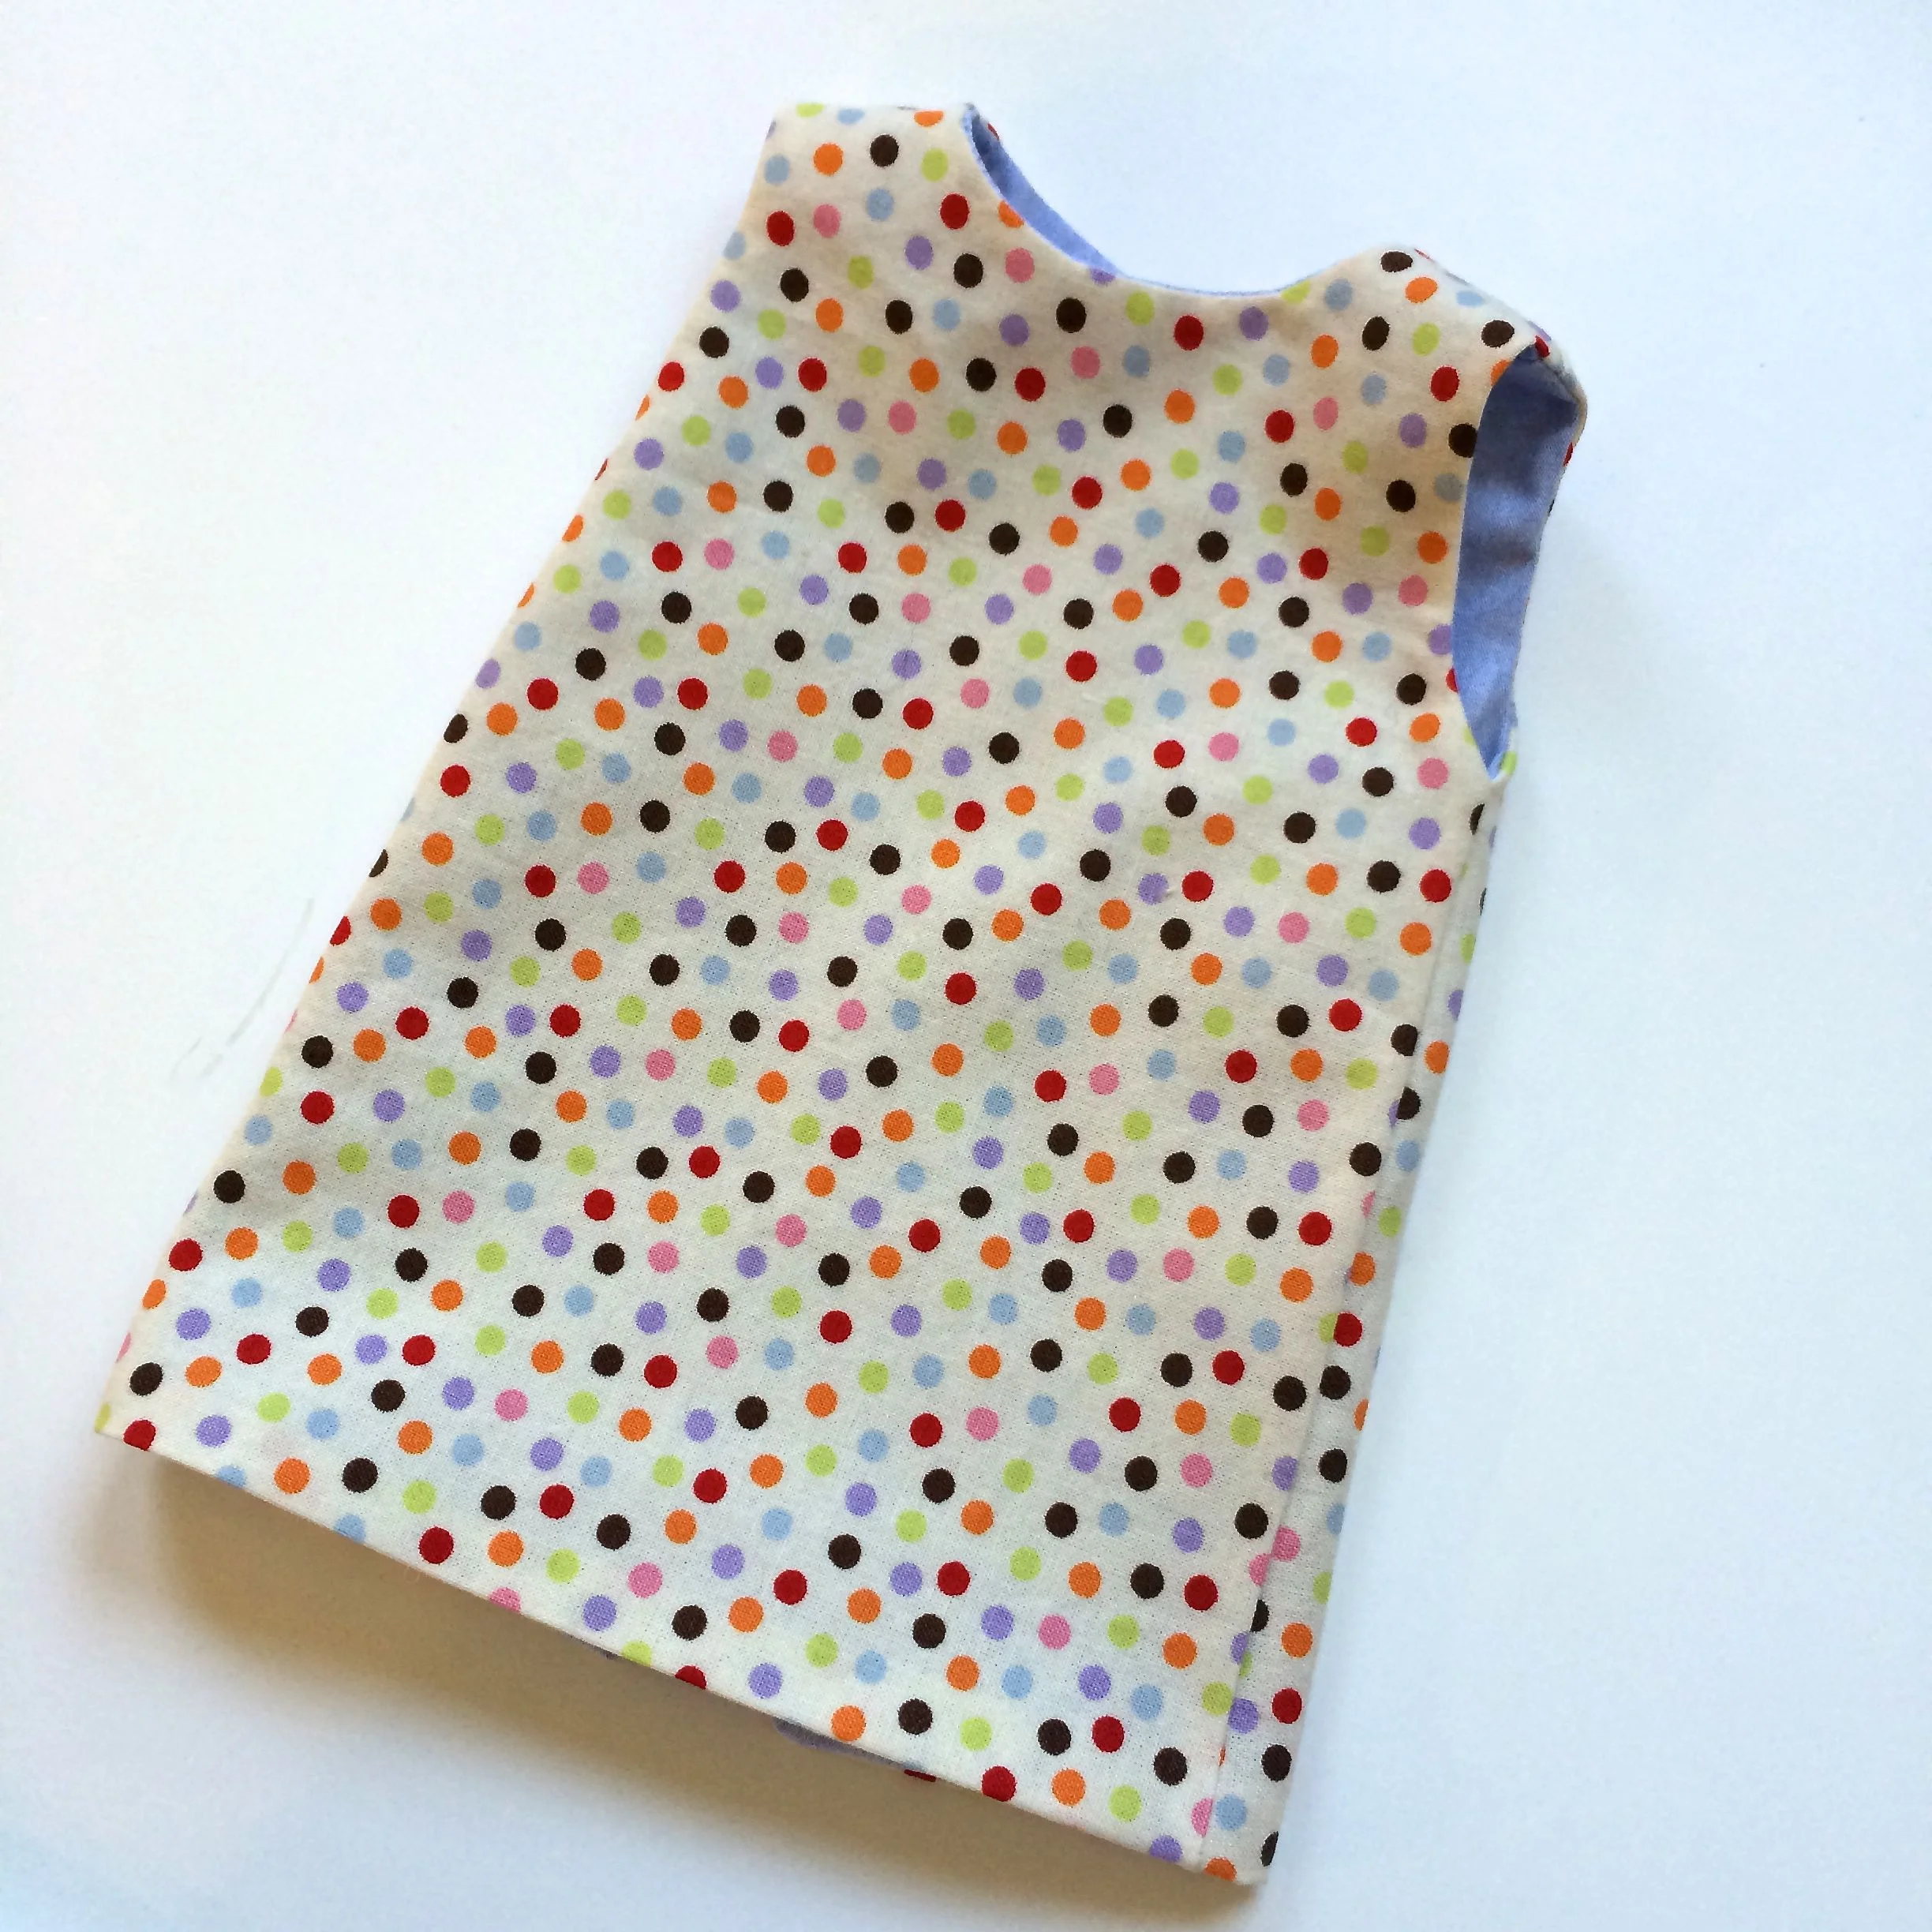
Pockets are often the perfect accent for kids and doll clothing. For kids, a lined patch pocket is easy, the lining makes for easy clean edges.
Doll pockets are too small to line easily. And machine hemming all the edges is tricky for such a small size rectangle.
My trick is to "line" the pockets with tulle.
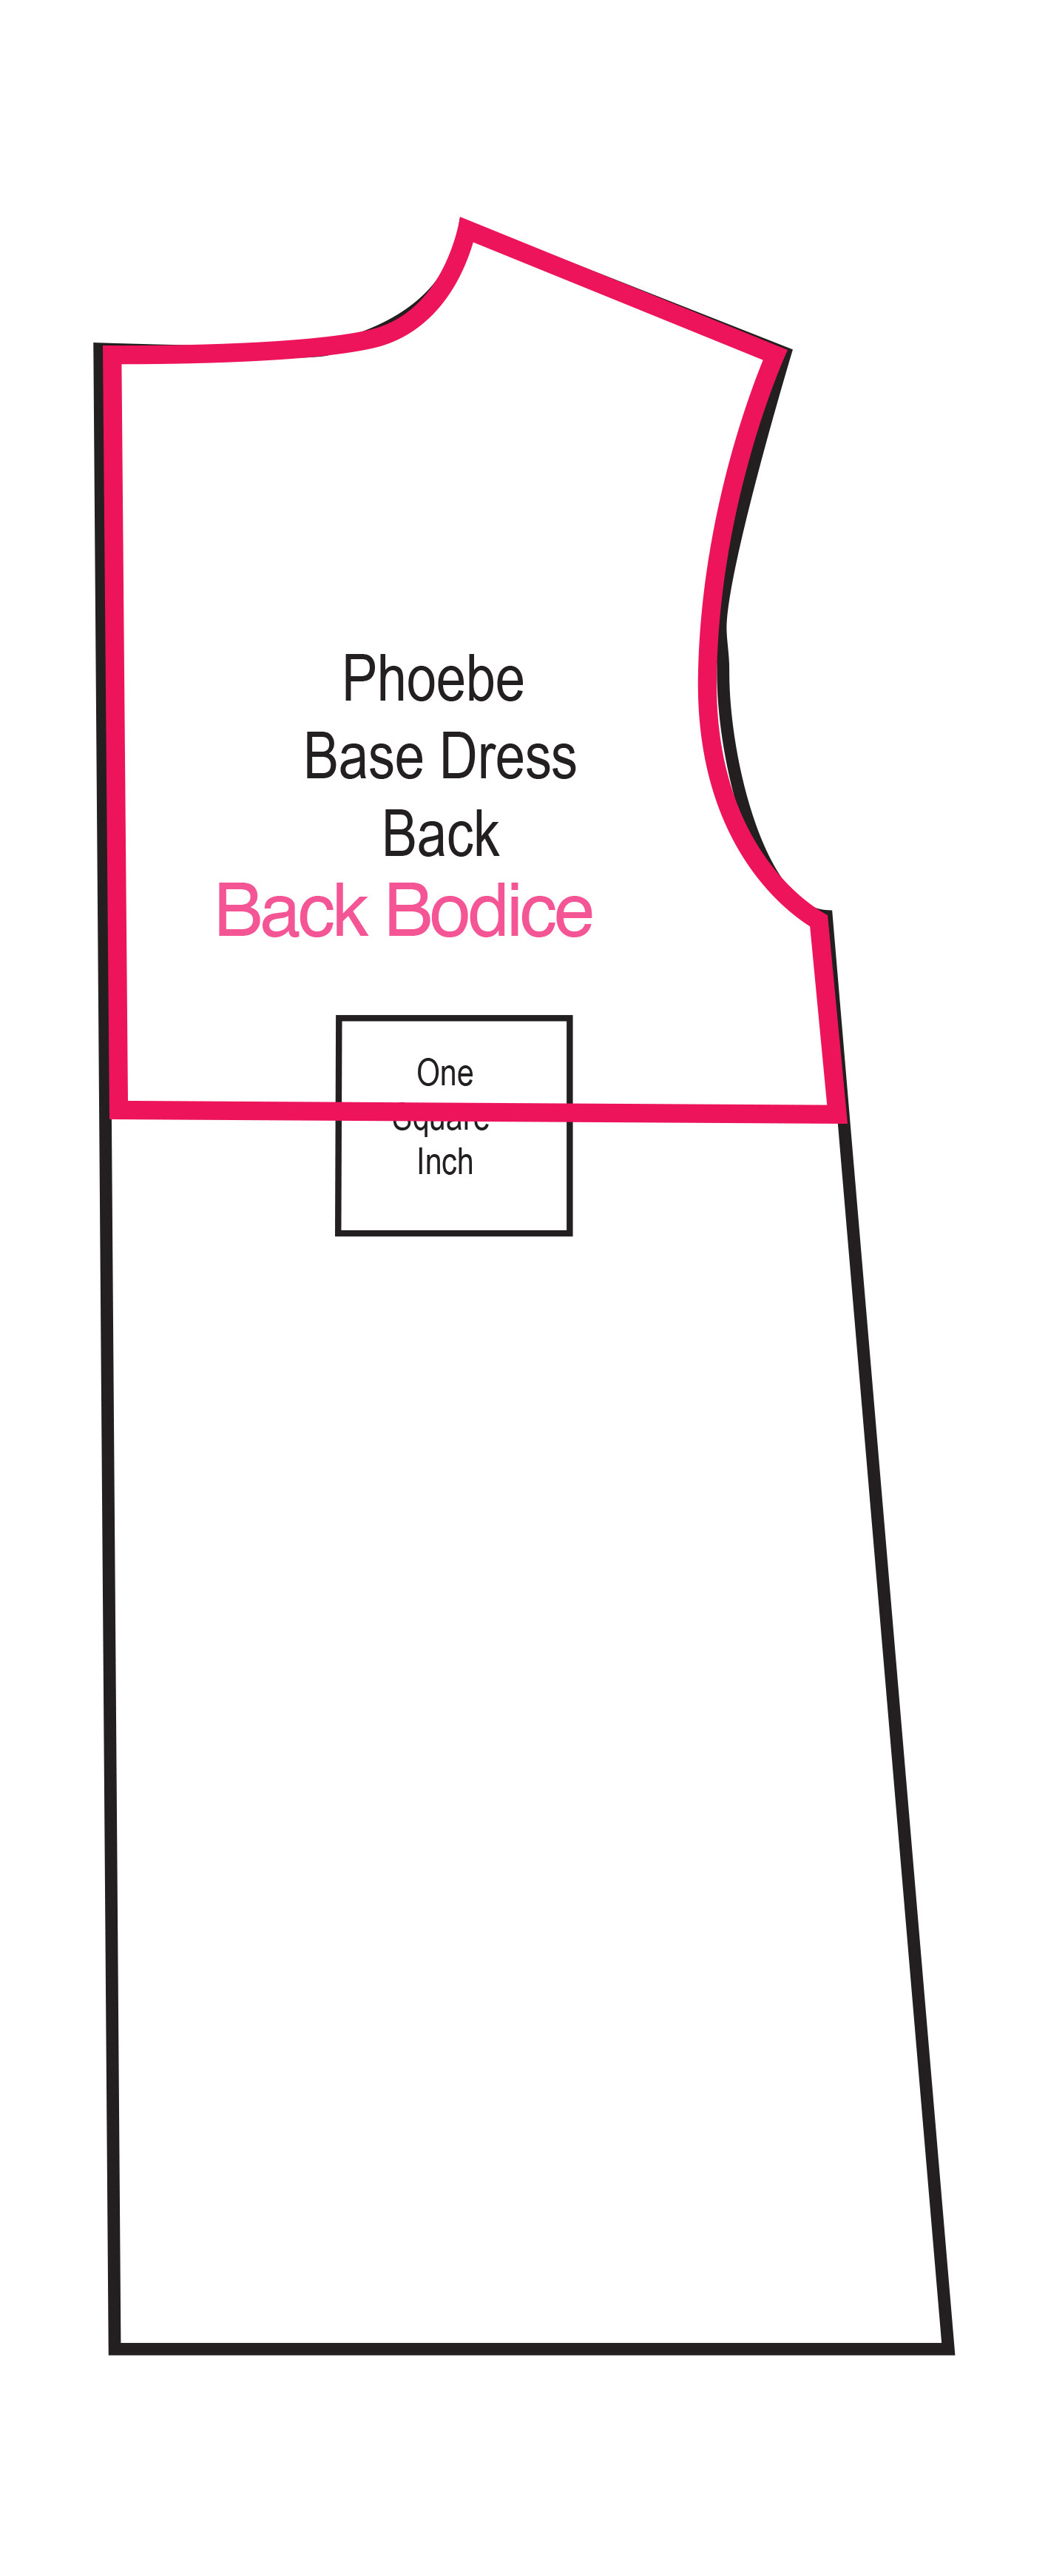
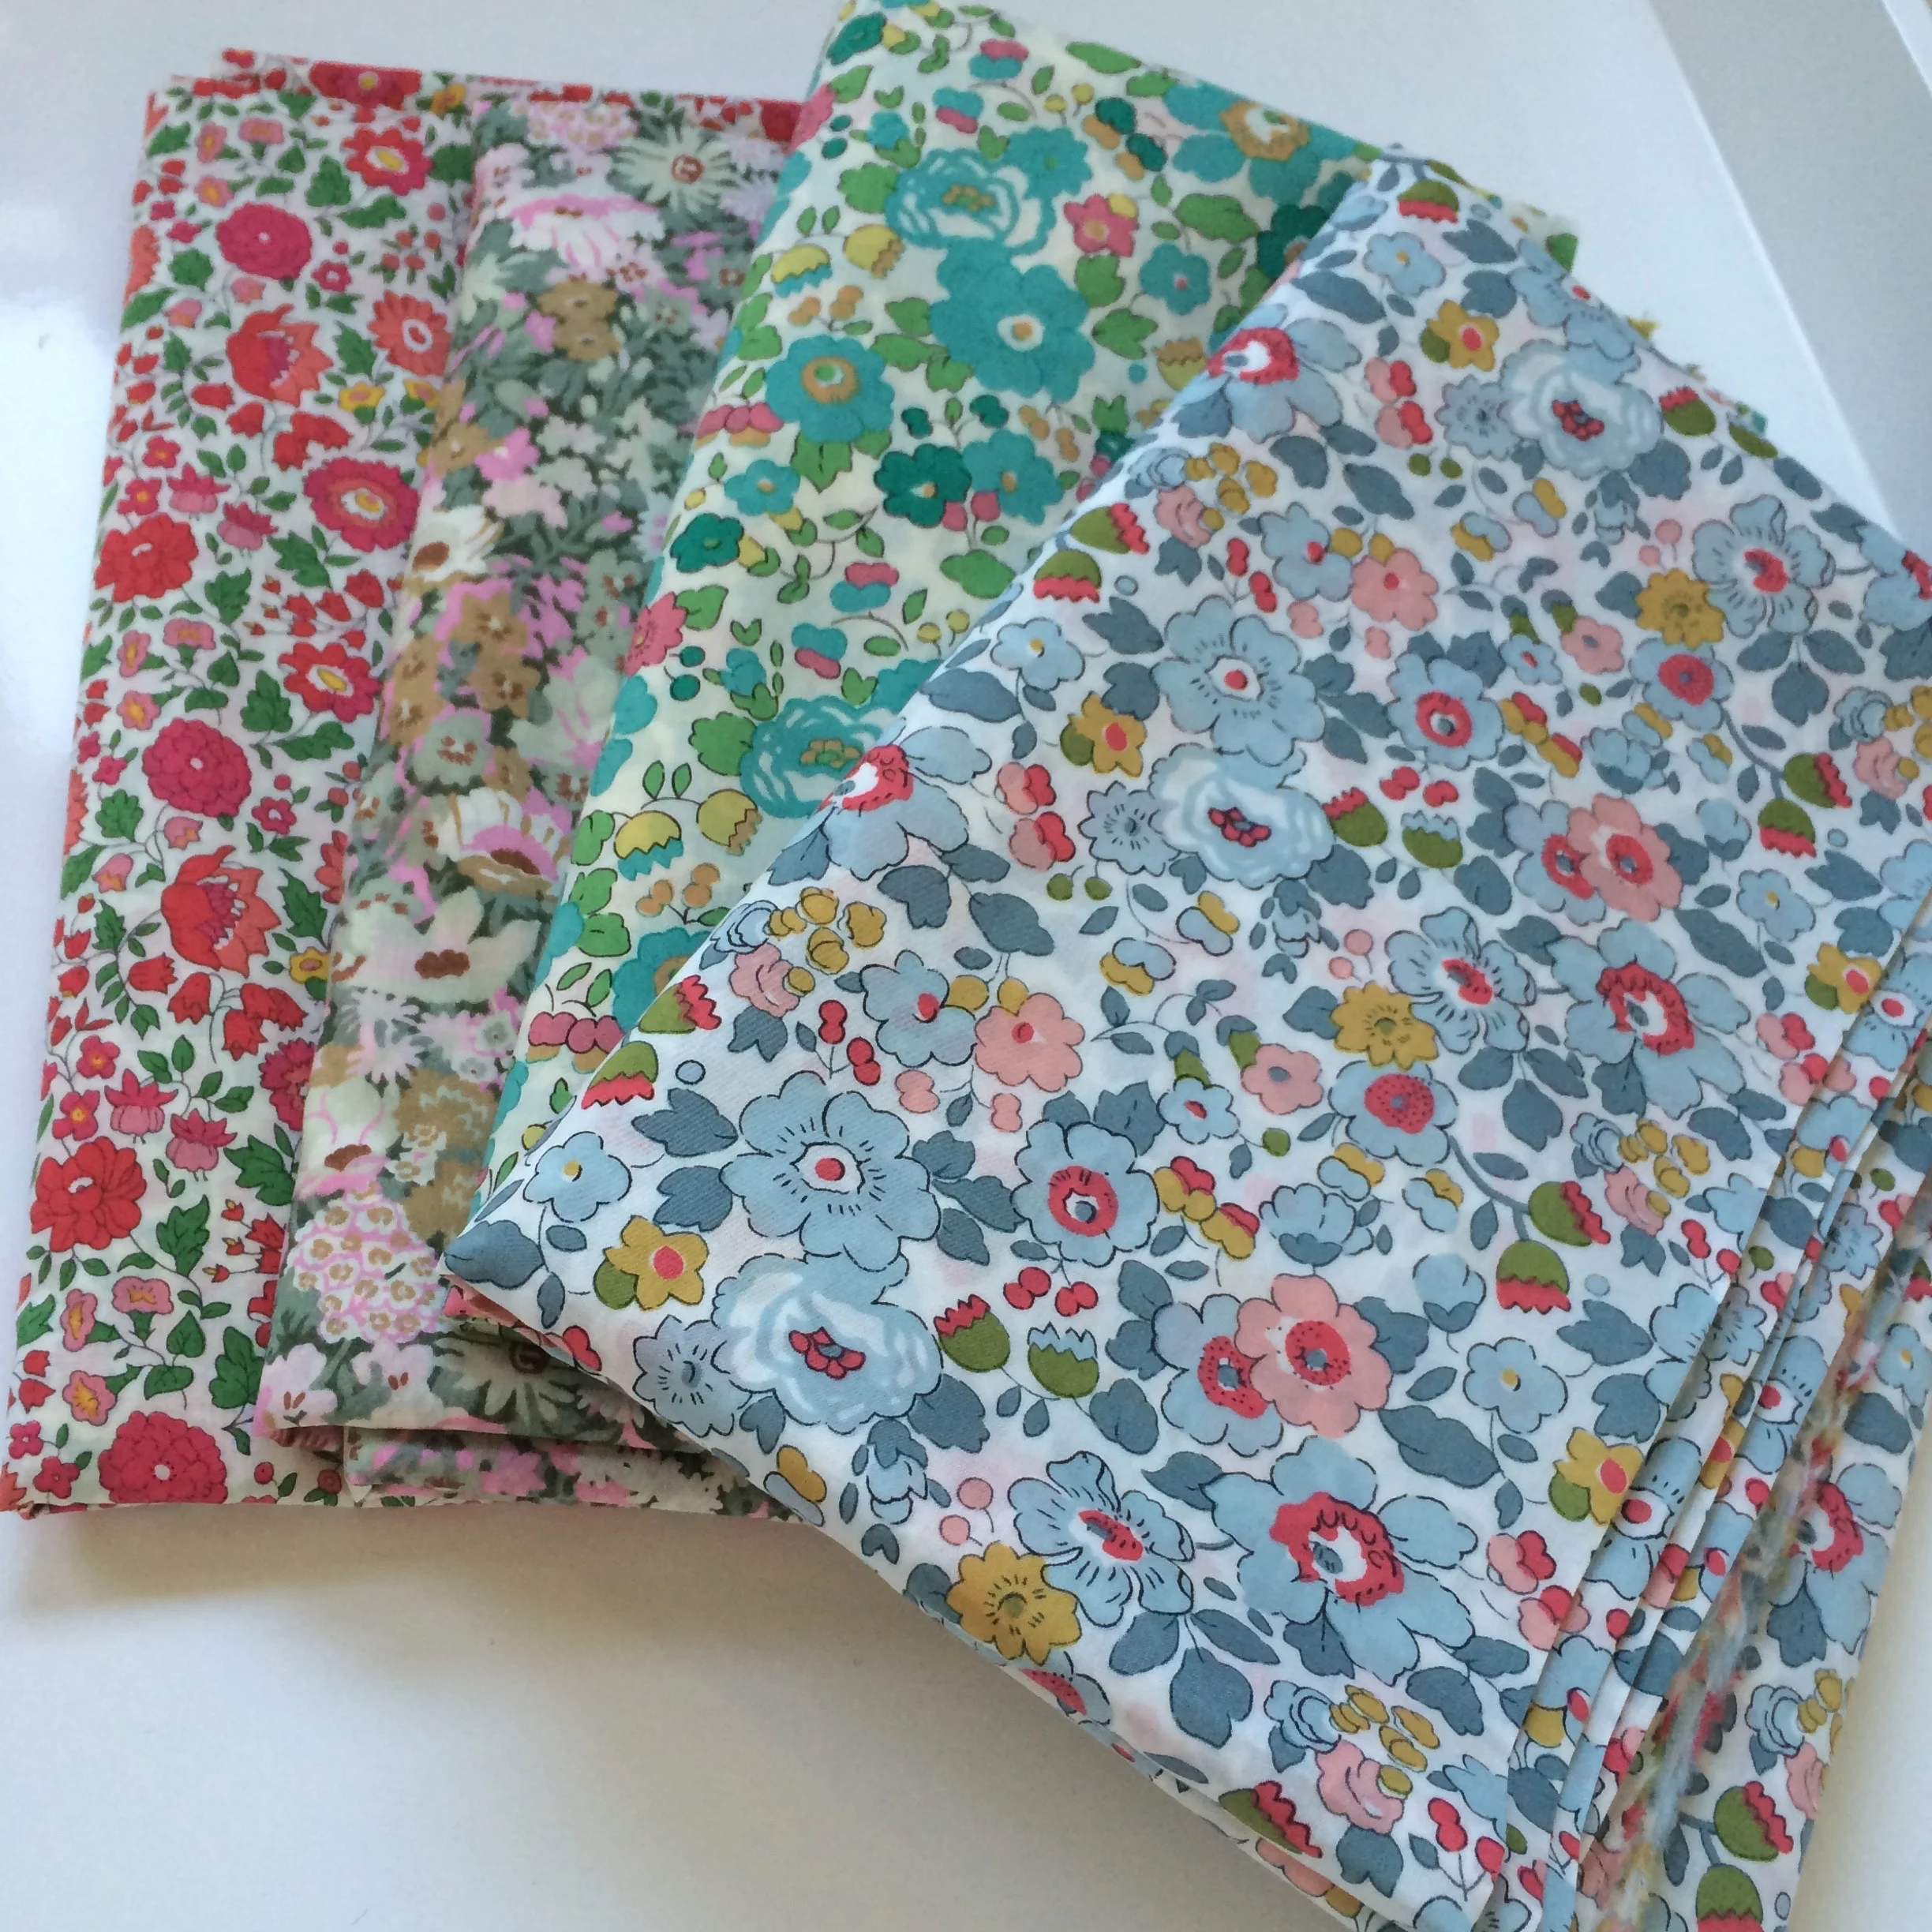
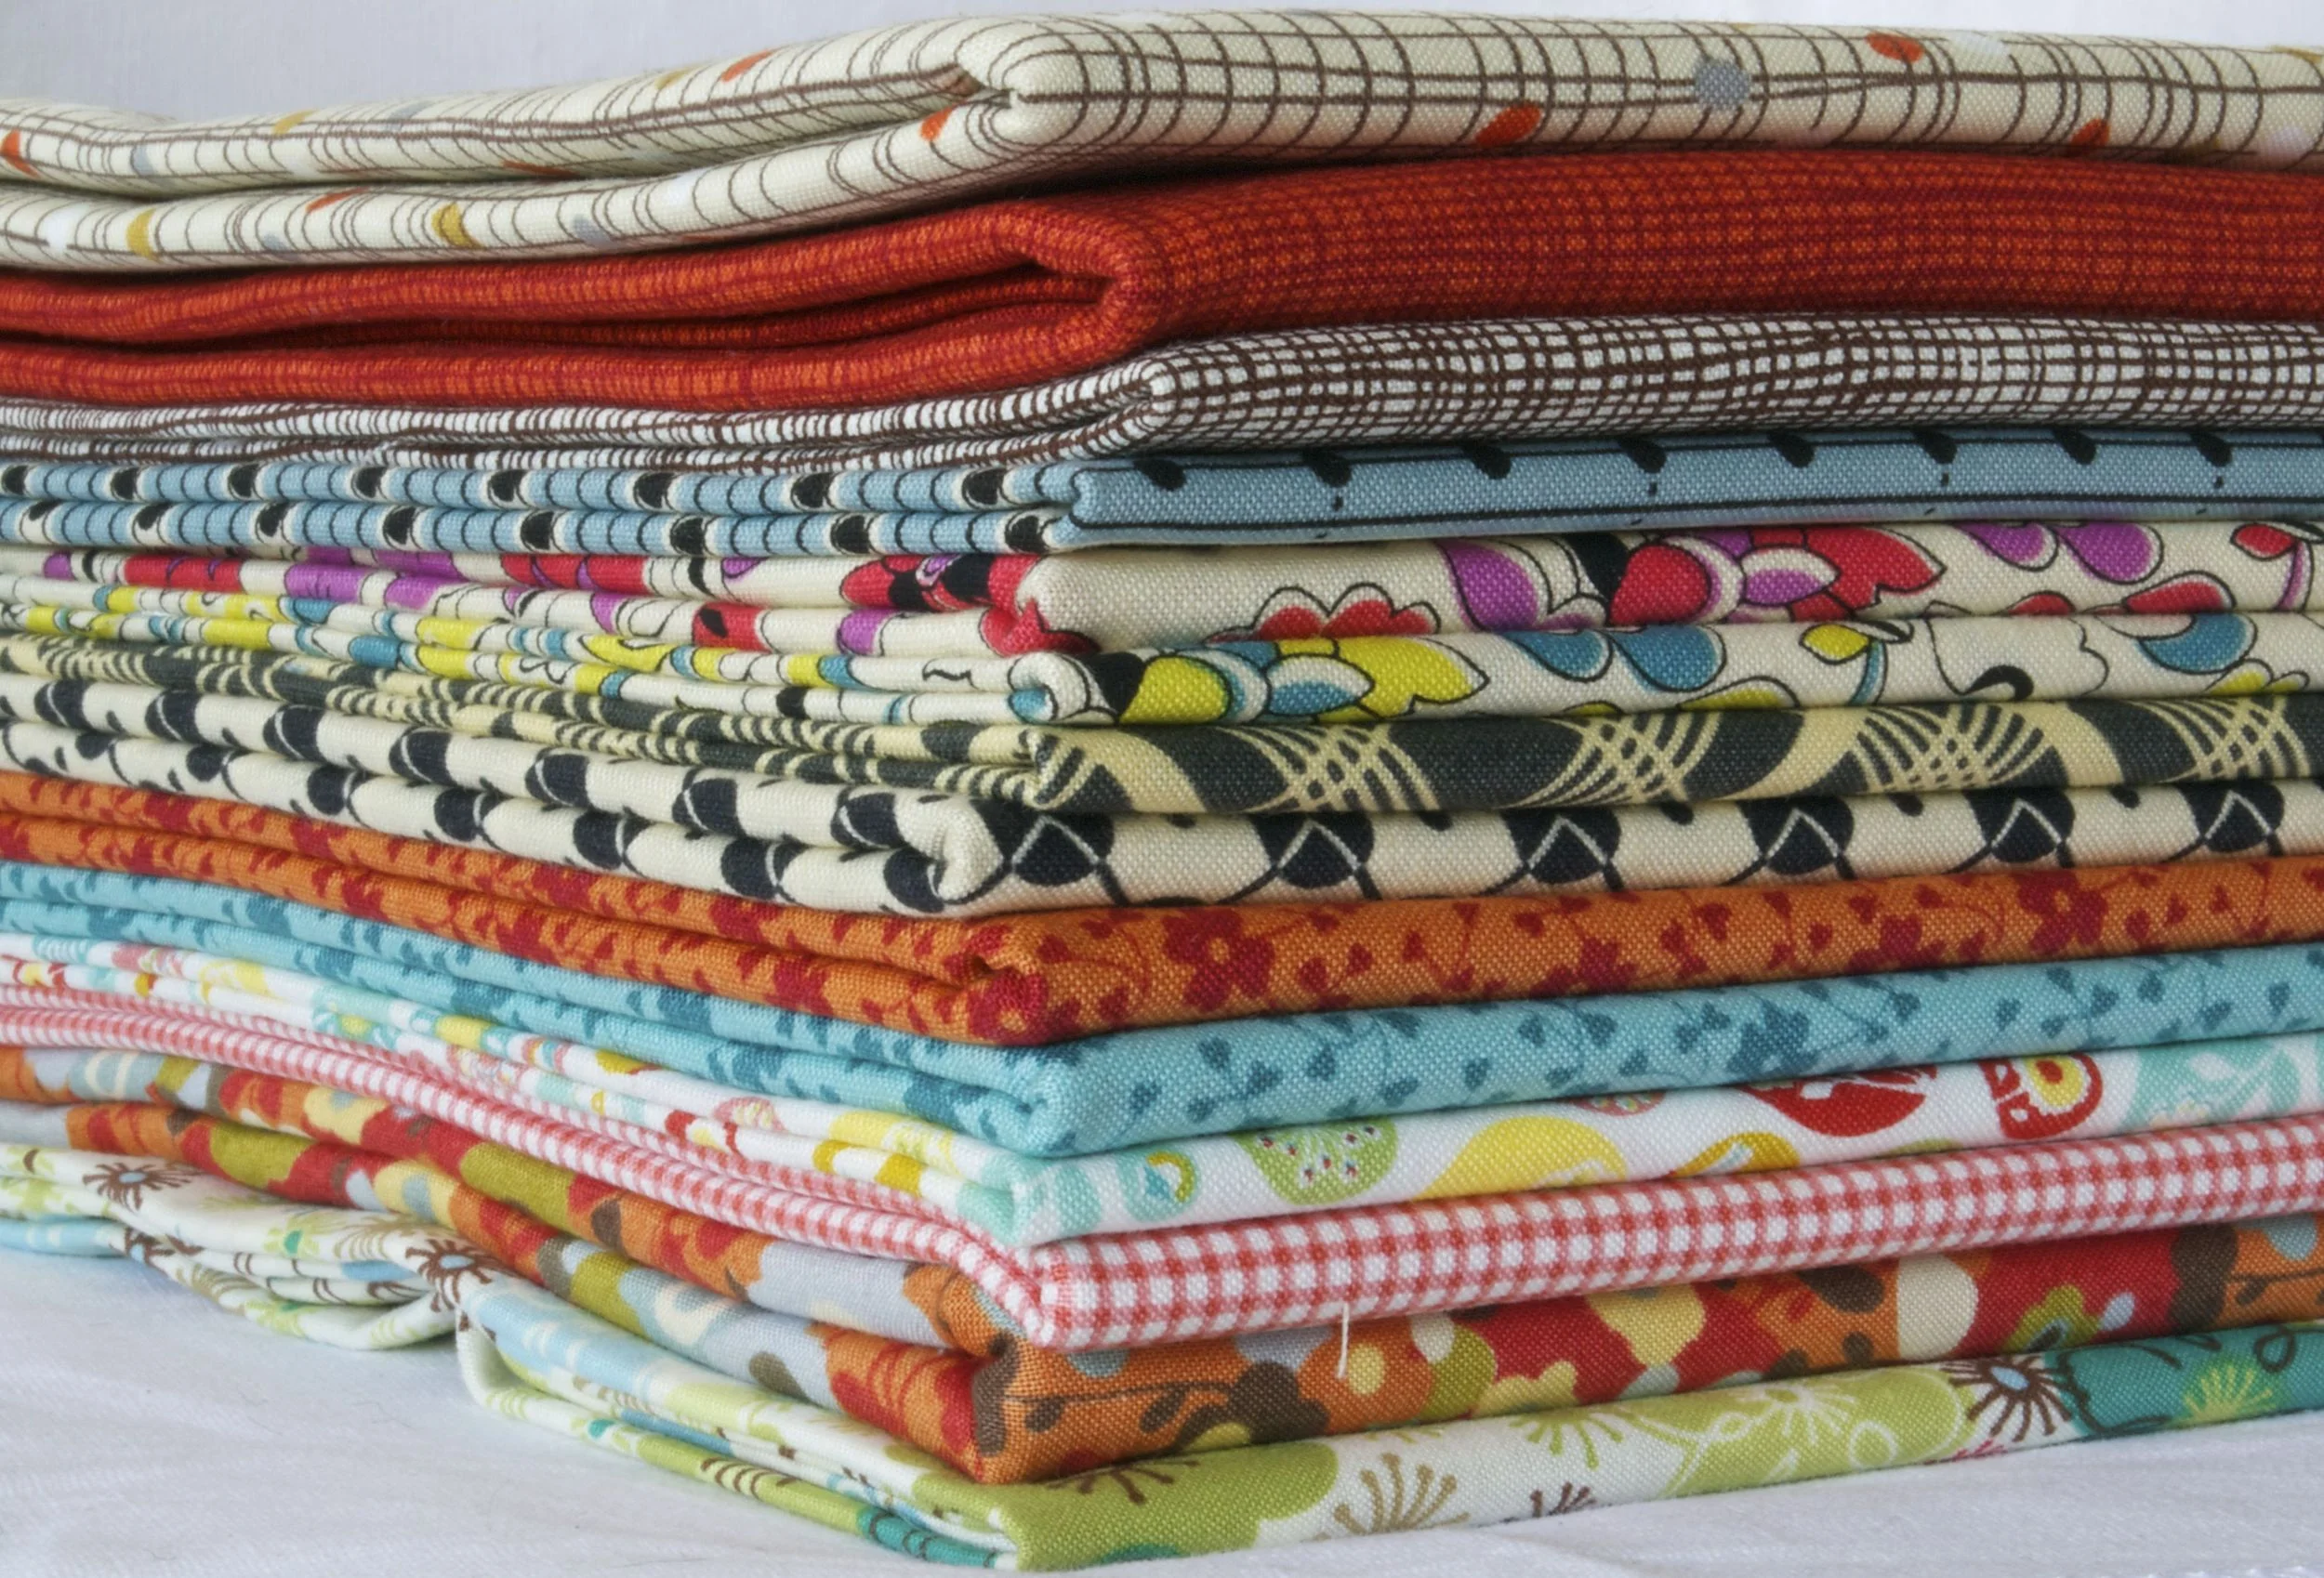
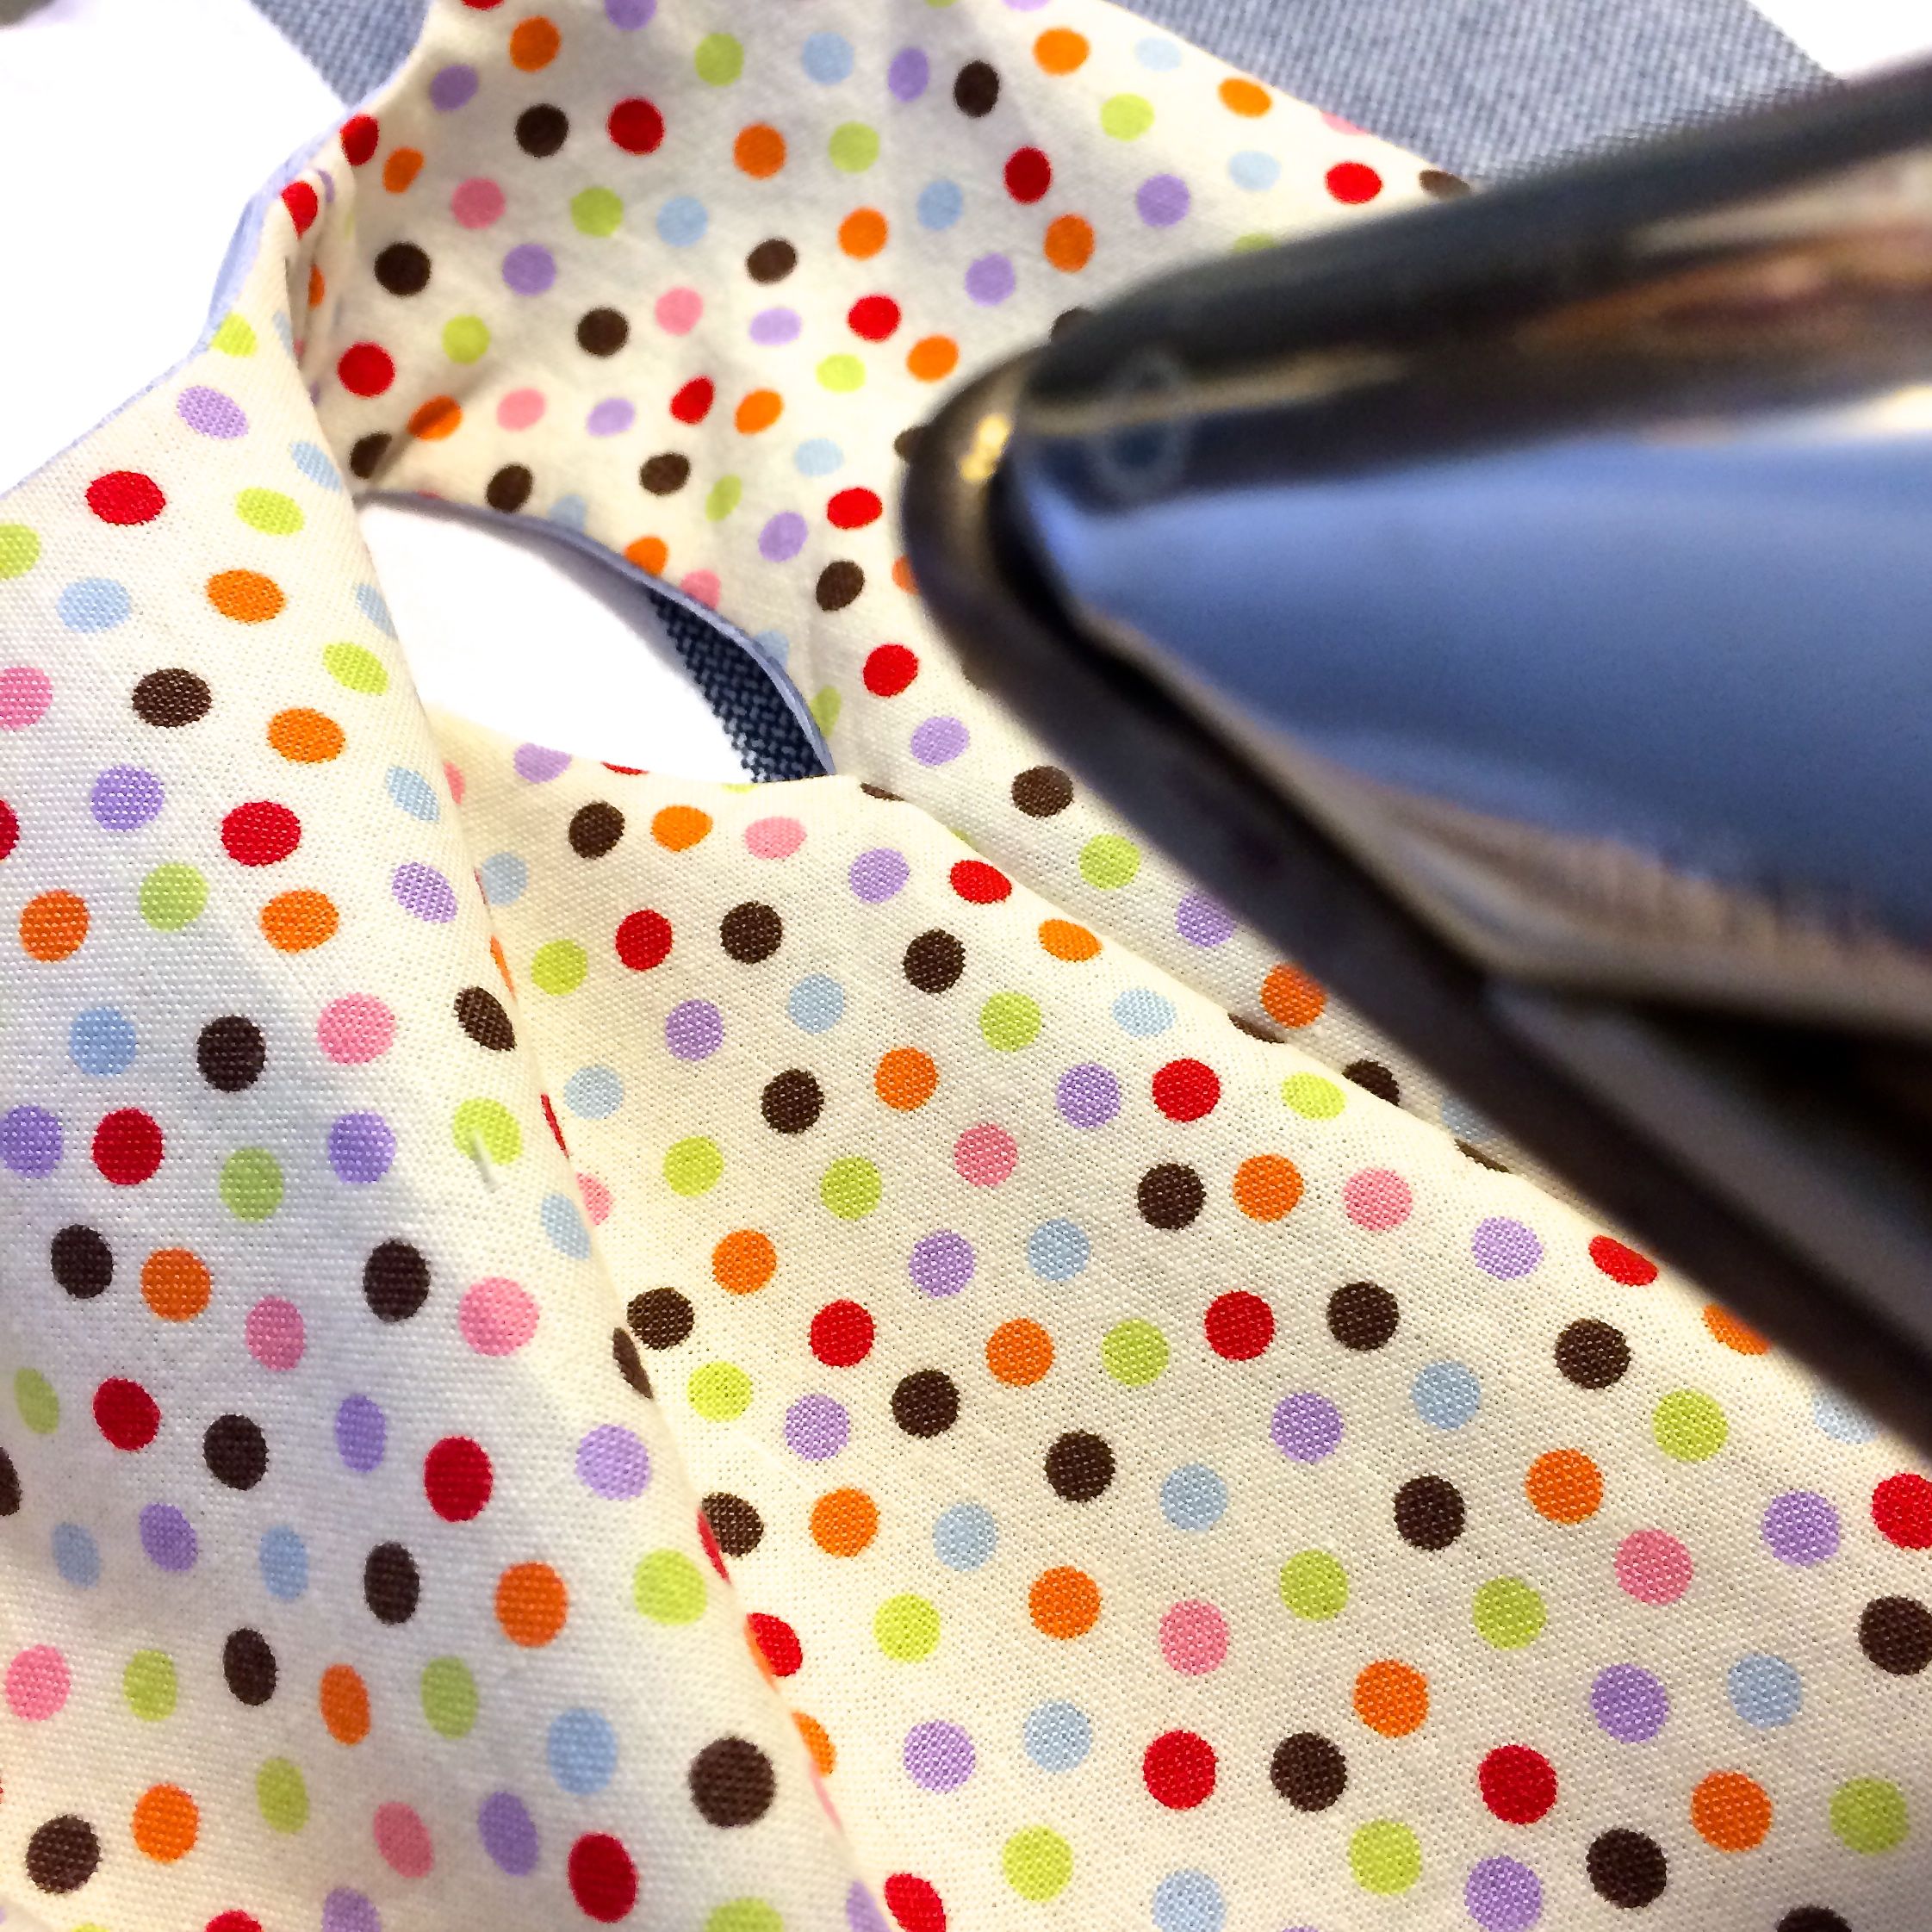
Cut out two pockets. A rectangle that is 3x3.5 inches should work for Phoebe, Waldorf and American Girl Dolls. It will seem large but it will be smaller when it's done.


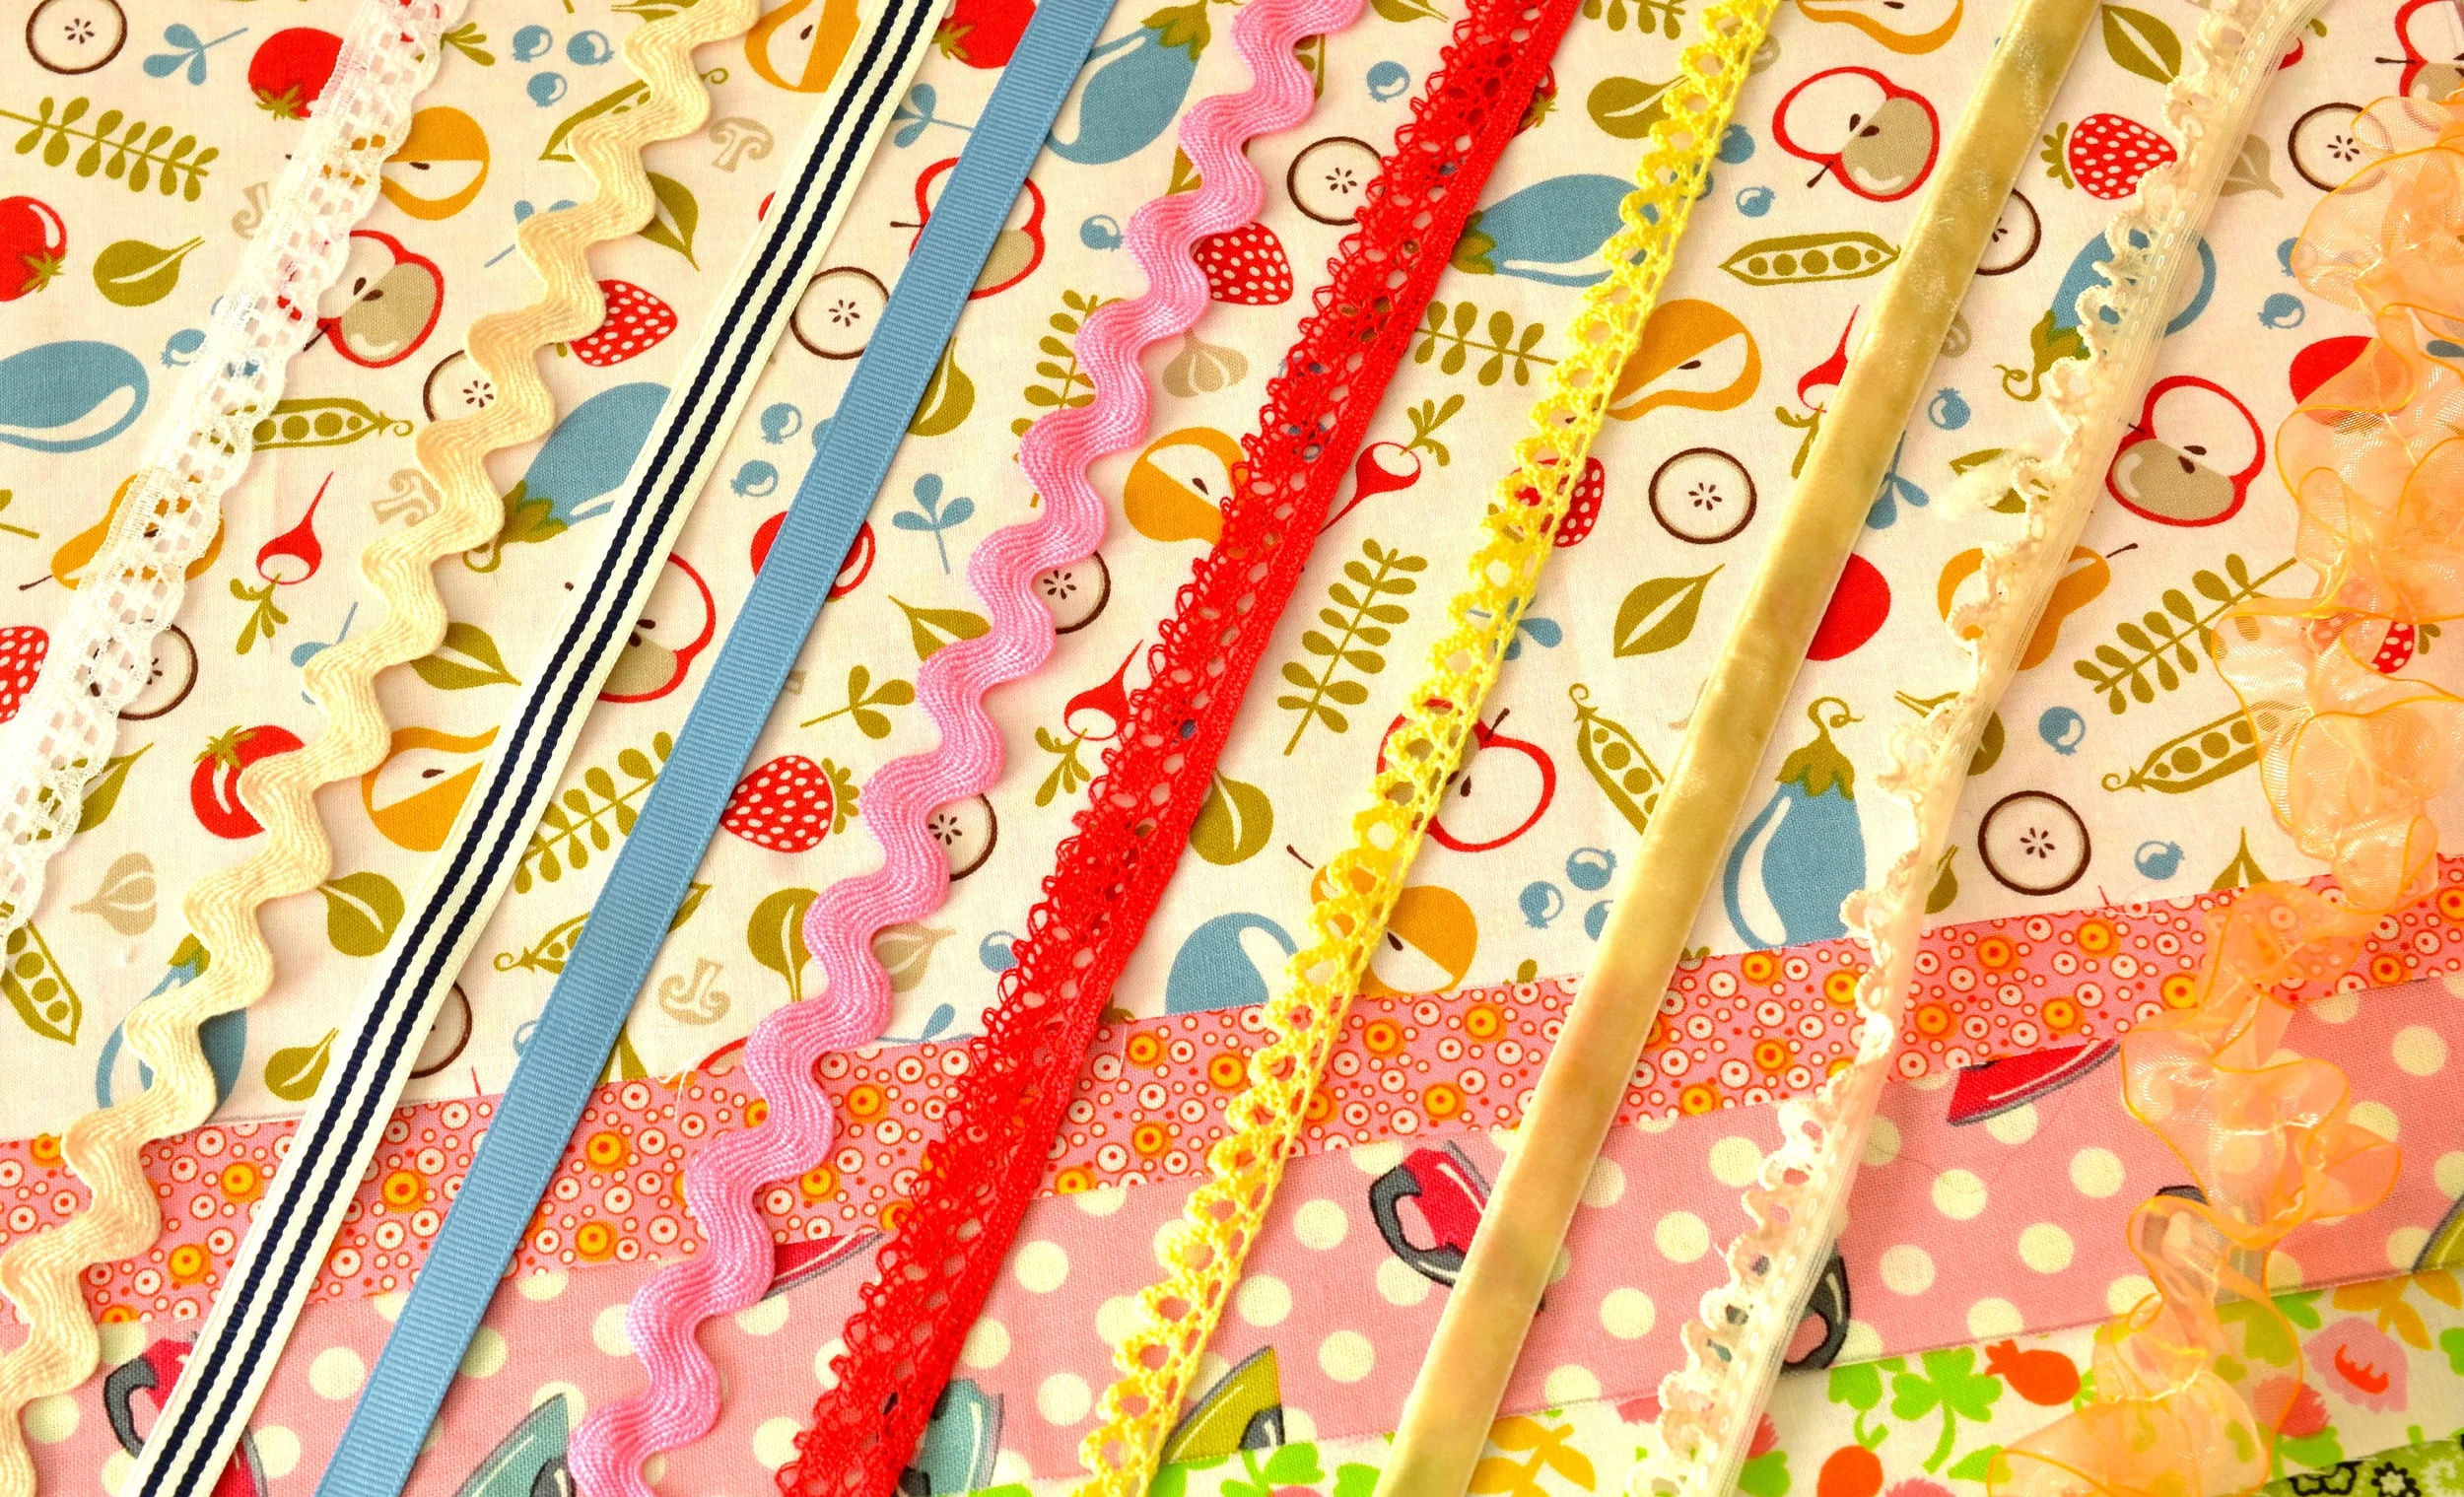
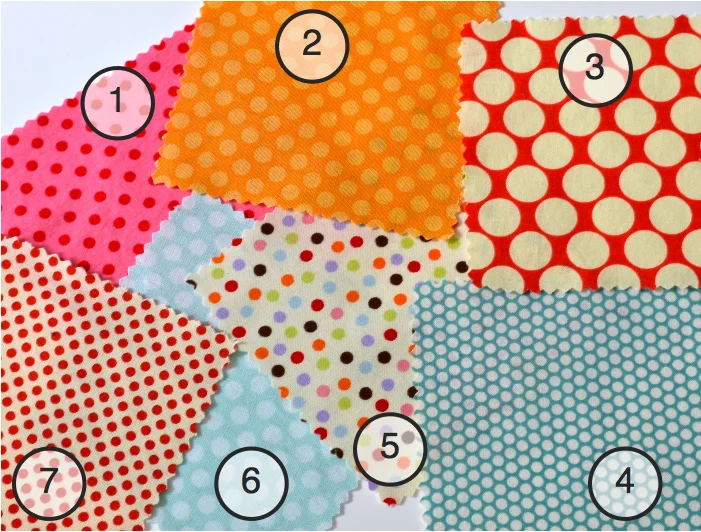
Tulle is sold in many crafts shops and online as a 6inch roll.
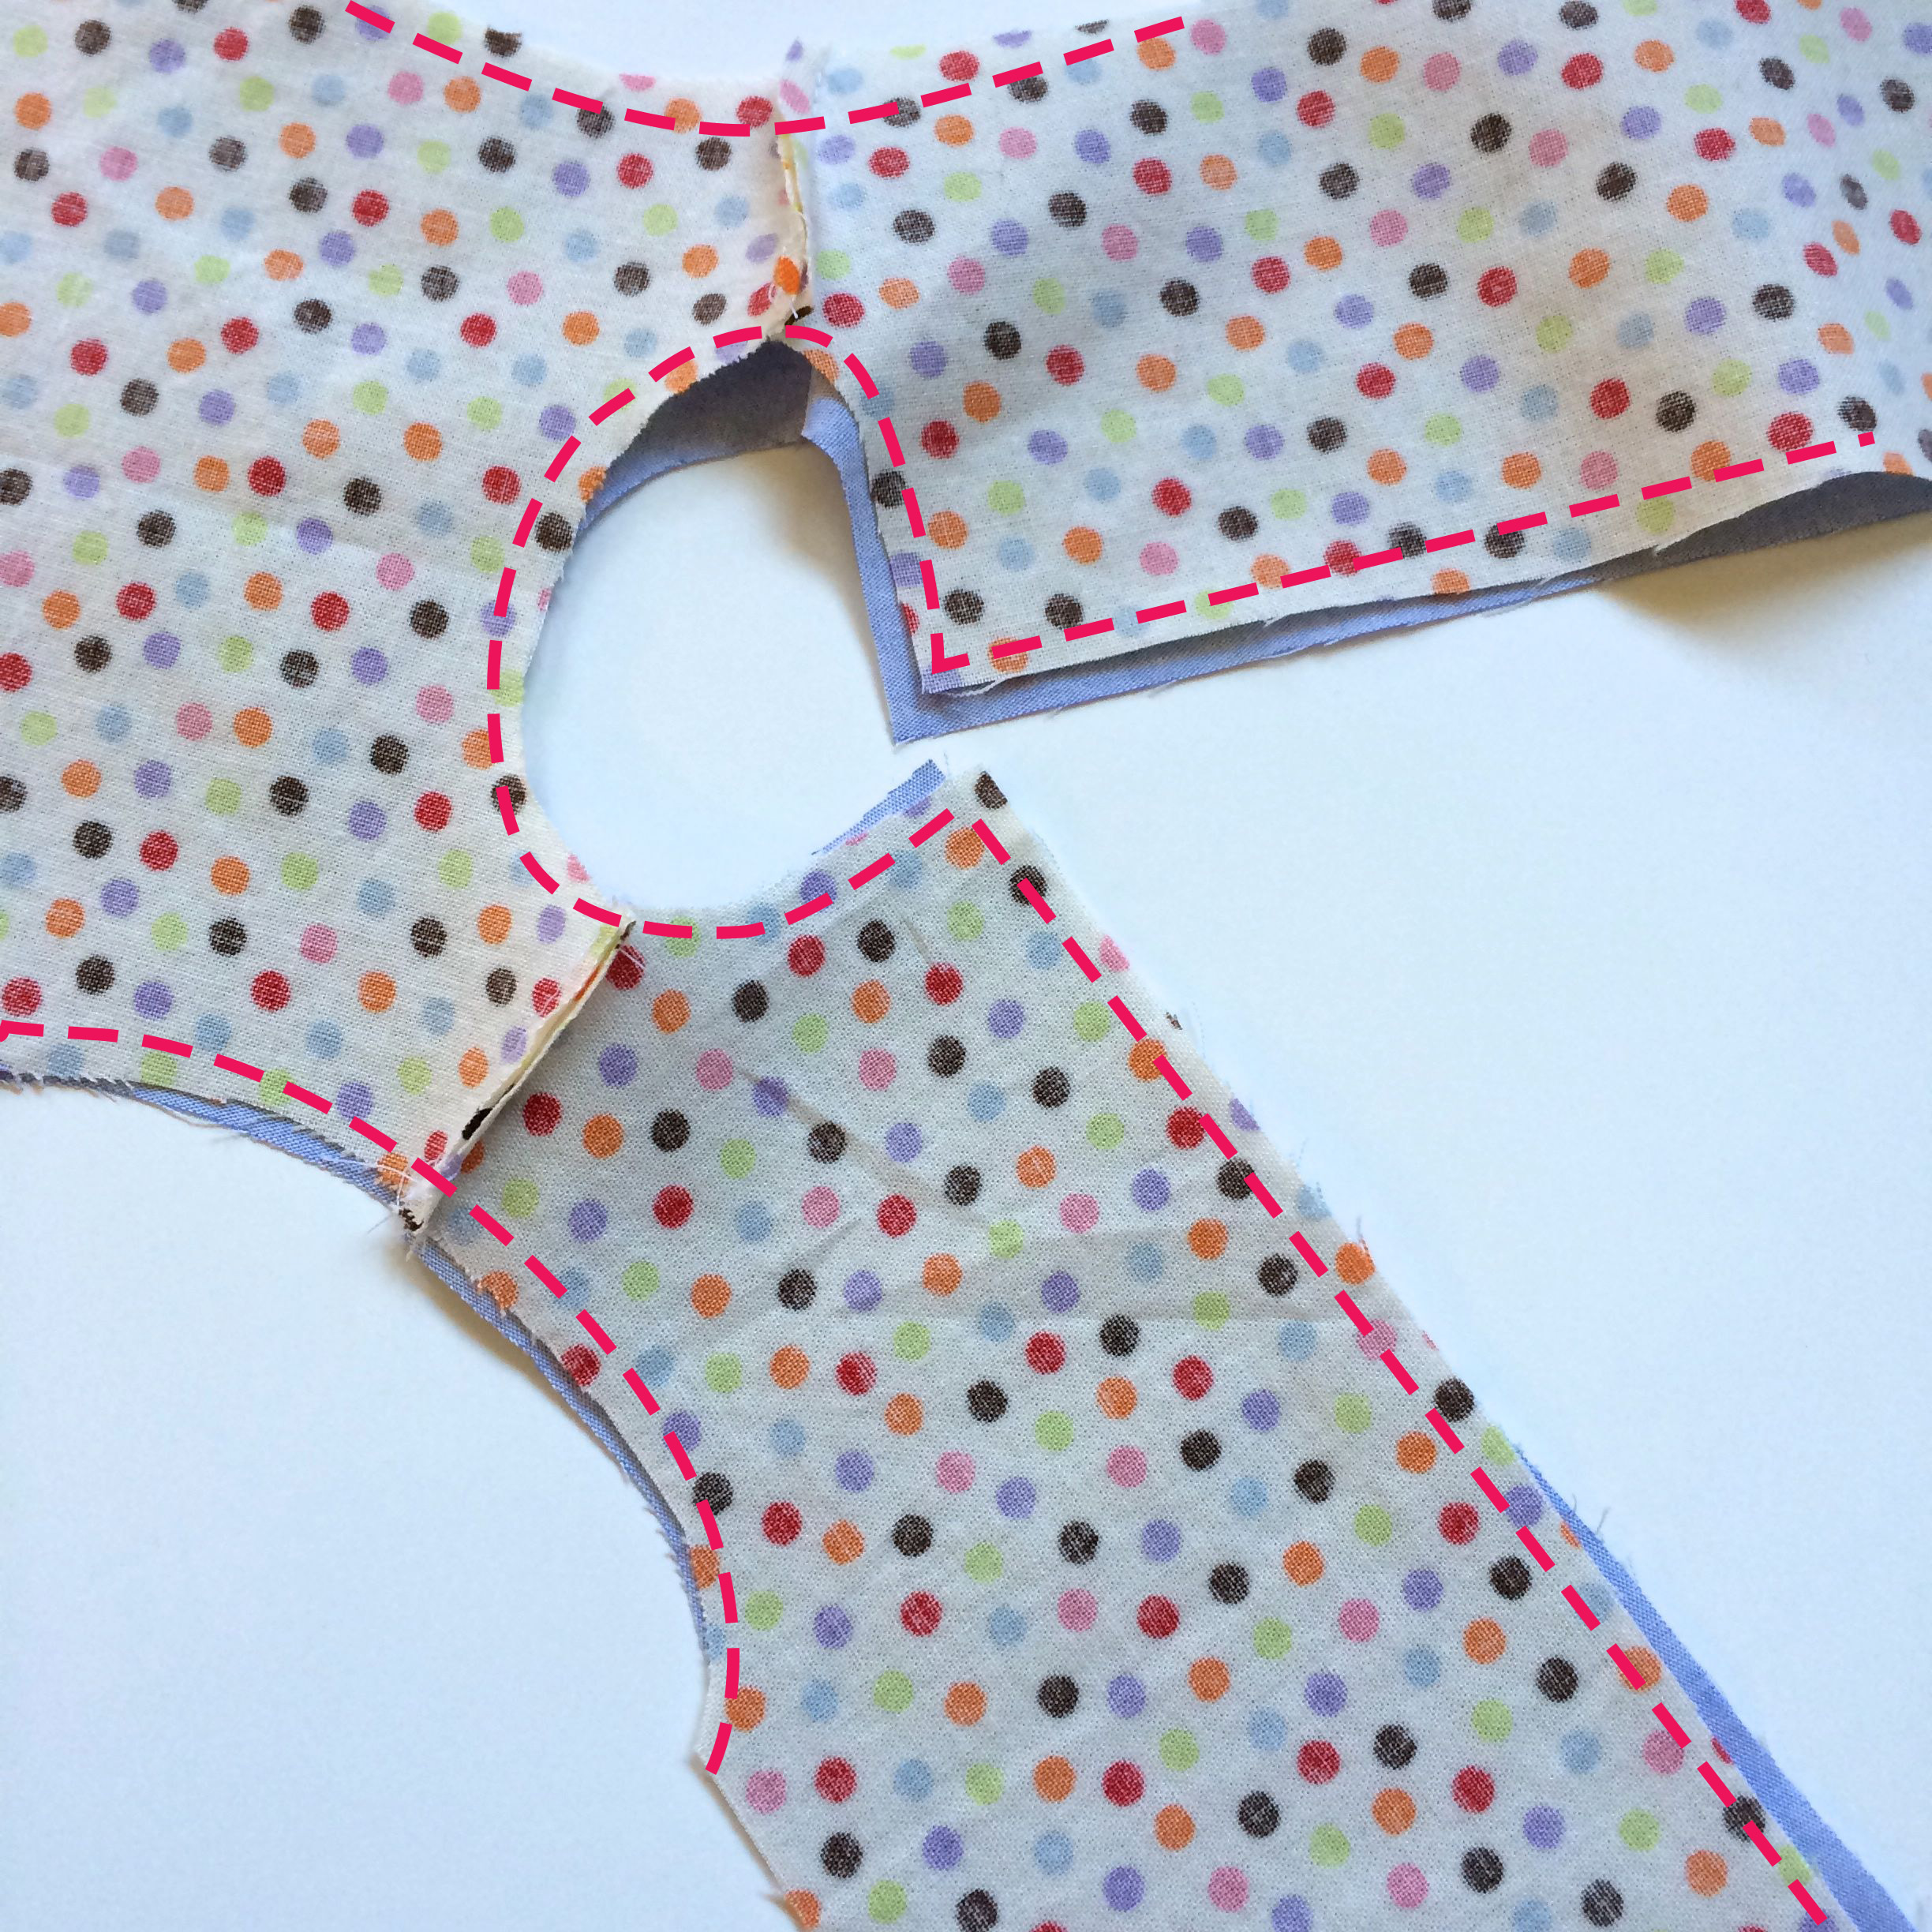
1. Place your two pockets right side up.
2. Cut a piece of tulle large to cover both pockets.
3. Lay tulle over both pockets and pin.

4. Stitch around the edges of each pocket, leaving an opening that is about an inch for turning right side out. A larger seam allowance is better for this. Just under a half inch is good.

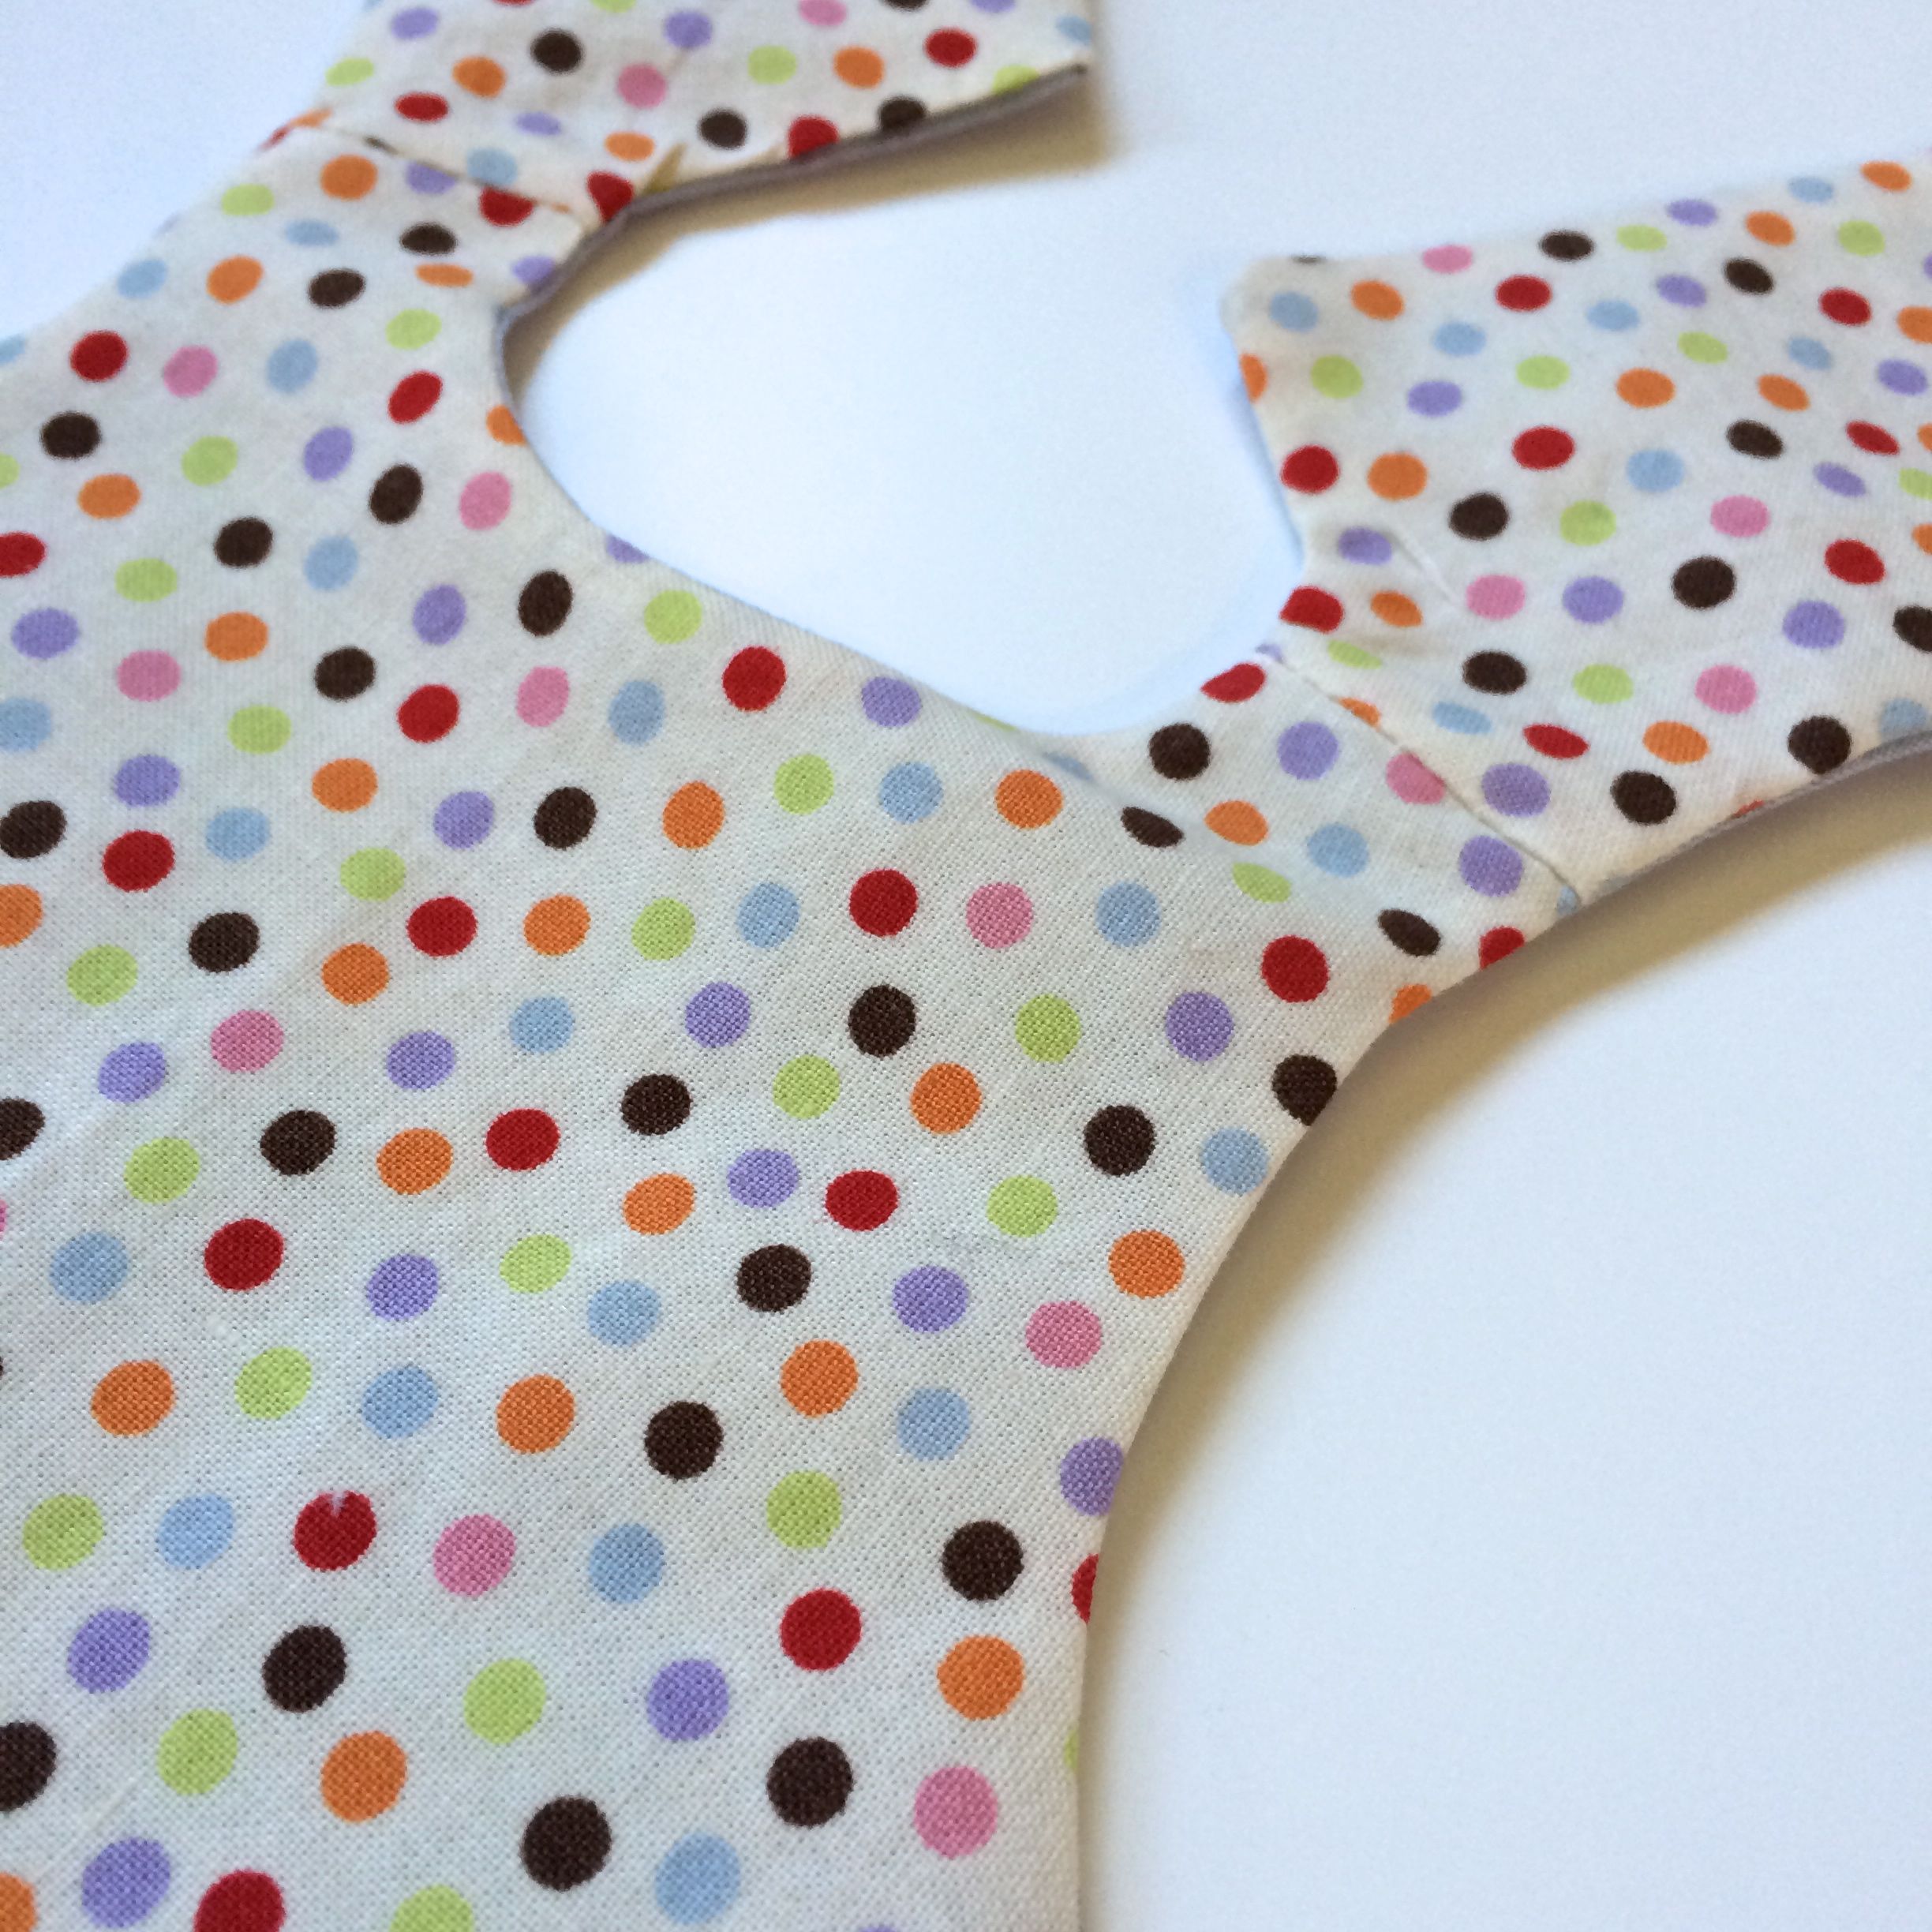
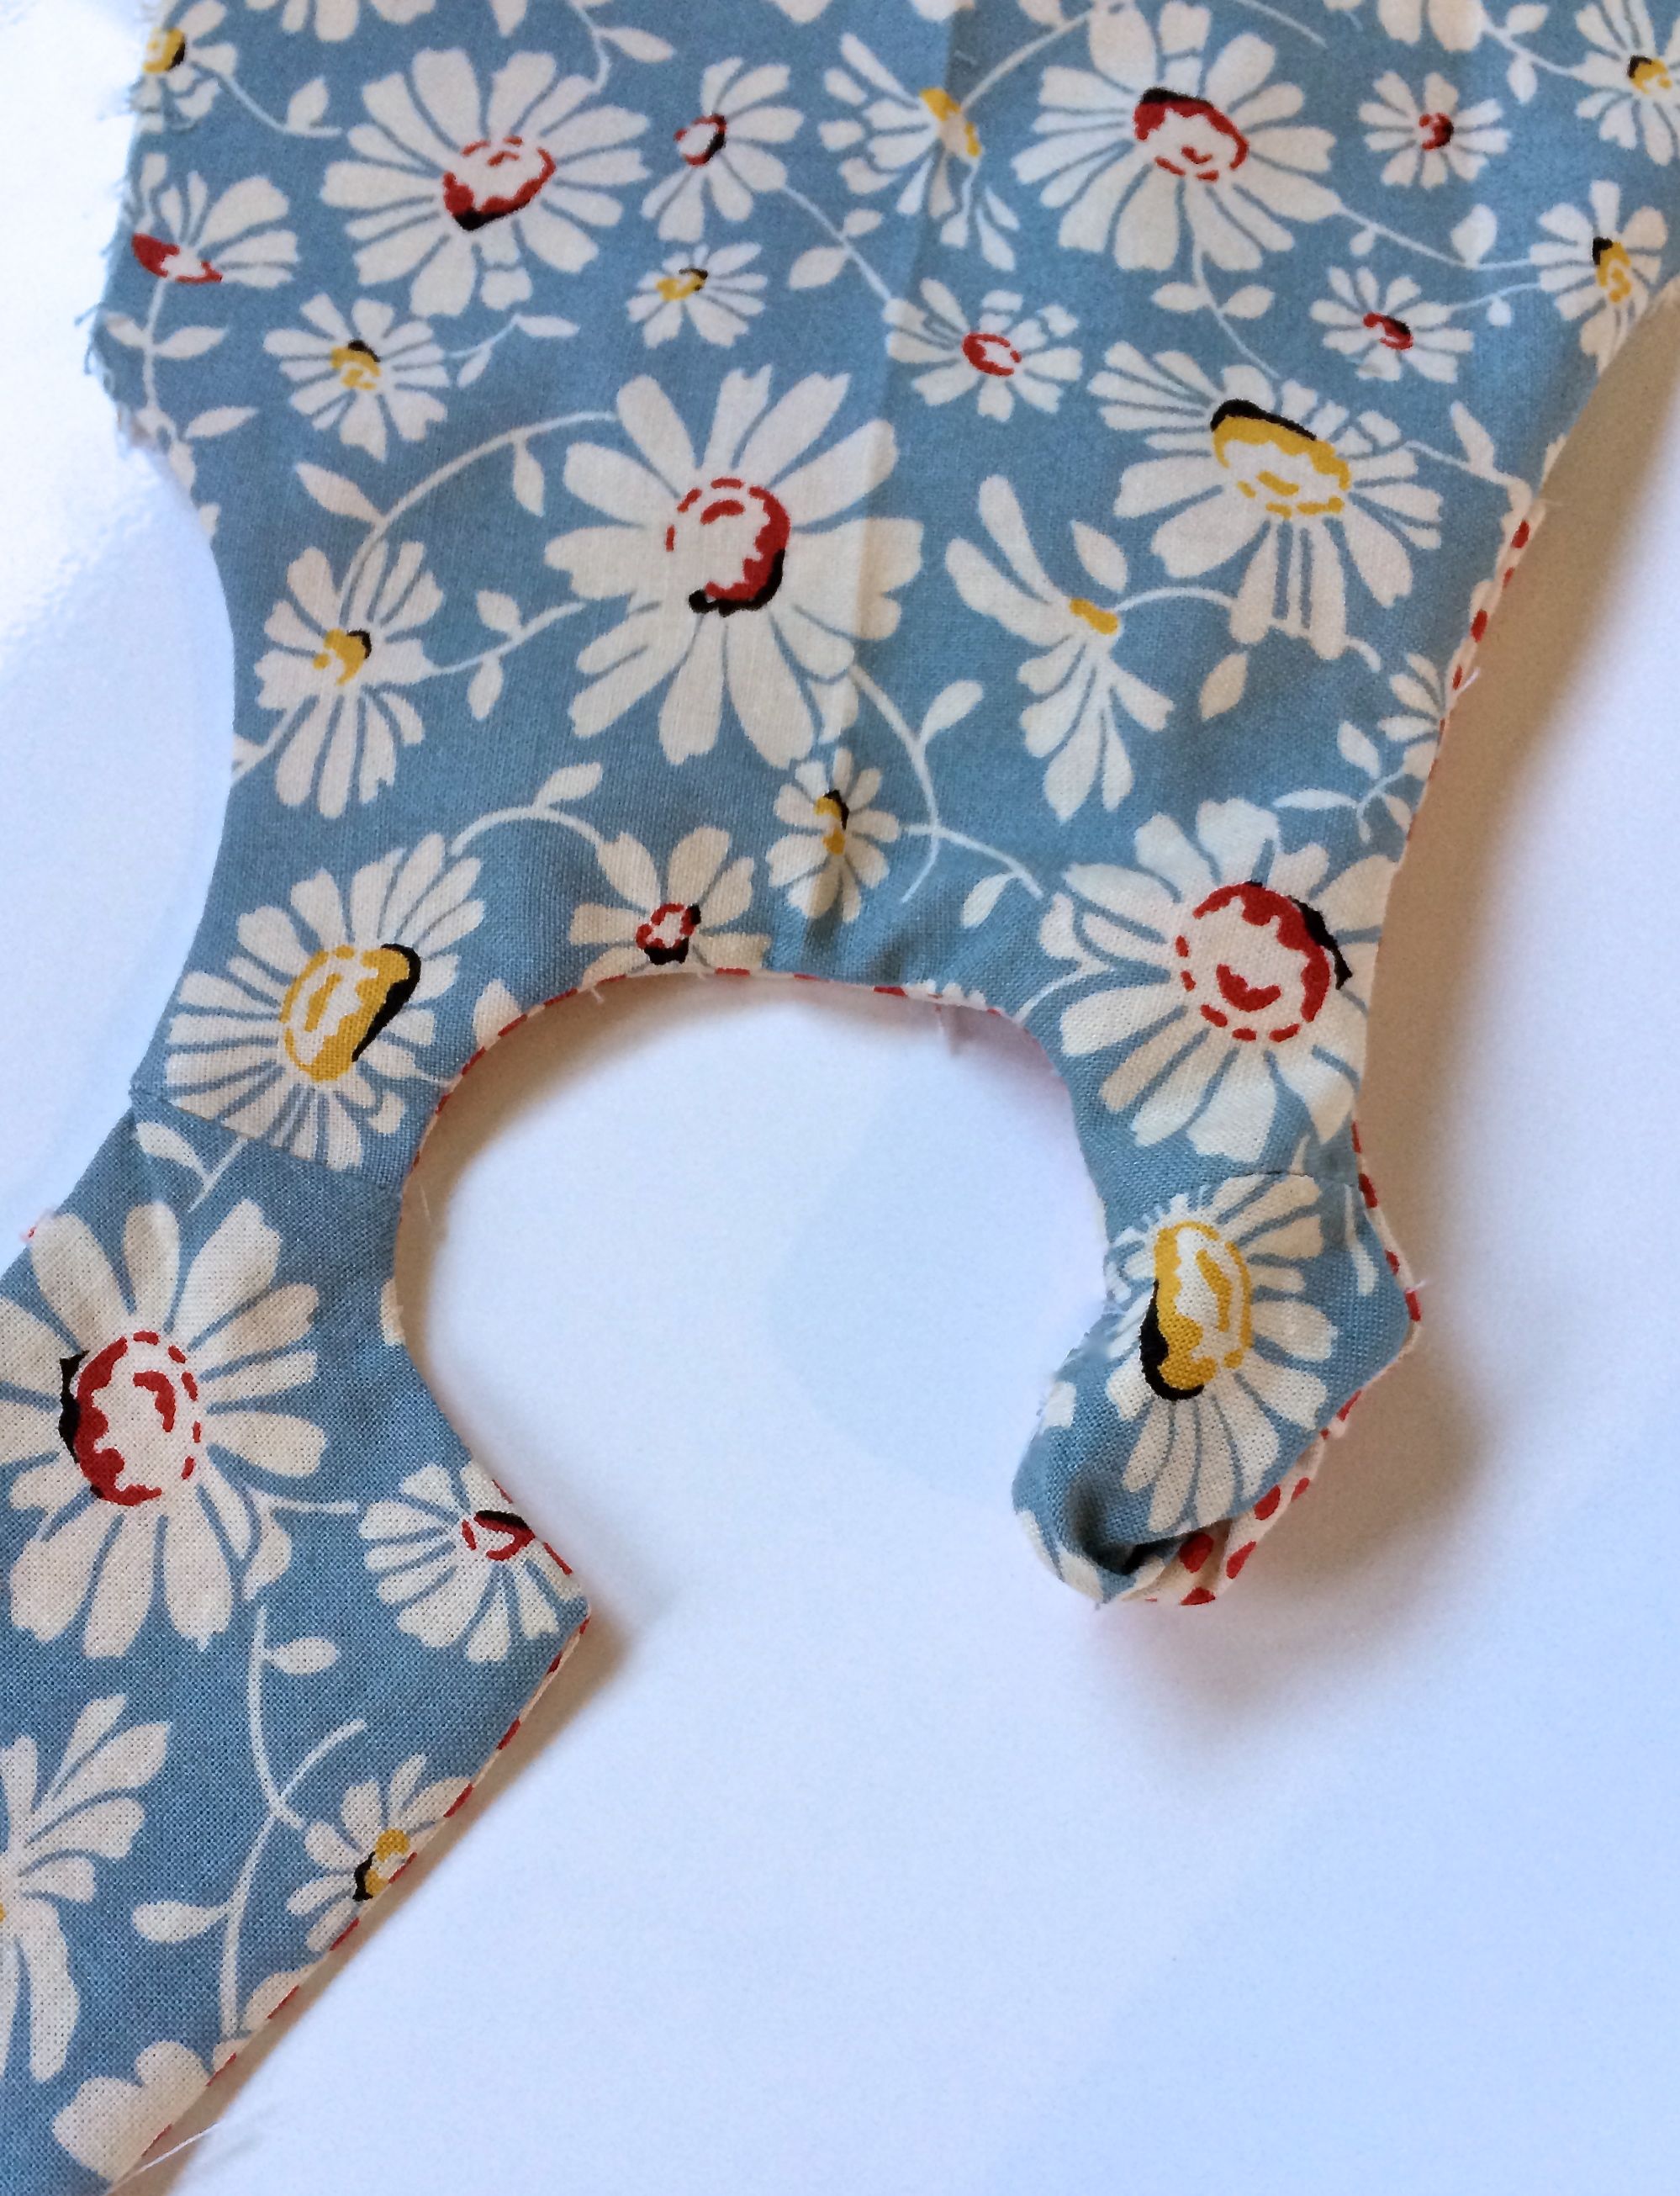
5. Clip corners.
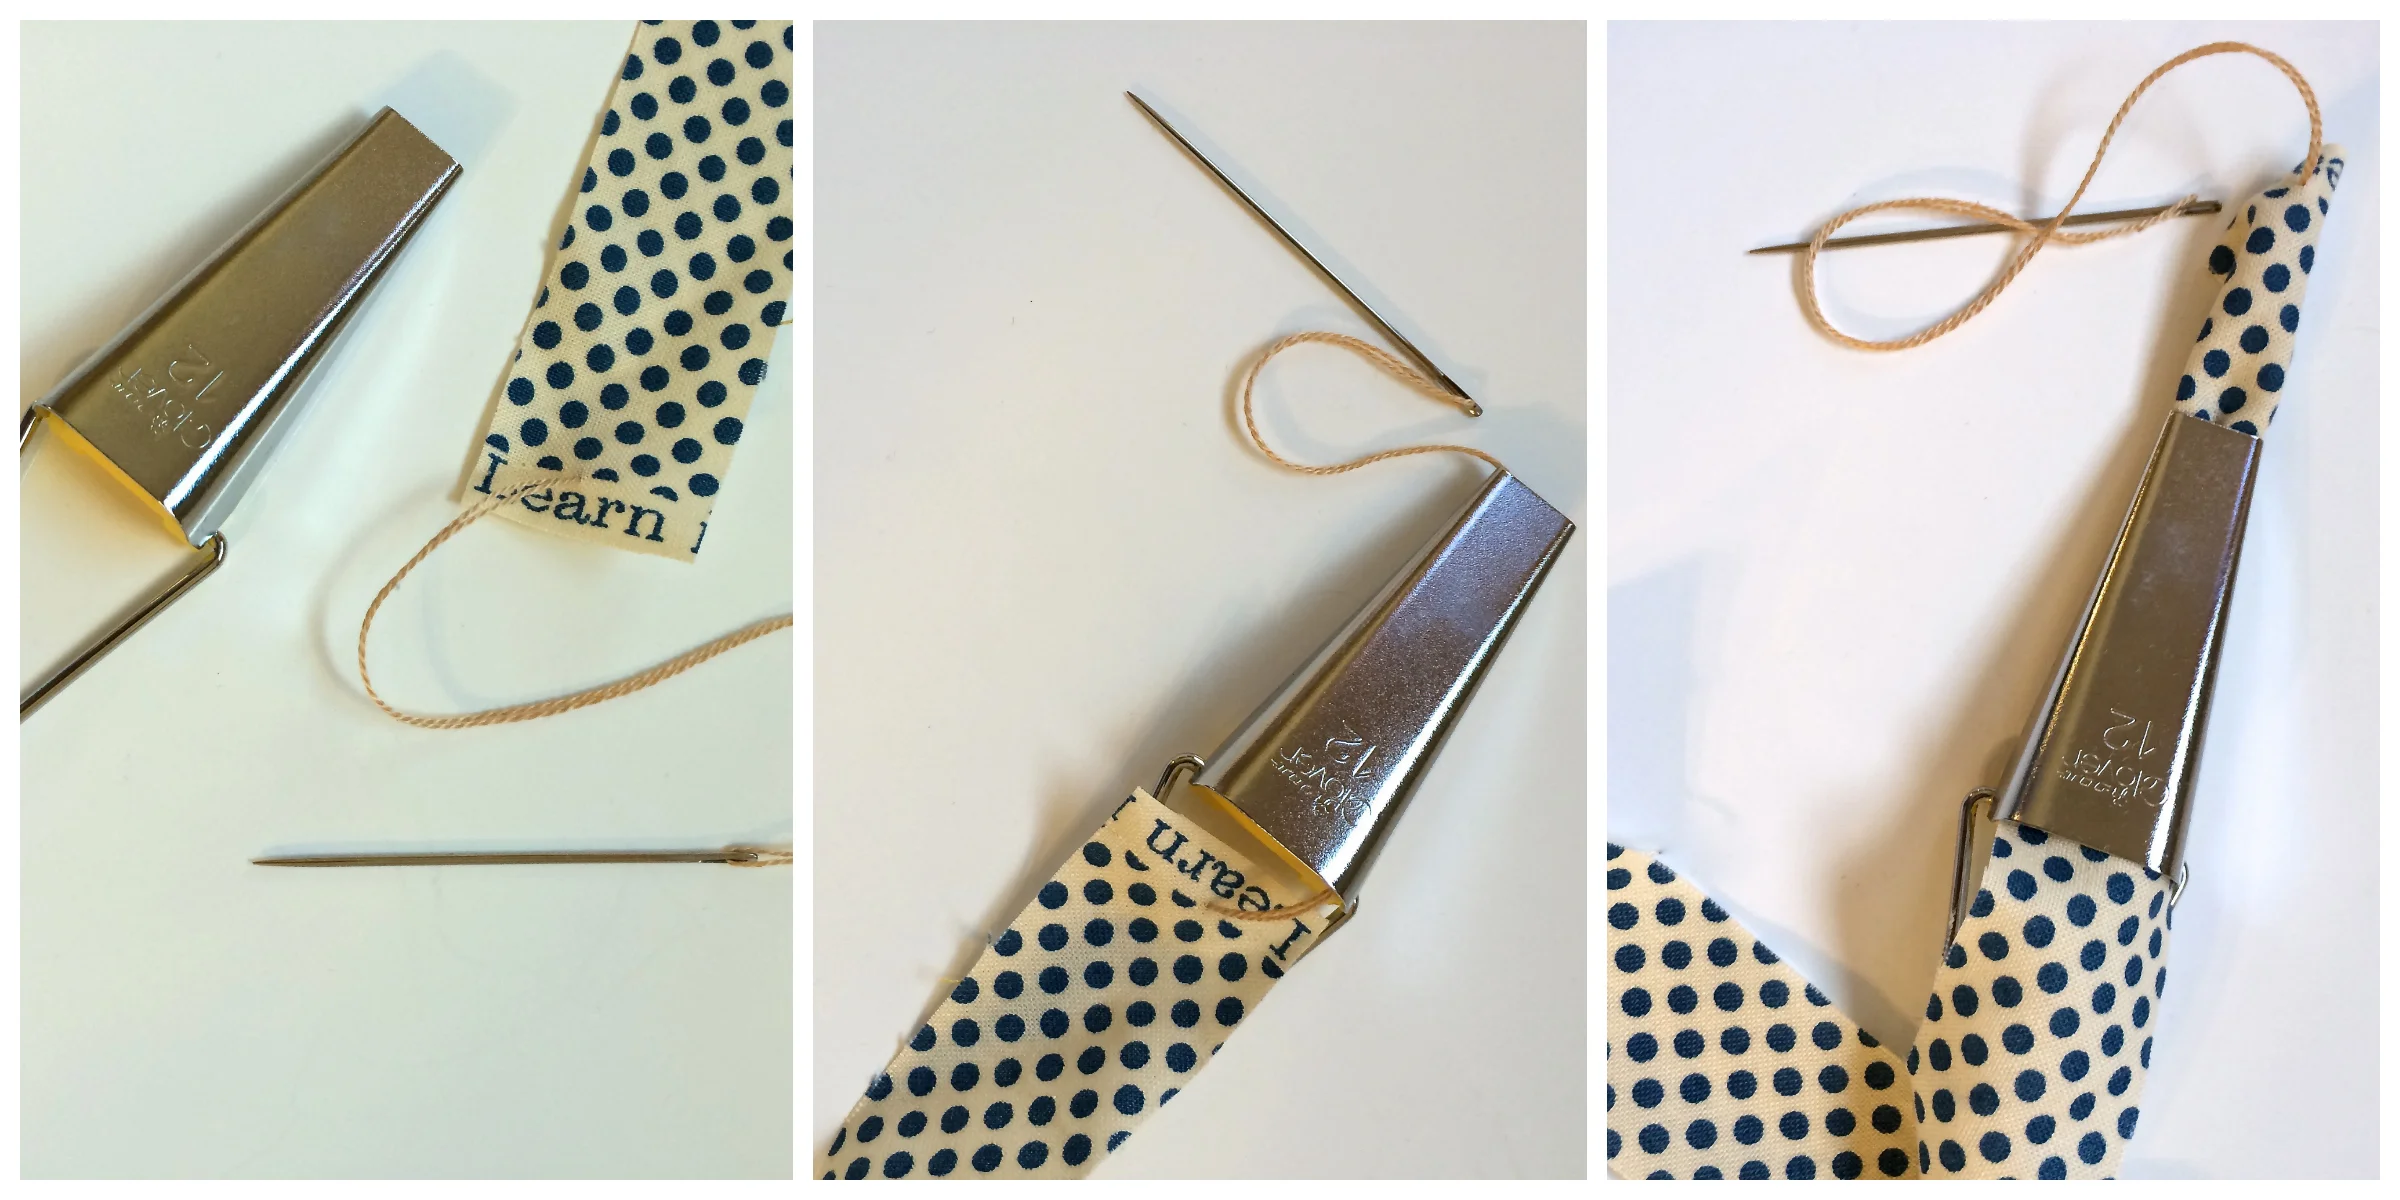
6. Turn right side out. Use something like a knitting needle to carefully poke out corners.


7. Iron flat. Iron with fabric side up, tulle cannot withstand direct heat.

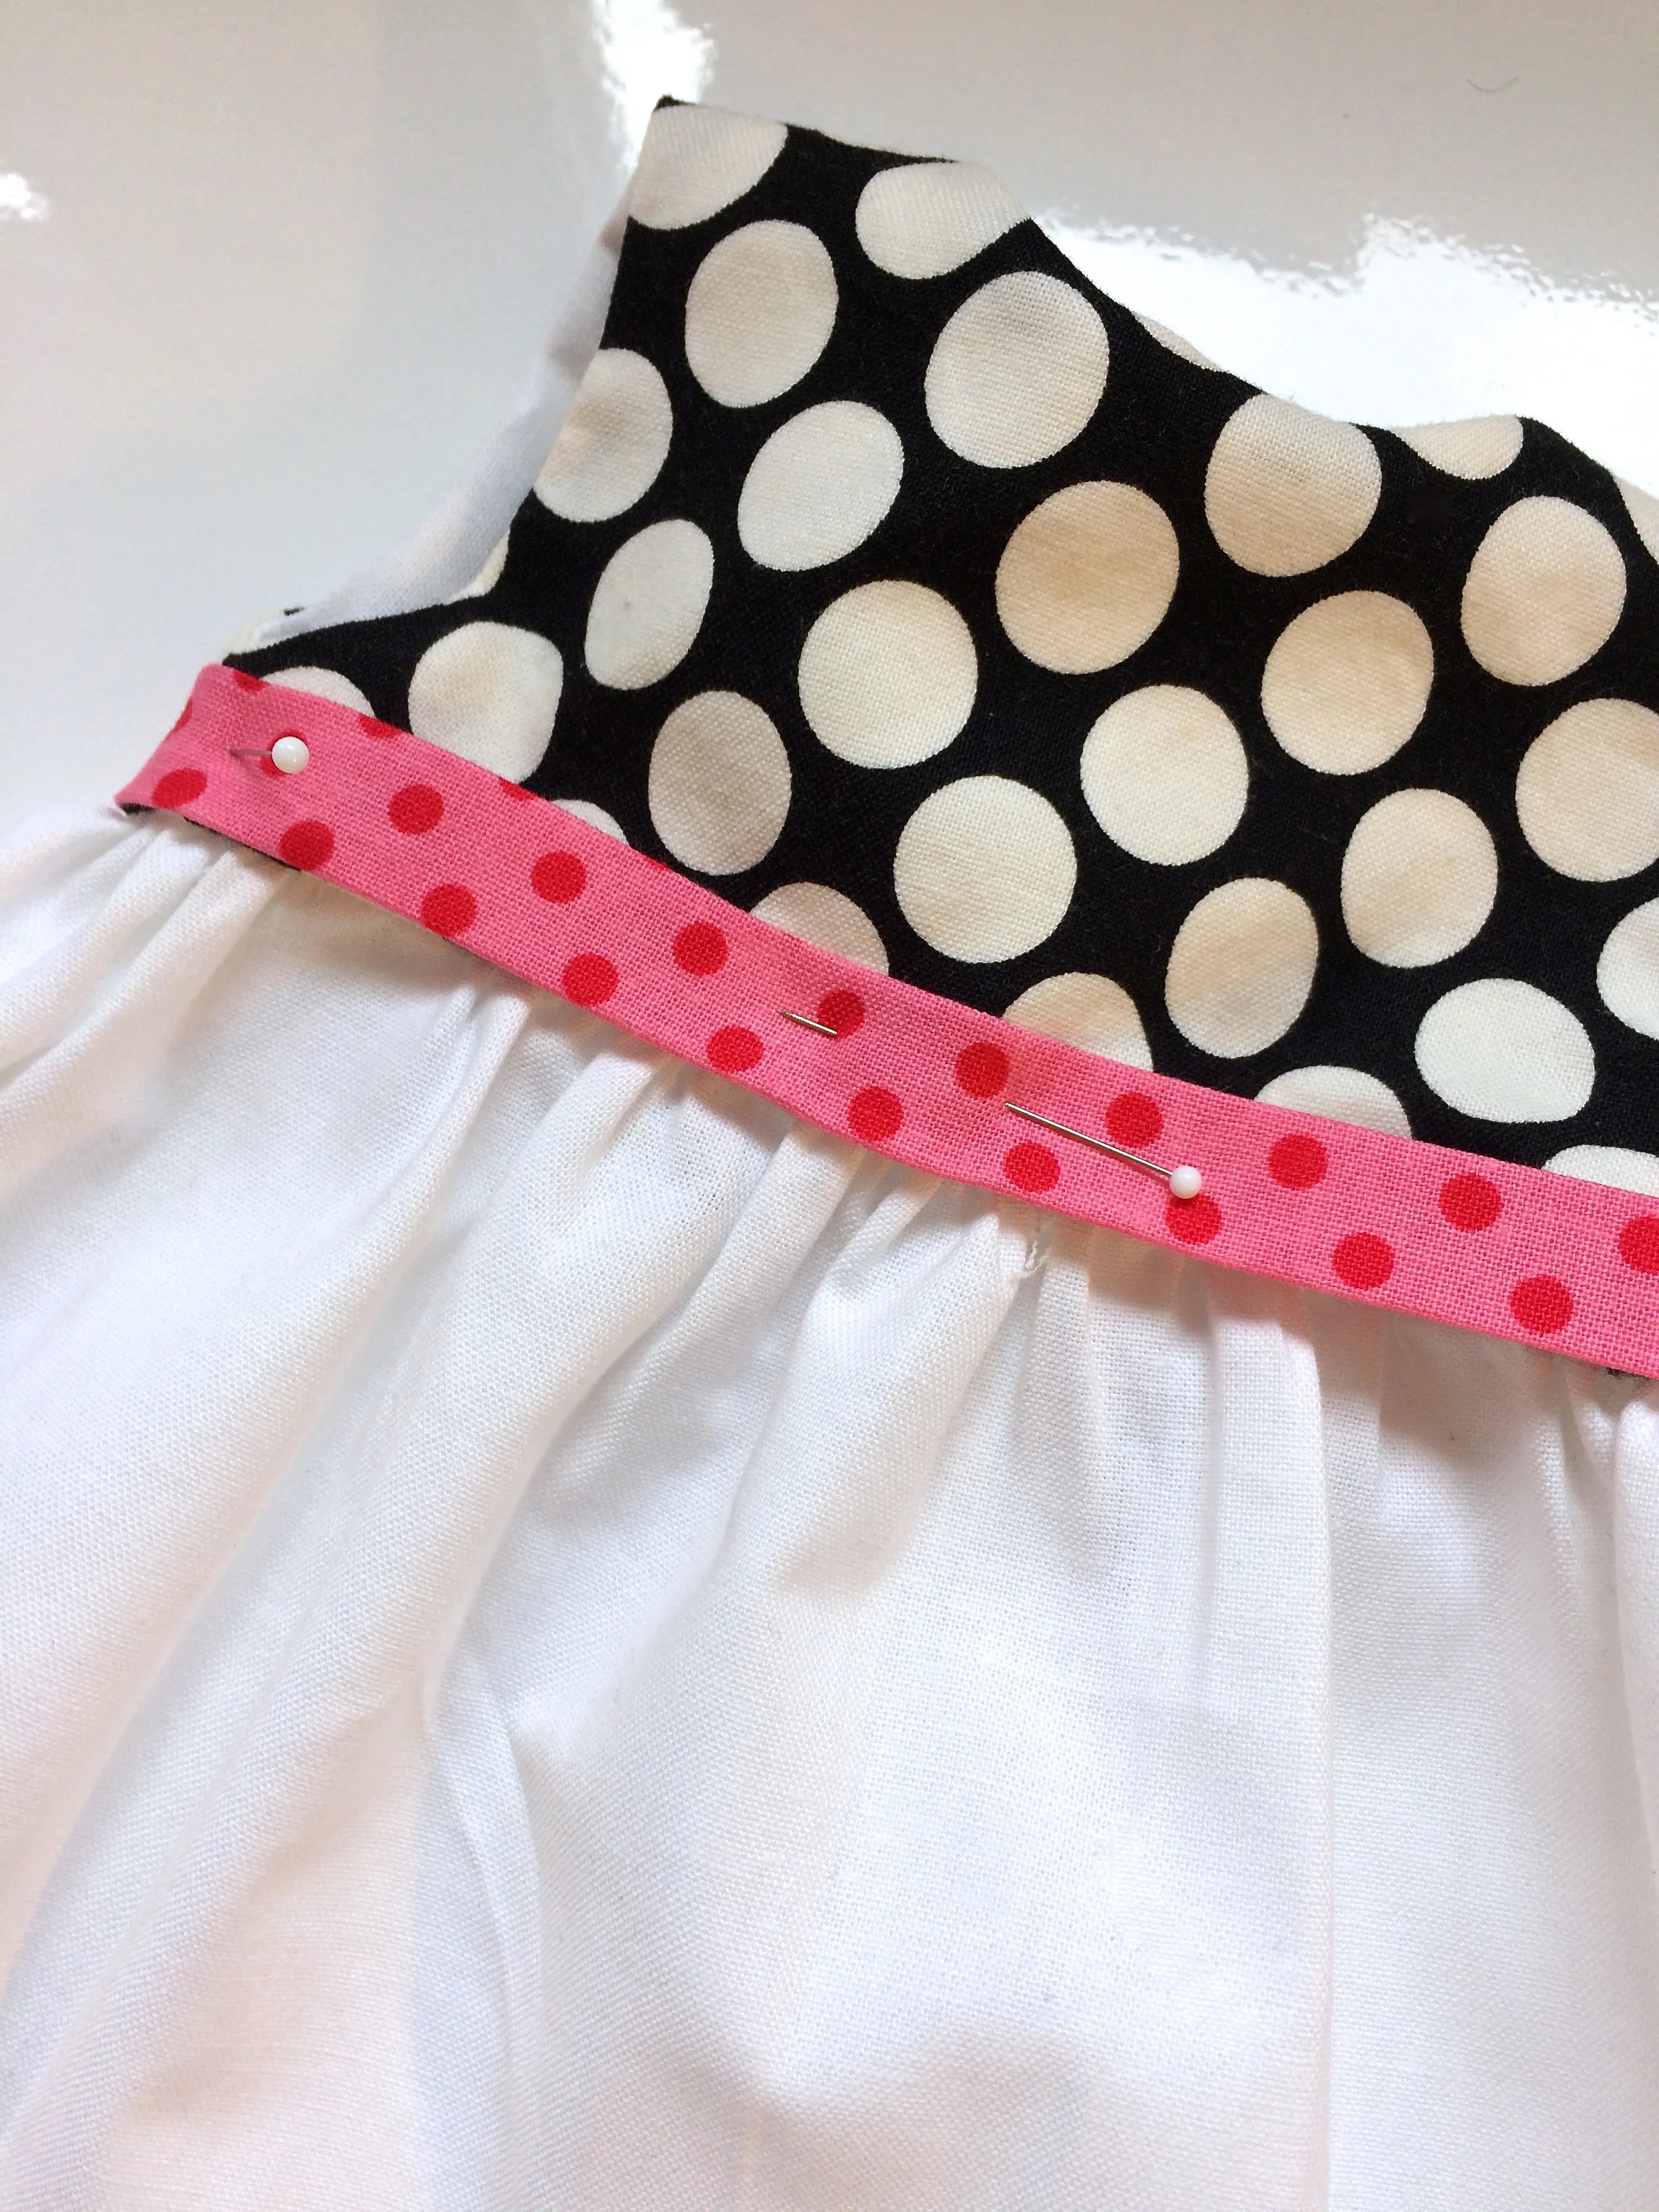
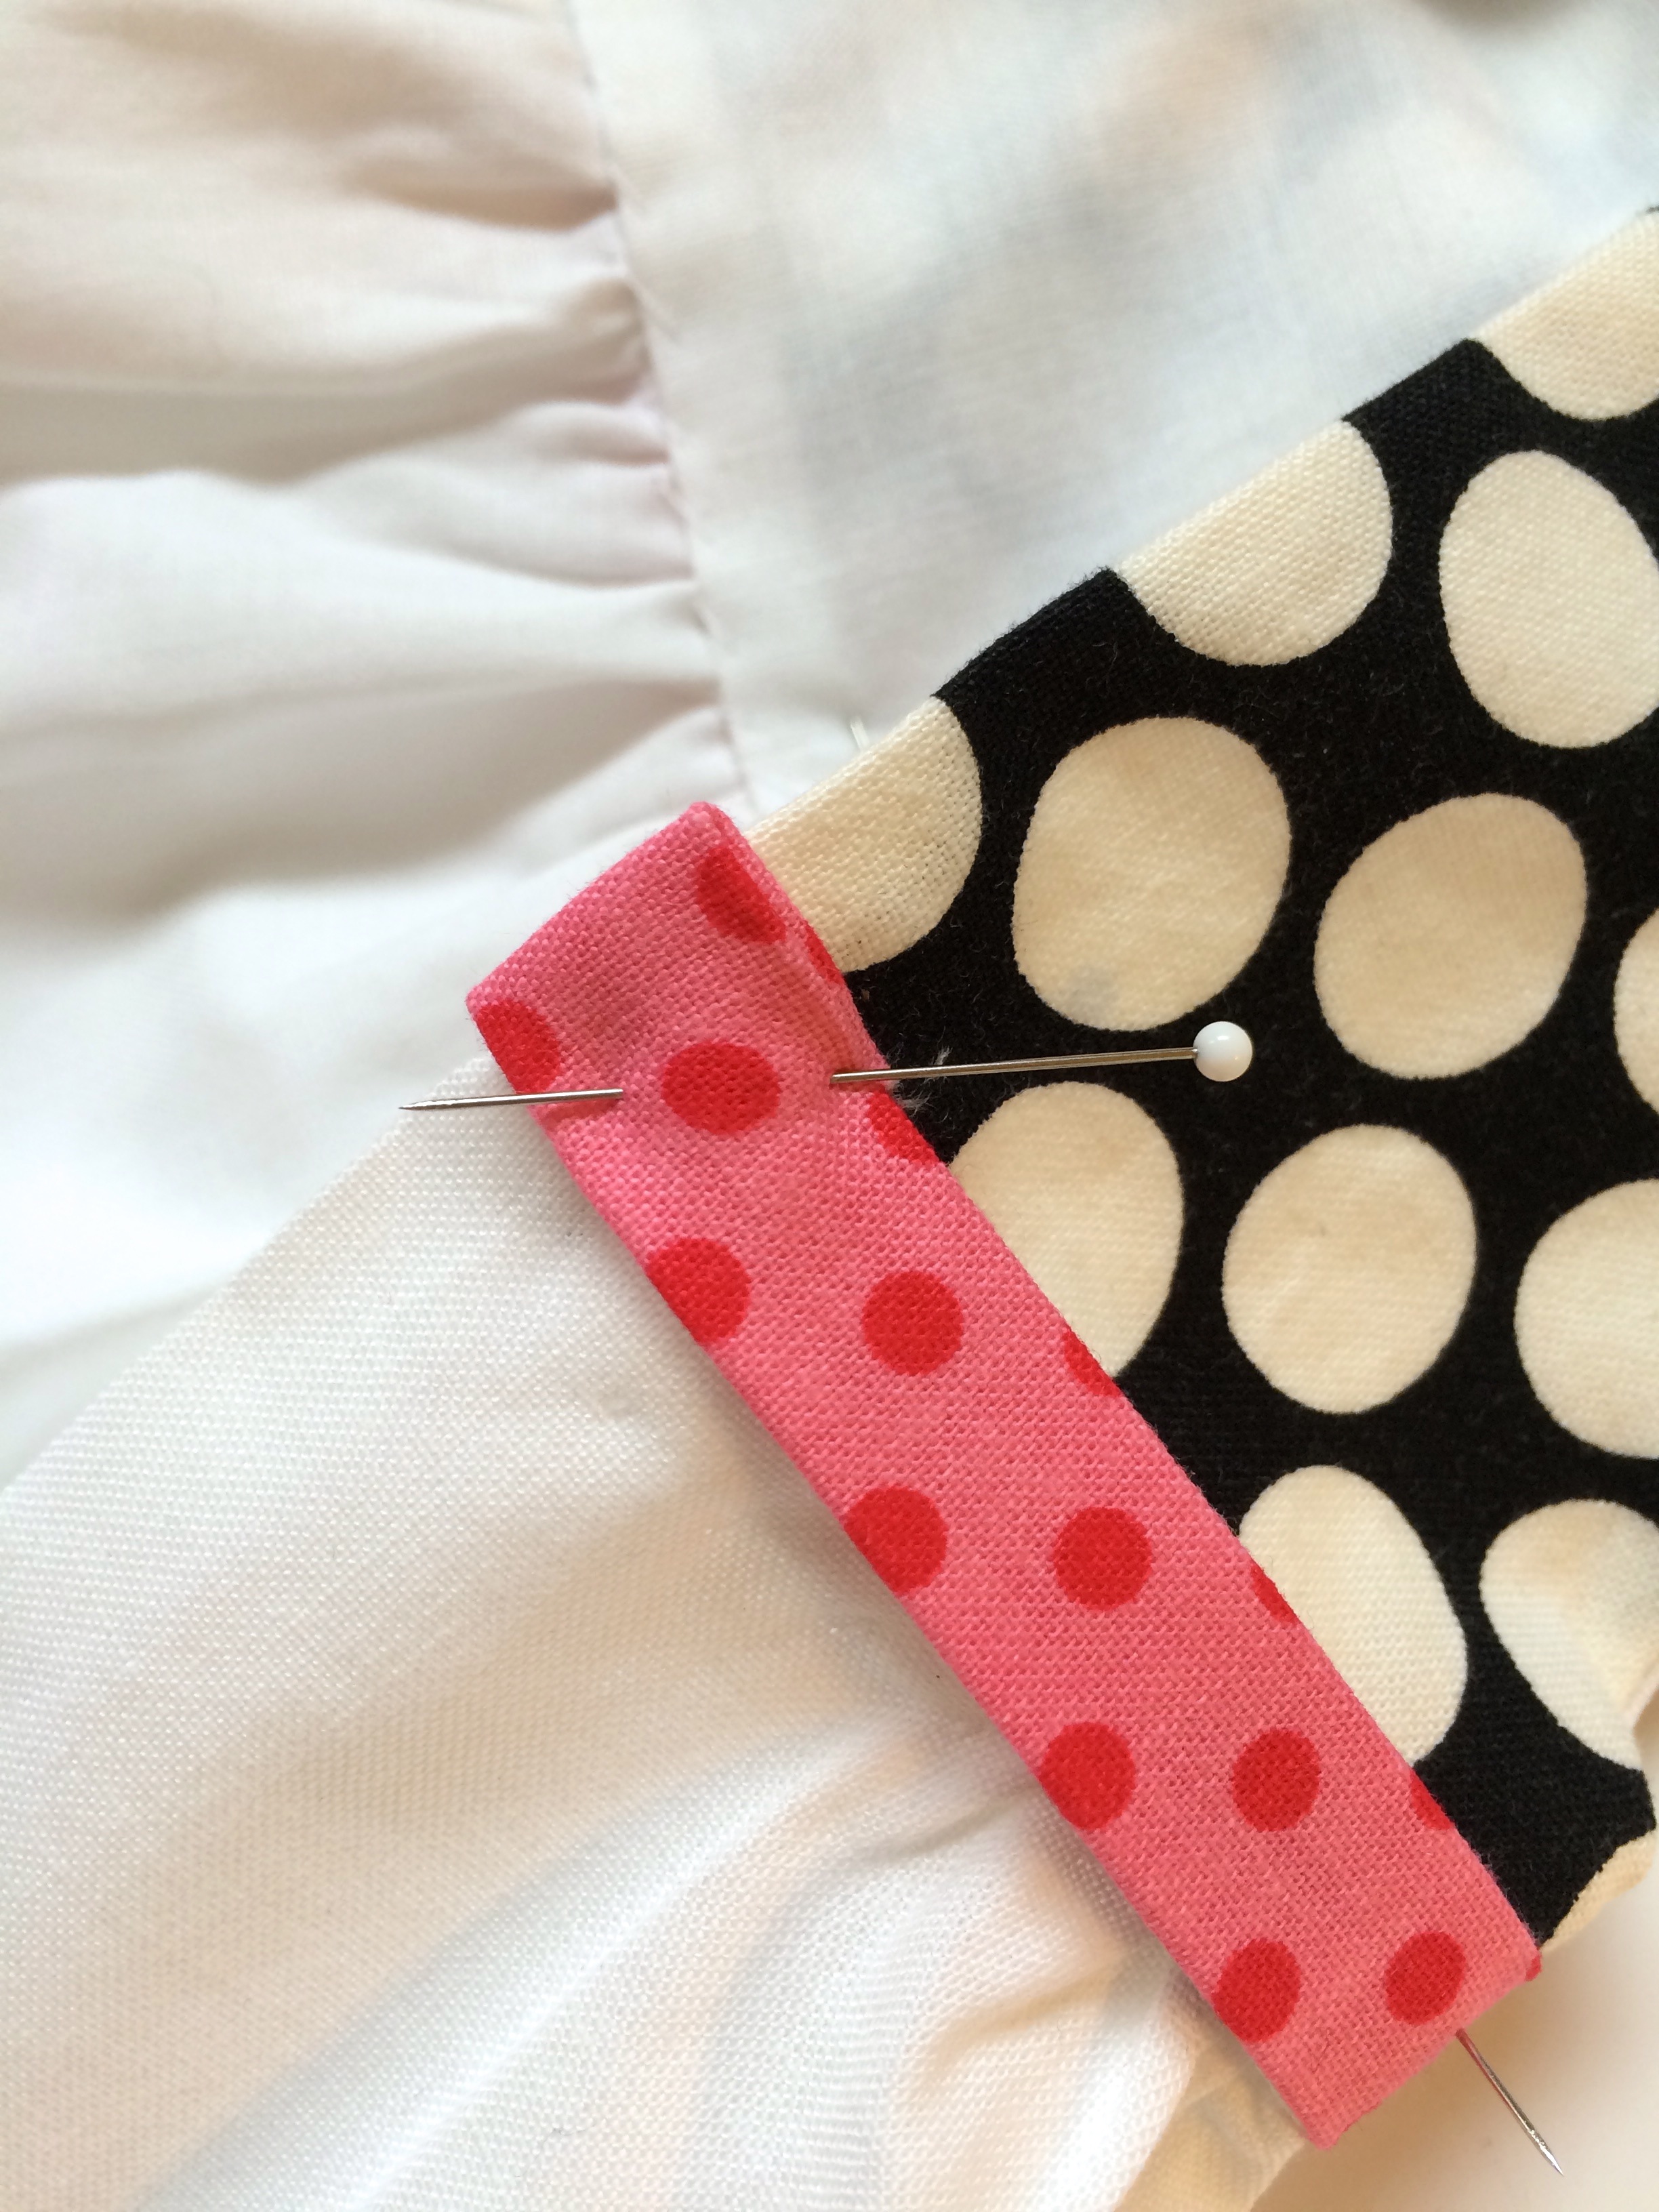
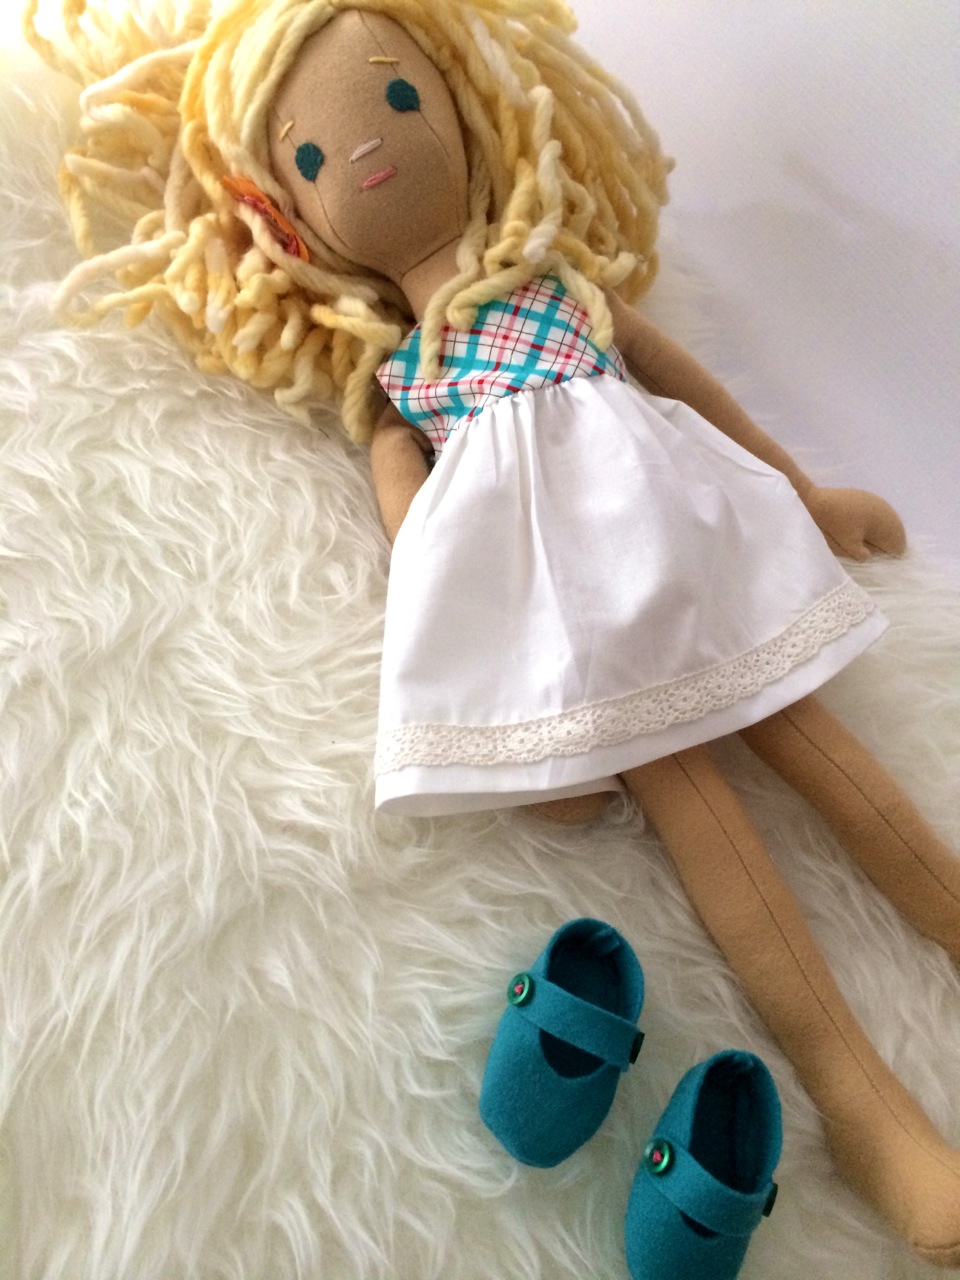
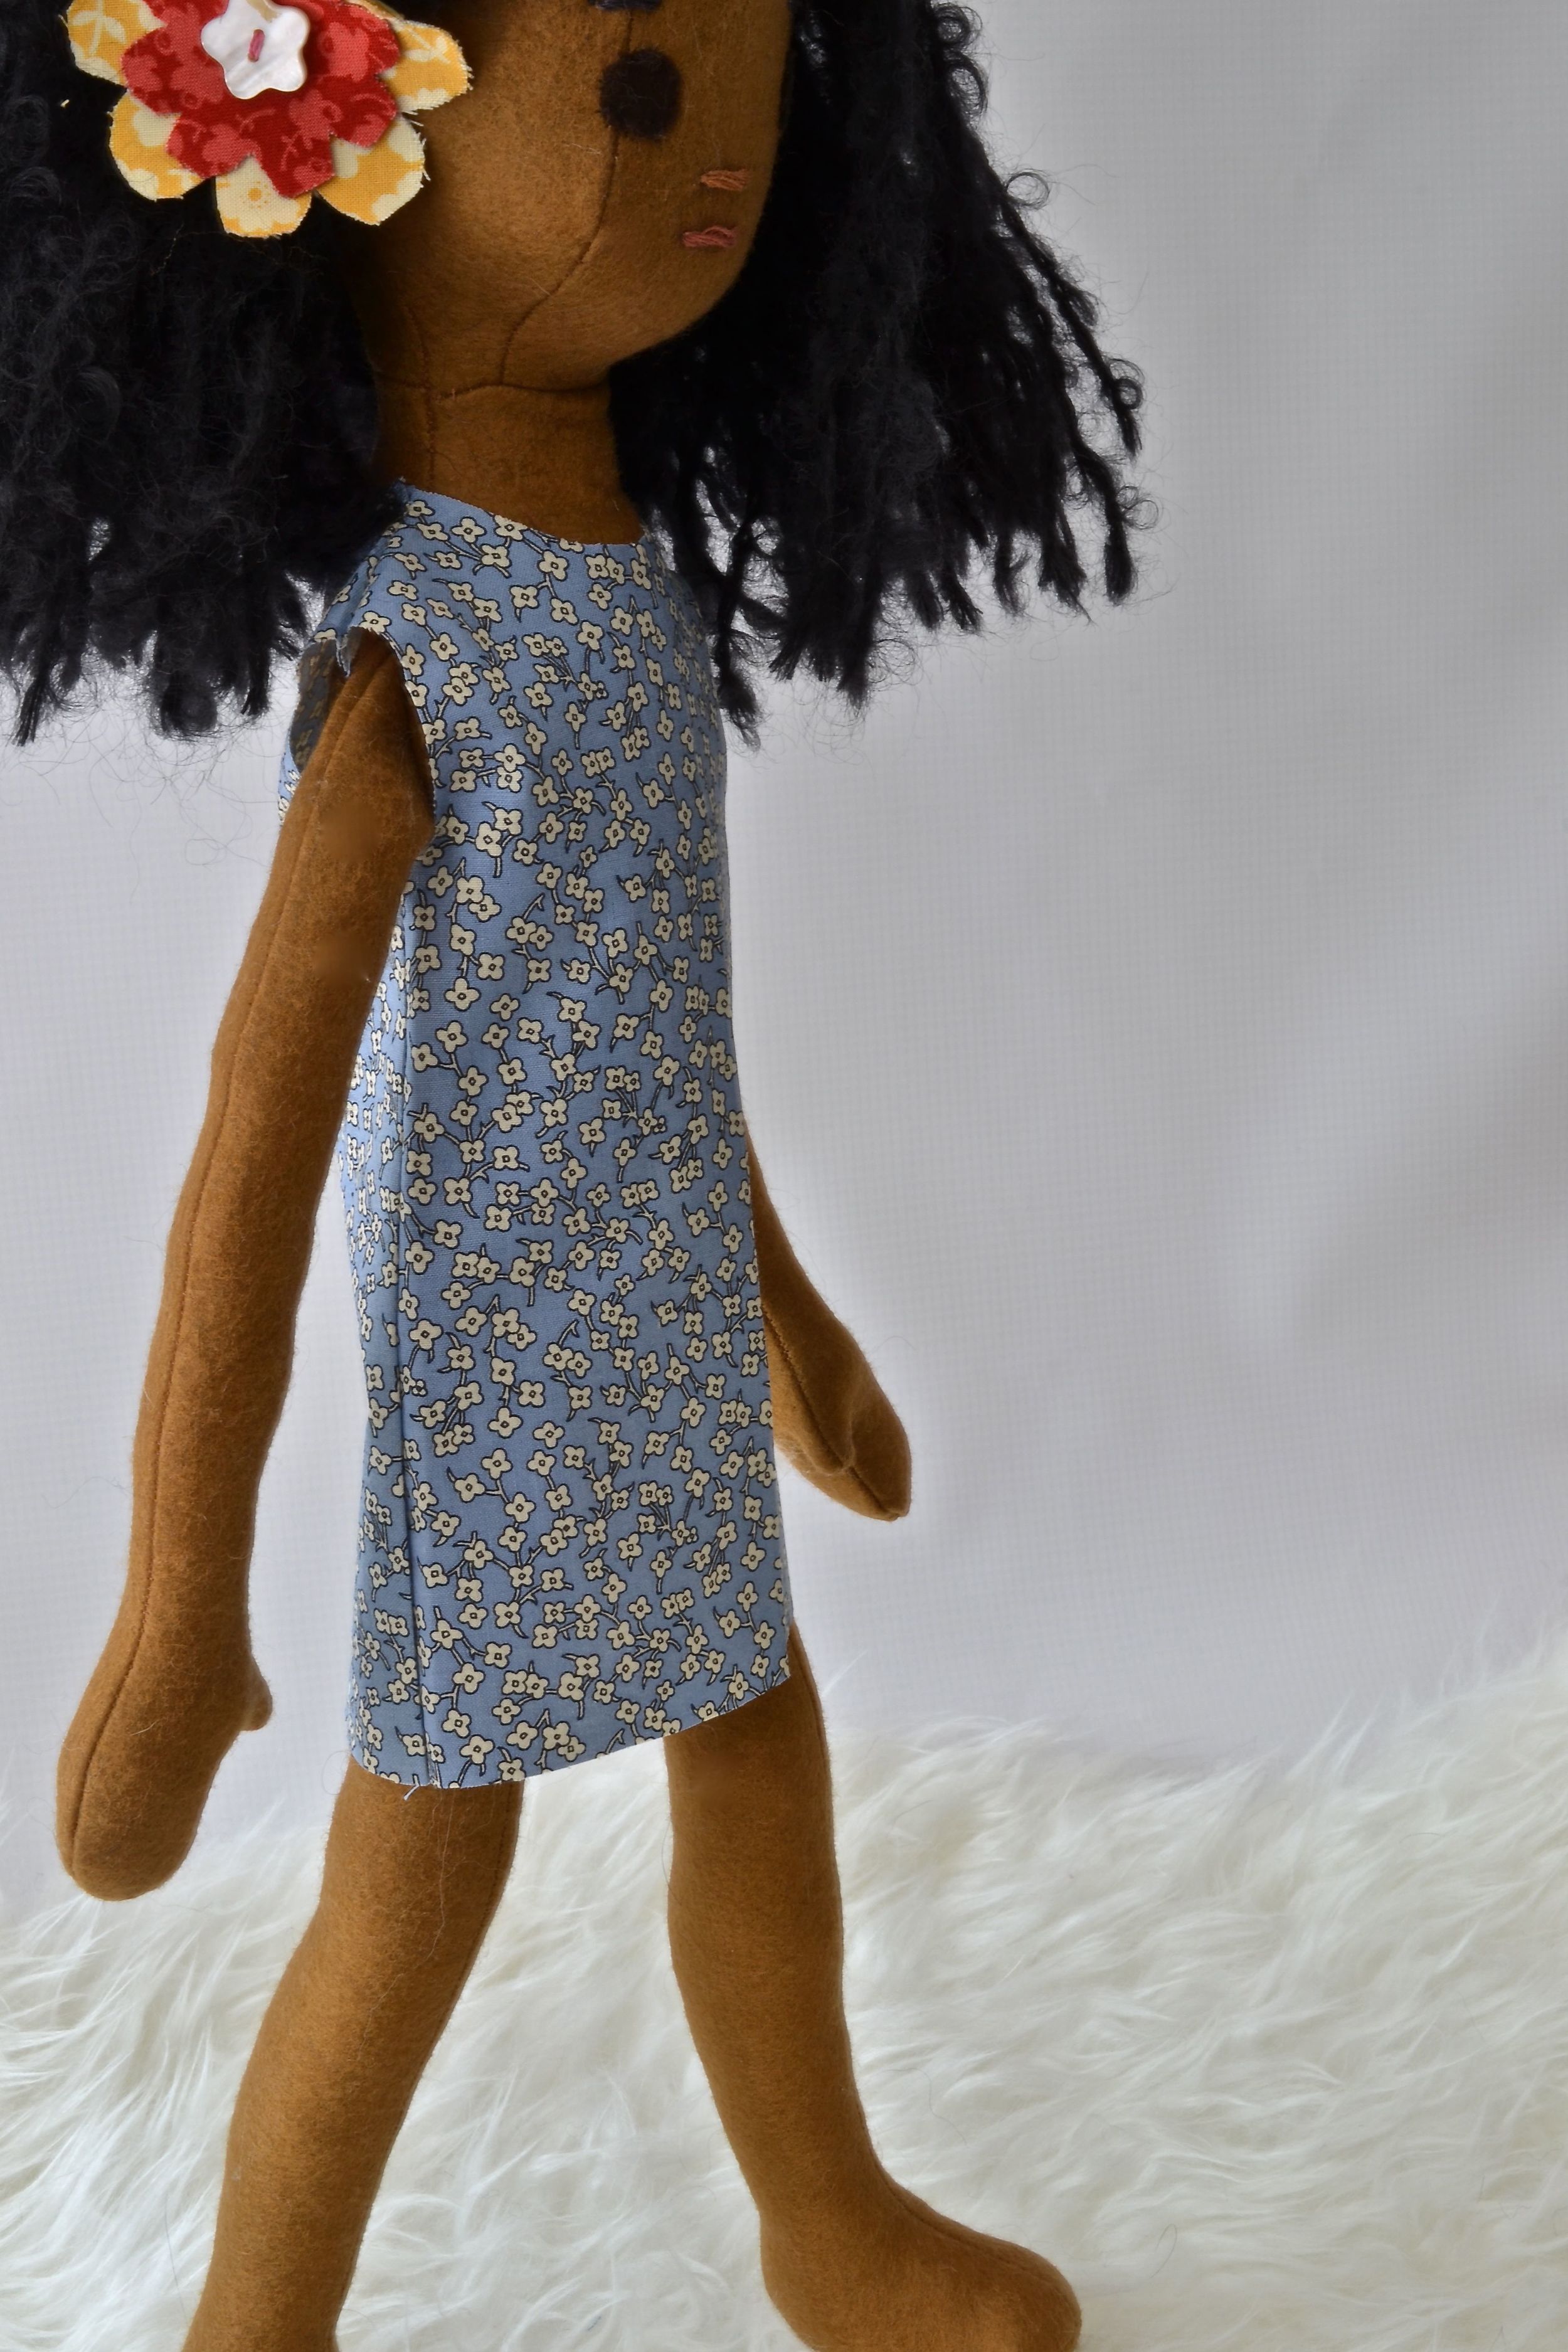
8. Pin pockets to dress. Pocket placement is a personal preference. I placed these with a tiny bit going onto the back of the dress.
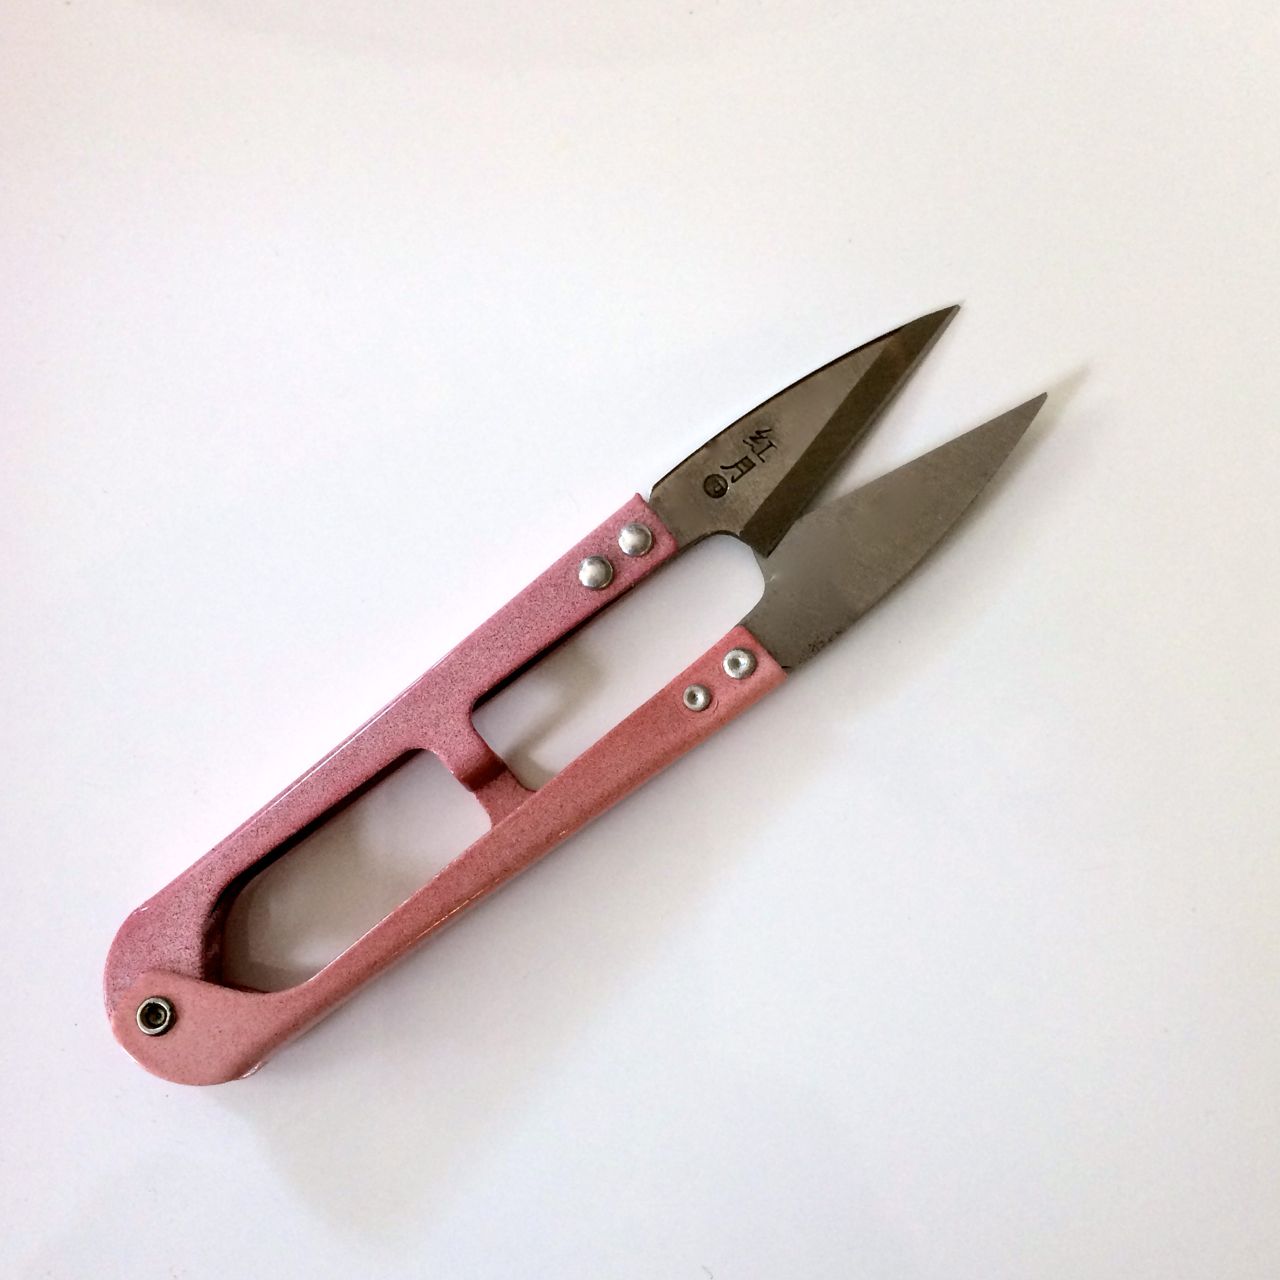
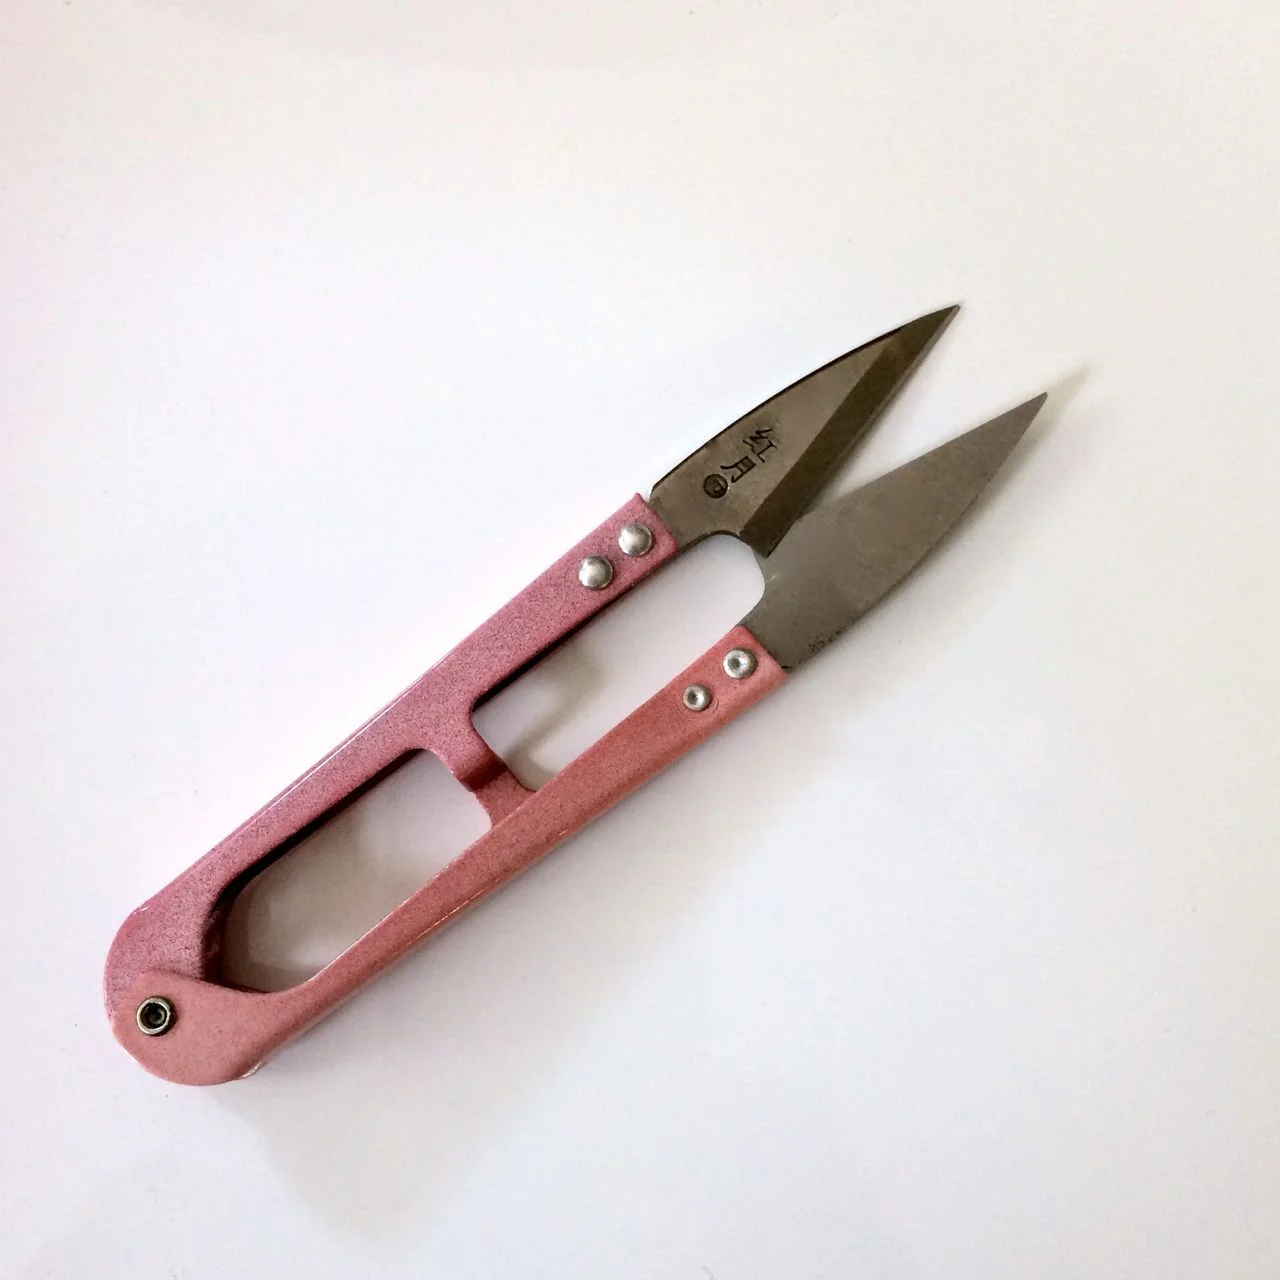
9. Sew the pockets. If a tiny bit of tulle shows anywhere, it is easy to snip off.
Click to enlarge.
Pockets are not so hard and maybe even fun.